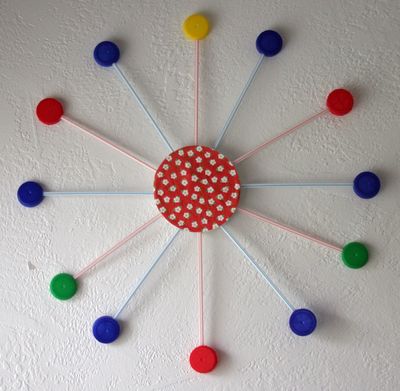
I love a good starburst, and especially love the mid-century look of the George Nelson Ball Clock, which inspired my entry in Craftster’s latest Craft Challenge: Drinking Straw Makeover. I used drinking straws along with recycled milk jug lids to make this playful decoration, which would be a cute addition to a kid’s room or playroom ( milk lids attached to the ends of the straws remind me of Tinker Toys!), or your room if you like bright colors! This would also be so cute as a clock, just add a clock-making kit to your materials list (or tear up a dollar store clock and attach it to your styrofoam disc).
We always have drinking straws on hand, and I have this recycled stuff hoarding problem (it’s all for crafting, I promise!), so I was super excited to use up some of my milk lids. I have a few more ideas for milk lids, but sometimes the ideas are more plentiful than the time to carry them out (did I tell you I’m having a baby on 10/10?). The idea for this project was simple, but the materials provided me with a medium challenge in making it work!
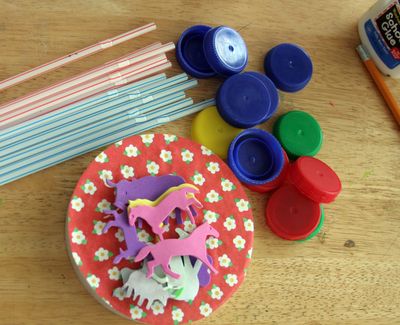
I had everything on hand I needed for this project, but you might need to pick up one or two things to make it work for you. You’ll need about an hour to put it all together. (I included foam stickers in my supplies photo because I thought I was going to incorporate them into the design, but I ended up not using them).
Project Estimate:
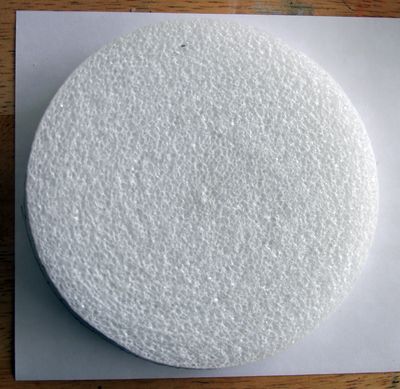
- 5″ Styrofoam disc, 2 for $1
- Drinking straws, big package for $1 or on hand
- 12 recycled milk lids, on hand
- A piece of scrapbooking paper, on hand
- Hot glue, on hand
Preparing Your Supplies:
Milk Lids: If your family drinks as much milk as ours does, it won’t take too long to save up enough lids for this project. If they don’t, you can use juice lids, soda bottle lids, wooden discs, or round game pieces (like checkers!). If you don’t use any of these things, ask a friend to save them for you, or raid a public recycling bin (like at school, work, etc). If you go with milk or other food lids, be sure to wash them very well in hot, soapy water, and let them dry thoroughly before you begin. You can paint the lids in any color, if you like.
Straws: If you have bendy straws, cut them off at the bendy part.
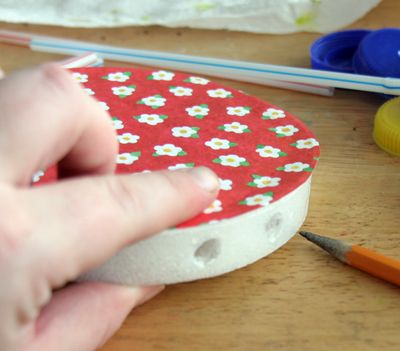
Styrofoam Disc: Trace the disc on the wrong side of the scrapbooking paper and cut it out. Glue it to the disc. I used Elmer’s glue.
Use a pencil to poke 12 holes in the side of your disc. I drew a grid on the back of the disc to help me space the holes.
Gluing plastic to plastic:
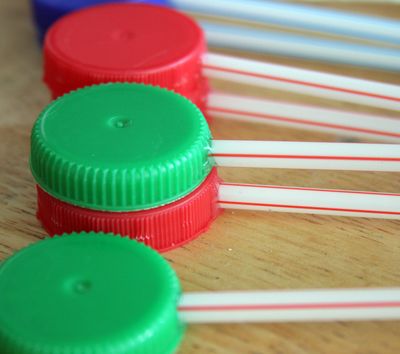
Drinking straws will melt and warp if you use a hot temp glue gun, and possibly even with a low temp gun. I put a dot of glue on the milk cap, let it cool for a second, and then held the uncut end of the straw up to the glue dot for 15-20 seconds to help it set.
Once the “lollipops” are made, attach them to the disc:
Hot glue will melt styrofoam as well, and any ensuing fumes aren’t healthy! To avoid this problem, squirt a glob of hot glue on the other end of the straw, and allow it to cool somewhat, about five seconds. Stick it into the hole in your disc, and hold it there for 15-20 seconds to help it set.




5 Comments
Rachel
That’s cute! I wonder if my kitties would be willing to give up their caps? =) I’ll be linking.
missy
love this craft!!! and it will only cost me about $3.50, id love to see more!im gonna make it into a christmas gift for my younger sister.
missy
Amanda
heather, this totally rocks! I’m going to send this to my friend Sherri at About.com, chances are she will link to it :) Awesome!
Anu Ganesh
Wonderful! love it.