Thanks again to Amy, who has done a whole series of guest posts for us! She truly does rock! I think these would be great for shower decorations too (you could then use them as prizes for games)! – Heather
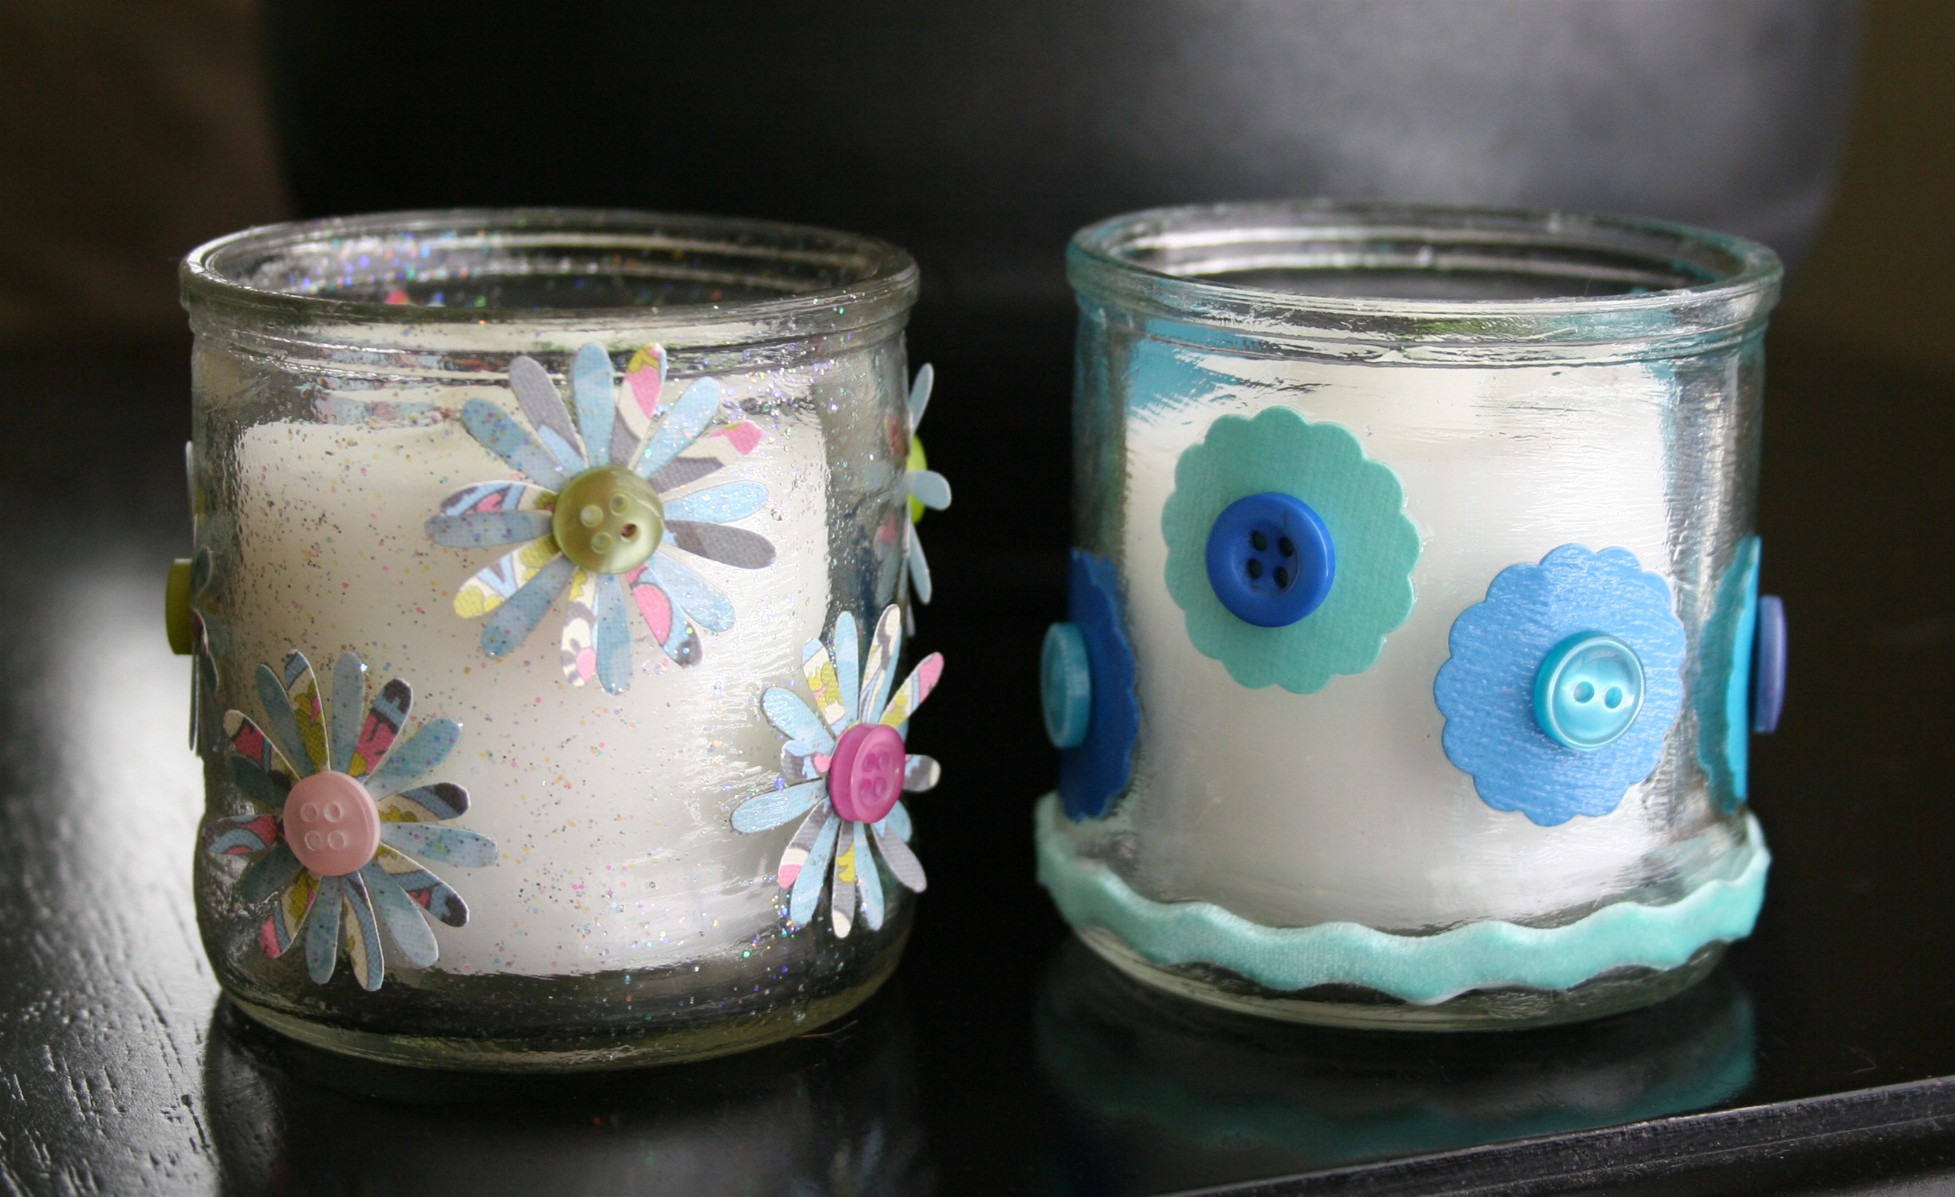
This is Amy from Mod Podge Rocks, and lately I’ve been thinking a lot about the holidays. They are coming quickly this year, don’t you think? In preparation for the many fall gatherings, cookie exchanges and holiday parties I may be attending, I wanted to develop a hostess gift that I could whip up quickly, in assembly-line type fashion. The votives above are what resulted.
In addition to working as a hostess gift, these would make great holiday party favors if YOU are the hostess! Give everyone a little treat to remember the day. I’m also considering these for office gifts. Every year there are many goodies exchanged around my workplace, and there’s a certain amount of stress related to affording something for everyone. These votives cost me $.50 a piece, given that I used everything else from my stash.
Project Estimate:
- Votive with candle included, $.50 per piece
- Scrapbook paper – 1 sheet, on hand
- Silver Glitter Mod Podge, on hand
- Paper punches, on hand
- Buttons – seven coordinating, on hand
- Craft glue, on hand
- Paint brush, on hand
- Ruler, on hand
Total cost: $.50 and up
Time Needed: less than 1 hour
To Make:

- Here are the votives I used for this project. Before you work with glass for decoupage, you should always wash it thoroughly to remove hand smudges and oil. I removed the candle and then removed the stickers with Goo Gone. Wash and dry completely.

- Grab your paper punch and sheet of scrapbook paper. I suggest using a piece of scrapbook paper that has a design on BOTH sides. I punched about 14 flowers – seven I used as the bottom layer on the blue side shown above, and the other seven I flipped over and layered. Set these punched shapes aside.
- NOTE: If you don’t have a punch, never fear. You can draw shapes freehand, use a stencil, or even print something off of the internet and use it. Punches are easy, but not required.

- Apply your Mod Podge directly to the glass using your brush. I used a medium layer.

- Grab your punched shapes and place them on the votive. Smooth down carefully so you don’t rip them. Keep working your way around the glass, applying Mod Podge and laying down shapes. Once you’ve gone all the way around, allow to dry for 15 – 20 minutes.

- Go back and apply another layer of Mod Podge over the punched out shapes. Then apply the second layer of shapes, turning them over to show the other design. Now doesn’t that look nice? Allow to dry for 15 – 20 minutes.

- Go back to your votive and apply embellishments with craft glue. Allow the votive to dry for a few hours while you get ready for your party.
Note that I also did a second votive using a different punch, papers and Gloss Mod Podge – I even accented the bottom with some ribbon. These were so easy and fun, I feel like I could make 1,000 of them! If you are a hostess, you know what you’ll be getting from me at your next party.


6 Comments
Jessica H.
Very cool! If you look really carfully at your dollar store, they usually have those neat scrapbooking punches in the office supply aisle.
madincrafts.blogspot.com
songbirdtiff
GREAT idea! I will definitely be using this in the next couple of months.
Rachel
These are super cute! Thanks so much for the fun and super customizable idea, I’ll be linking.
Craftzilla
I love it! Particularly since I have a fall leaf punch and could do a Thanksgiving style one that guests can take home after dinner!
Lea-Ann
GREAT idea! I have loads of votives just waiting for some crafty goodness!!!
Margaret
Great ideas! So easy to be creative if we just take this step. Thanks for being an inspiration!!!