Stenciling is a super useful technique that is great for many applications. You can stencil onto clothing, sewn goods, or hard household items. If you’re intimidated by cutting your own stencils, don’t be. You can do it! One of the wonderful things about stenciling is that you can achieve near-perfect results, or a more handmade look depending on what you want and your attention to detail. It’s up to you!
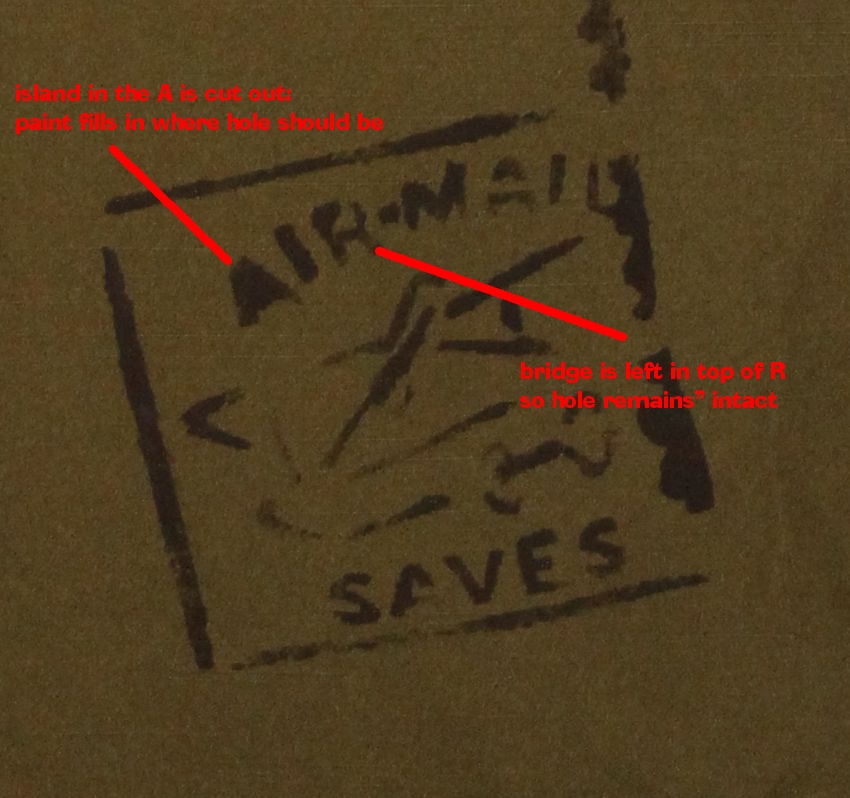
Stencil tutorials are all over the internet, but in case you don’t know how, here’s a quick one. These are instructions for the good old paper and packing tape stencil method. I hear freezer paper stencils are amazing, but I haven’t tried them yet. The postmark image I used on the Placemat Mail Sorter lends itself well to beginning stenciling because postmarks are usually imperfect marks, so don’t feel bad if it doesn’t look perfect — it’s not supposed to!
Project Materials:
- Canceled stamp printed on paper, on hand [Download the Postmarks PDF here]
- Packing tape, on hand
- X-acto knife or tiny manicure scissors, on hand
- Acrylic paint, on hand
- Paint applicator: brush, sponge or brayer, on hand
- Cutting surface (self-healing mat or kitchen cutting board)
Total: FREE
To Make a Stencil:
1. Download the postmark stencil here.
2. Print the stencil on your printer (draft mode/ink saving mode is fine, by the way!)
3. Cover the entire image with packing tape, on both sides of the paper. Leave at least 2-3″ of packing tape extending past the image, as well.
4. Cut the black parts of the stencil out, using your X-acto knife (on a cutting mat or cutting board), or small sharp scissors (like manicure scissors). Note: I used scissors and it took three times longer than it does when I use an X-acto knife!
Another note: any isolated white parts (“islands”) of the image need to be “bridged” in order to keep them from falling off the stencil when you cut the black parts surrounding them out. Check your stencil out, and if there’s a chance you’ll forget and cut an island out, use whiteout to draw bridges before you cover the stencil with packing tape.
5. When stencil is completely cut out, fix it to the material where you want the stencil to appear. Attach the cut stencil to the fabric with packing tape.
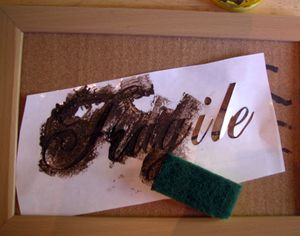
6. Apply the paint over the stencil with a sponge by using light up-and-down dabbing motions. Avoid moving the stencil or pressing too hard.
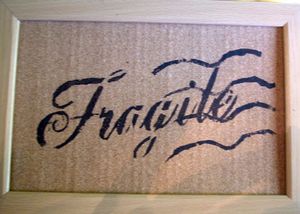
7. When removing the stencil, pick it up straight off the fabric to avoid smearing the paint.
8. If desired, you can connect the “bridged” areas with a small brush after you remove the stencil.


11 Comments
Holly
So when do we get to see the rest of this project, hmm?
Jess
Very Cute. Freezer paper is awesome for fabrics. I since I don’t have a Cricut or Silhouette, my Xacto knife is my BFF. I just need to remember to keep extra blades in the house.
Maria
Thank you so much. I was trying to use a similar method to print on fabric. The packaging tape over the picture is such a great idea. It will make things so much easier.
dot
I totally agree about freezer paper stencils being the best thing ever, but this looks like a neat idea too :)
Gayle
It’s much easier to use a piece of contact shelf liner for making a stencil. It’s adhesive and cuts easily.
heather
@Gayle, thanks for the tip!
Brit@ Esbe Chic
Super cool…I should give this a try!
nataluna
another thing, if you are sticking (no pun intended) with paper or cardstock stencils, you can use spray contact cement on the back. then after you let it dry, it’s a little sticky but still removable… and it helps you not get bleed-over of paint at the edges!