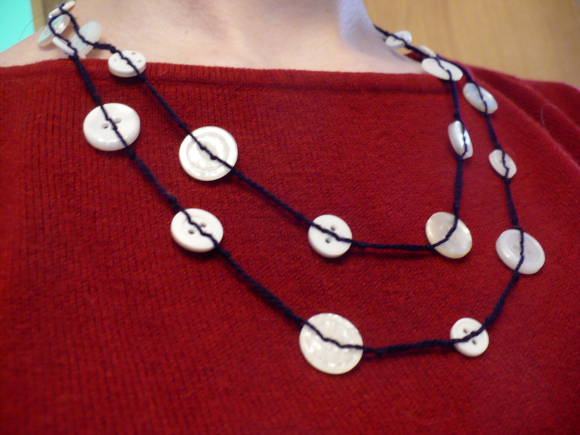
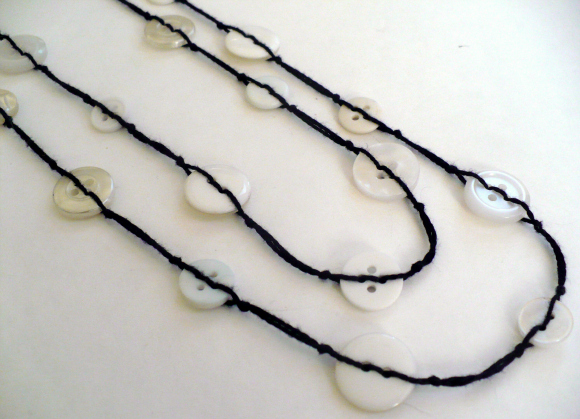
Hiding in the depths of every stash, every crafter has them: Buttons. They’re one of those craft supplies that I swear multiplies when I’m not looking. I put two of them together in a cupboard and the next thing I know, there are dozens of them falling out of every nook and cranny. If you’re feeling buried in more buttons than you think you can ever use, you’ll love this project. String them together to make a button necklace! (Wouldn’t this make a cute Mother’s Day gift? ‘Cause, you know, that’ll be here sooner than you expect!)
Project estimate:
- Buttons, on hand
- String, on hand
Total: Free
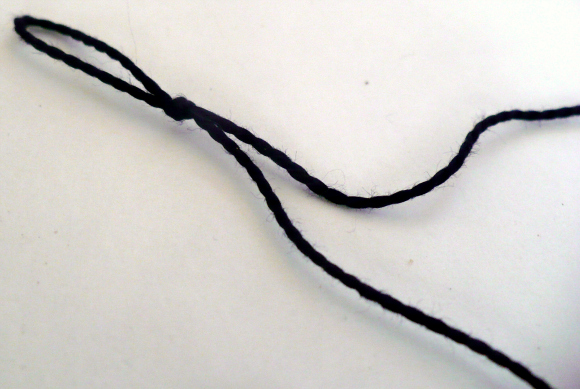
Start by figuring out how long you want the finished necklace to be. (This design looks best when the strands of buttons are worn doubled or tripled.) Multiply this length by two and add a few inches to allow for making knots. Cut a piece of string to this length. Use string that is thin enough to fit twice through the holes of the buttons; embroidery floss or crochet thread work well. Fold the string in half and tie a small loop at the center of the string using an overhand knot.
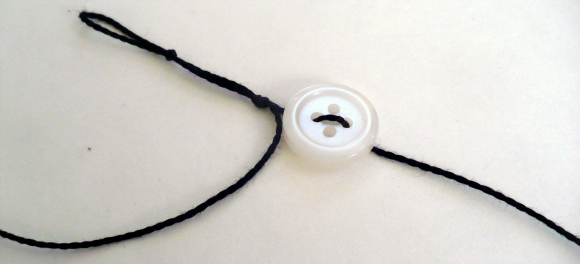
Holding both strands together, tie another overhand knot about one inch down the string from the first knot. (Tip: It’s easier to work on the necklace if you anchor the looped end.)
Using one of the strands, run it through the button from the back side. If it is a two-hole button, run the string out from front to back through the second hole; for a four-hole button, use the hole that is diagonal from the first hole to pass the string through. Slide the button up the string until it is just below the knot.
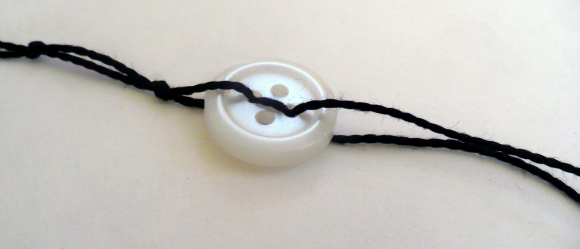
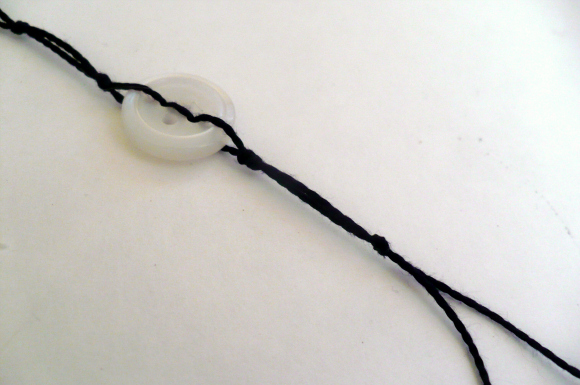
Use the second strand to work through the same two hole of the button, but this time pass the string into the front side and then back through from the back side. The two strands should criss-cross through the button holes. Pull the string tight and adjust the placement of the button if needed.
Secure the button in place by making another overhand knot with both strands just below the button. Again, make a second knot with both strands about an inch away from the previous knot, which will create a space between buttons.
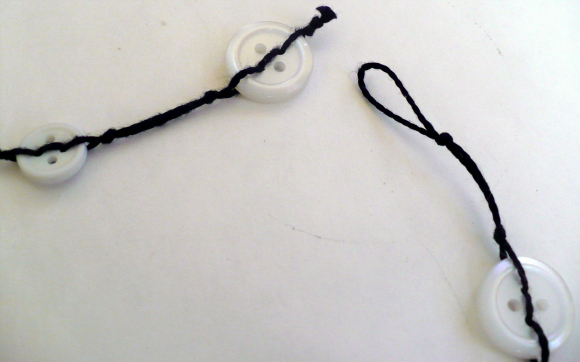
Keep adding buttons until you reach the end of the string. Tie the string off after the last button by making an overhand knot with both strands. Fasten the necklace into a large loop by passing the last button through the loop at the other end of the necklace.
Try different variations by using different colors of beads or string, alternating button sizes, or even making several individual strands using different colors and wearing them together. It also looks really cute wrapped around the wrist and worn as a bracelet!





5 Comments
Rachel
That’s really cute and would be a blast to do with kids. Thanks so much, I’ll be linking.
http://isreview1.blogspot.com
super cool idea! I actually plan to try it:)
Daniela