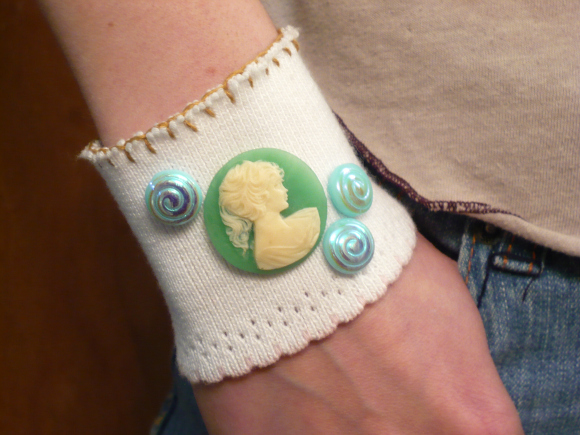
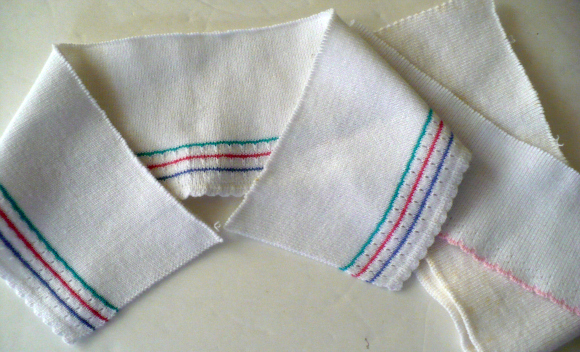
It’s funny how easy it is to trace the origins of both my craftiness and my pack rat nature. I was reminded recently that I got both traits from my grandmother. When she passed away about ten years ago I inherited her collection of sewing notions, and as as part of my stashbusting this month I was surveying the random items in one of her sewing boxes. I came across something that took me a moment to identify. They were collars salvaged off of polo shirts. I wrapped one around my wrist and immediately knew that I had to make a cuff bracelet! After digging around in my stash a little bit more, I came up with everything I needed. Here’s how I did it.
Supplies:
- Polo shirt collar, on hand
- Embroidery floss, on hand
- Cameo, on hand or $1
- Beads, on hand
- Glue, on hand
- Hook and eye closures, on hand or $1
- Needle and thread, on hand
Total: Free and up
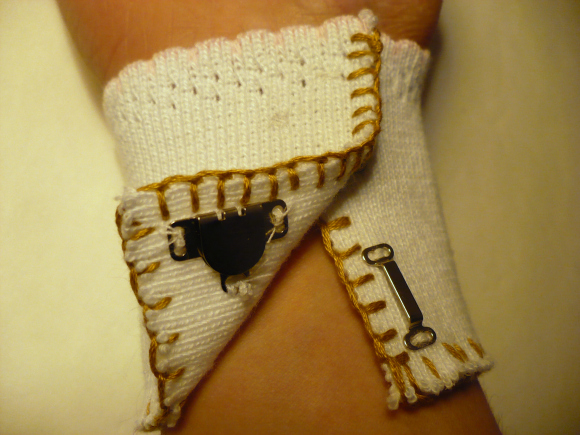
Cut the collar off a collared knit shirt. Wrap the collar around your wrist and measure so that it goes all the way around with a little bit of overlap. Cut it to that length.
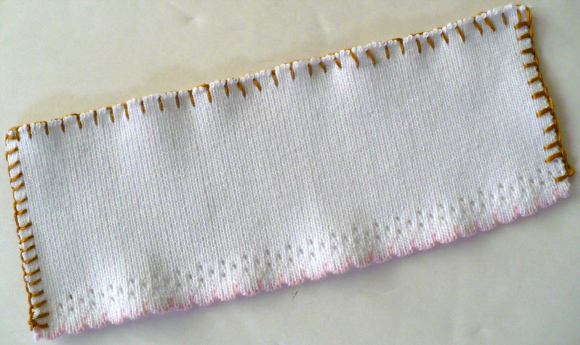
To give the edges a more finished look and help prevent them from fraying, I went around three sides of the collar with embroidery floss using a blanket stitch. If you’ve never tried the blanket stitch, don’t be afraid; it’s SO easy to do, even if you have zero sewing or embroidery skills! The fourth edge of my collar was scalloped and tipped in pink, so I didn’t stitch across it. If your collar doesn’t have a decorative edge, blanket stitch all the way around. [how to sew a blanket stitch]
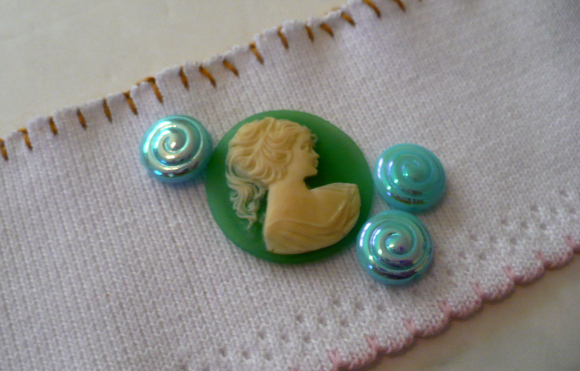
Glue your embellishments to the middle of the cuff. I chose a cameo and a few pretty beads that were hiding amongst my random jewelry making supplies.
Attach a pair of hook-and-eye closures to the ends of the cuff to finish it. You could also use velcro to secure the ends together, but I have a ton of hook closures in my sewing notions and few occasions to use them, so I decided this was a good opportunity to get rid of a couple!




7 Comments
Kelly H
Would you believe I fell asleep a few nights ago thinking of doing something totally similar with scraps I had!?!?
Great idea and I appreciate the link for a blanket stitch. :) I’ve been trying to find good instructions so I can learn.
Michelle L.
Those collars are so amazing! Lacy and sweet and vintage, ooh. I love this project, the blanket stitch edge and embellishments are super cute!
Kei @ Unfortunately Oh!
Such a lovely idea–looks really cute!
Dardrian
Where the heck do you get cameos for $1?!?!!?!???
rhonda
@Dardrian – Dollar Tree sells hair elastics with cameos on them :) I also watch for them at yard sales; I see them a lot in old costume jewelry collections and you can usually pick up the whole lot for super cheap!
rhonda
You can see the ones from Dollar Tree in this post: https://dollarstorecrafts.com/2010/09/dollar-scores-3-shopping-with-breanna/