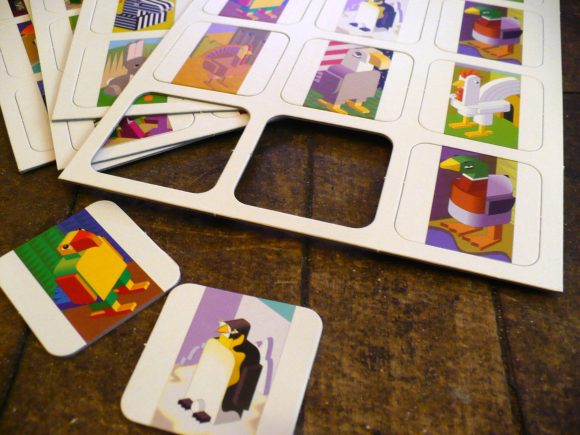
The other day I was looking through the school supplies and educational whatnots at Dollar Tree when I found a memory game with weird, blocky animals on the square tiles. I looked at it and immediately saw it as a package of 60 chipboard squares with rounded corners, just begging to be turned into ultra-cheap pendants. I rounded up a few other odds and ends and, in honor of the leaves that are starting to change around here, made myself a fall leaf necklace. You can embellish the memory game tiles in an infinite number of ways!
Project estimate:
- Memory game, $1
- Paper, on hand
- Paint and/or ink, on hand or $1 and up
- Embellishments, on hand or $1 and up
- Glue, on hand
- Bead, on hand
- Cord, on hand or $1
Total: $1 and up
Punch out the chipboard squares of the memory game. (Yup, we’re working on the floor today. The craft room table is monopolized by a giant rug project!)
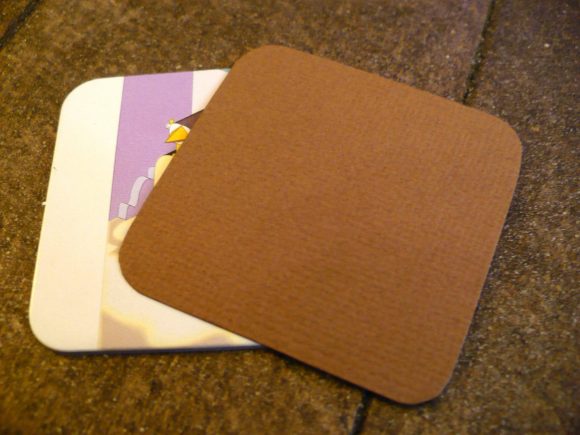
Cut a piece of scrapbook paper to the same size as a memory game tile and glue it to the front of the tile.
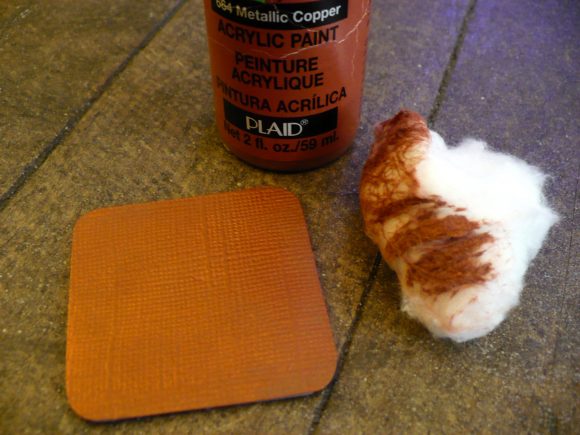
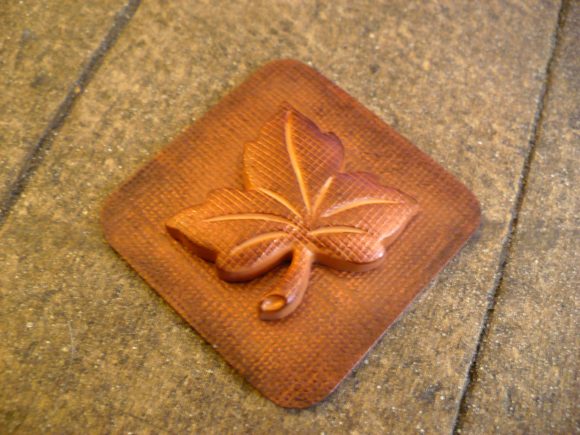
Dab a tiny bit of paint on a cotton ball (I used metallic copper), then blot the cotton ball on a paper towel to remove most of the paint. Rub the blotted cotton ball lightly across the surface of the paper. If you use a textured paper, the paint will appear mostly on the higher parts of the texture.
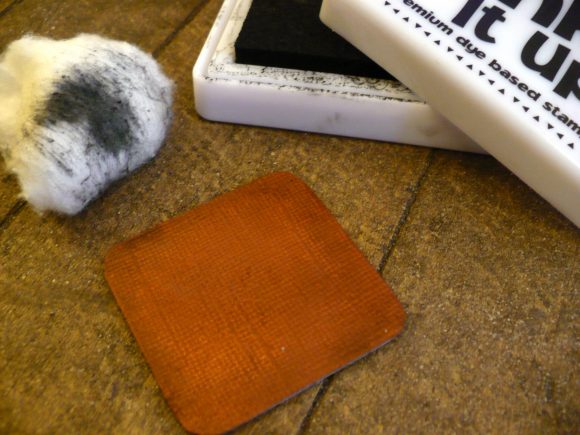
Give the pendant base an aged look by dabbing a cotton ball on a black or brown ink pad and applying it to parts of the paper.
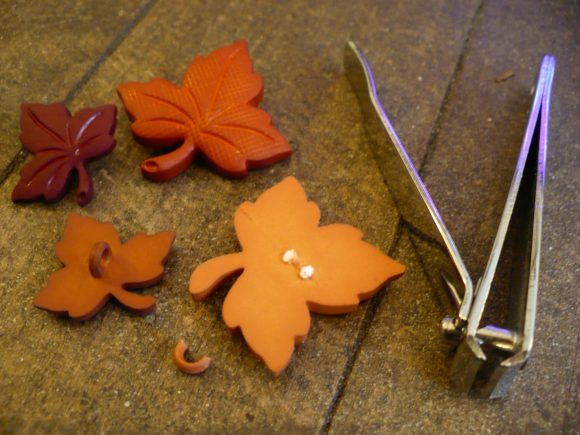
To embellish my pendant, I used a plastic leaf button. The button had a loop on the back, which was easily removed with a pair of nail clippers.
Once the button was glued to the paper, I added a touch of copper paint and black ink to it as well, since the button also had a textured surface.
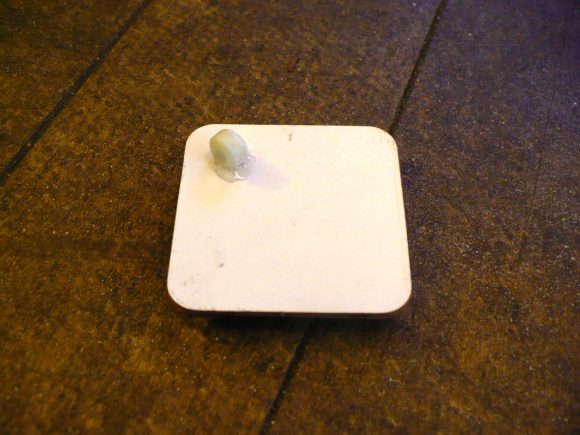
Glue a pony bead to the back side of the pendant. Use the bead to string the pendant onto a cord and it’s ready to wear!




7 Comments
Michelle L.
Wha…? There are so many clever ideas in this tutorial! Love the coppery painted leaf on paper – it looks like repousse metal! Love the pony bead bail, so smart. And the 60 pieces of precut chipboard – oh yes yes yes. (Although I am weird enough that I would make a pendant from those freaky robot birds, hee.)
Great post, Rhonda!
Victoria Sturdevant
Fantastic idea!
Lynda
Great idea! Thanks!
Julie
Love this idea! I think I’m going to have to make a stop at the dollar store today. Luckily it’s right next to Michaels. :-)
Stephanie
I checked the dollar stores in my town & couldn’t find this game. Darn!