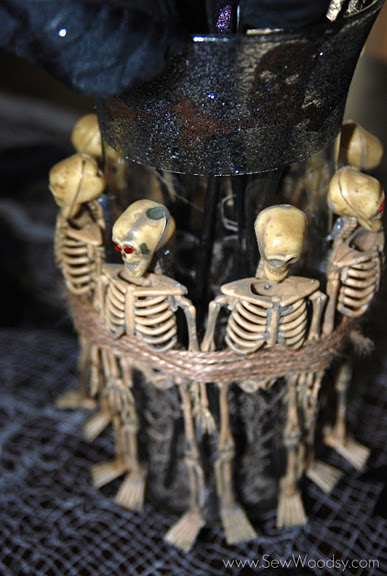
Make a Spooky Skeleton Vase
I’m Katie the author and voice behind Sew Woodsy. My husband, dubbed as “Mr. Woodsy”, and I blog about home DIY projects along with woodworking, sewing, and home decor. We are crazy about Halloween. We take all of our everyday home decor down and for a good month and a half transform our home into a Halloween haven (of sorts). I’m so excited to be here today to share a tutorial that I literally dreamed about!
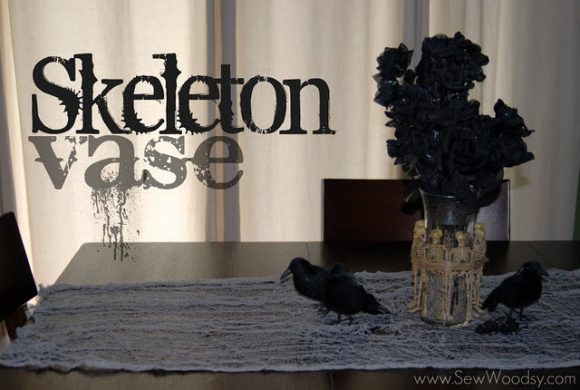
Have you ever woken up in the middle of the night with an “ah-ha” moment? I have, and that is exactly how this vase was created. I’ve had Halloween on the brain lately, and wanted to create some unique projects for only a few dollars. After dreaming up this idea I went to the dollar store the next day and purchased my supplies, and that night began crafting.
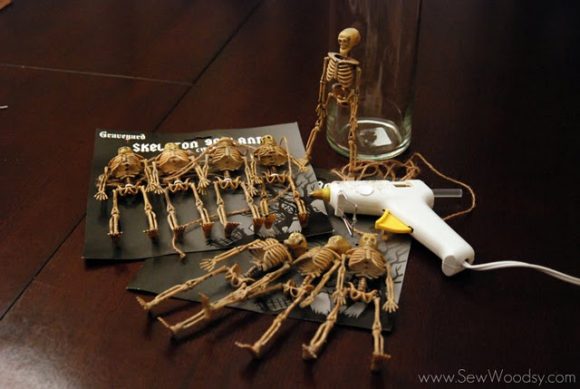
Project Supplies:
- 2 packages of Skeleton Garland, $2
- 1 Glass Vase, $1 or on hand
- Fake “dead” Flowers & Moss Filler, $2
- Hot Glue Gun & Glue Sticks, on hand
- Martha Stewart Acrylic Craft Paint (or equivalent) & Pouncer or Sponge Brush, on hand or $2 and up
- Painters Tape, on hand or $1
- Optional Step–die cutting machine, vinyl, & rhinestones
Estimated cost: $4 and up
**Optional Step**
Using your die-cutting machine cut out a Halloween silhouette. I choose to cut out a skeleton border. If you don’t have a cutting machine, you can use Halloween stickers, or skip this step.
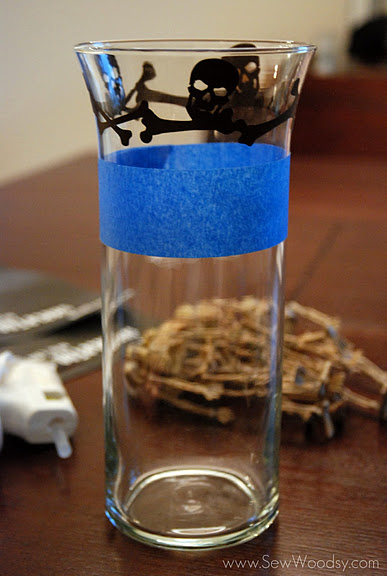
To Make:
1. Tape about 2 inches below the rim of the vase. You will paint top portion with acrylic paint. If you are using vinyl cutouts or stickers, add them above the taped area.
2. Next, apply your acrylic paint.
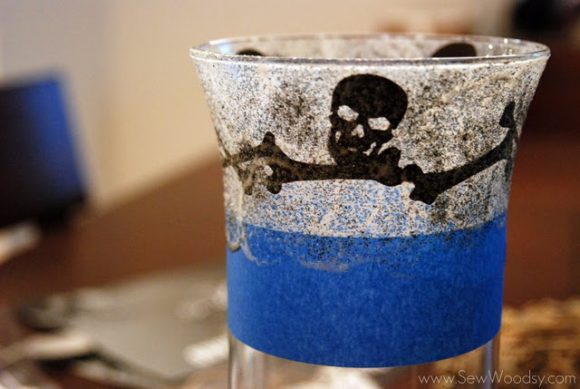
I applied 2-3 coats of the glitter paint. Make sure you allow the paint to dry in between coats.
3. Carefully pull the painters tape off the vase.
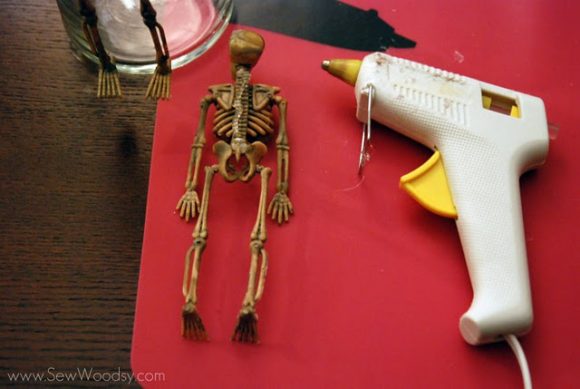
4. Before you begin gluing the skeletons on to the vase, remove the twine from the skeletons (reserve this twine for the end of the project). Once the twine has been removed, glue skeletons on to the vase. Apply a generous amount of hot glue to the skeleton’s spine.
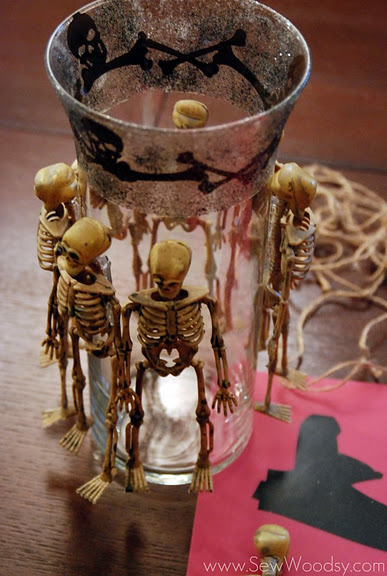
Repeat the step above; carefully, gluing each skeleton to the vase. All eight skeletons fit perfectly on the vase I used.
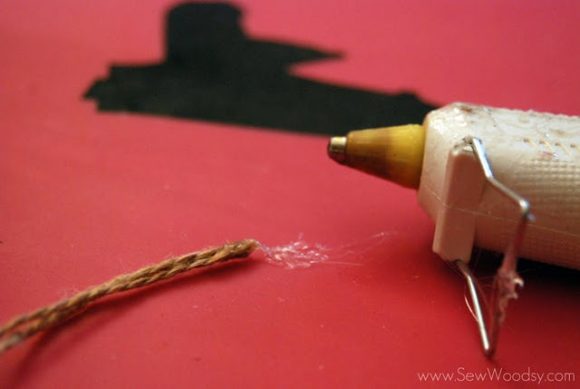
6. Next, take one piece of the twine you saved and dip the tip of the twine into hot glue. Swirl so that the glue sticks to the tip and stops it from fraying.
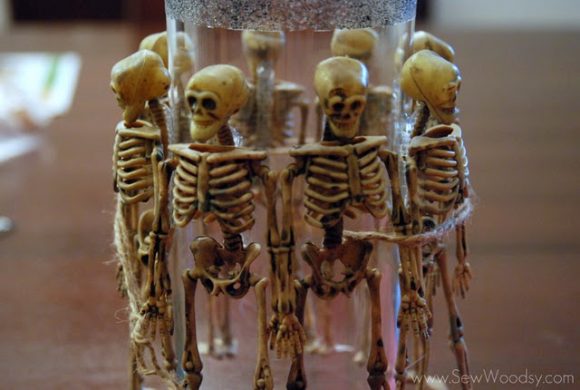
7. Take the tip of the twine with the hot glue on it and tuck it behind one of the skeleton’s backbone. Begin wrapping the twine around the skeletons until both pieces of twine have been used. Dip the tip of twine in hot glue, swirl, and tuck in place.
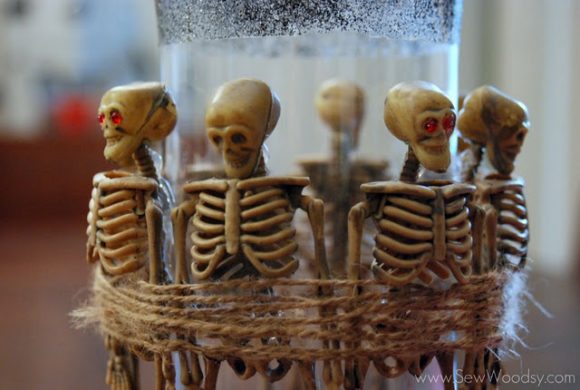
Optional: If you have rhinestones on hand place a few in the eye sockets of the skeletons. I only had 8 rhinestones on hand so I placed a pair of glowing eyes on every other skeleton.
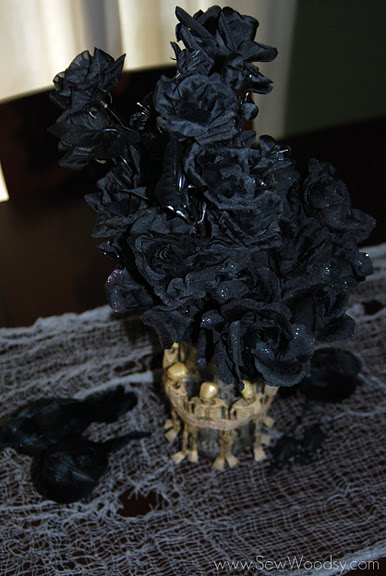
Fill your vase with moss filler and “dead” flowers.

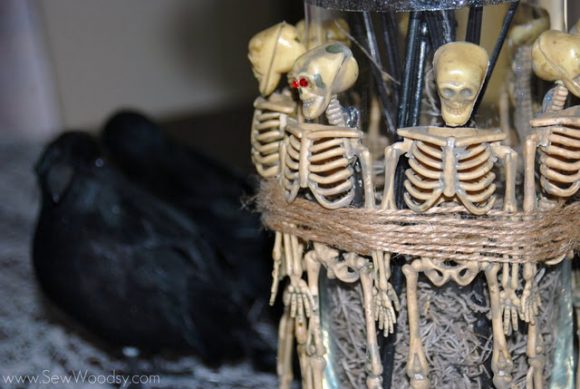
I love the eerie look this vase gives. It’s like the skeletons are tied up to a fire pit!
I hope you enjoyed this project as much as I did! Don’t forget to check out Sew Woodsy and follow us on Facebook & Twitter!
Halloween Chat on Tuesday at 9pm:
What a great Halloween idea, Katie! For more great ideas, I would like to invite you to come join us at the Coffee Talk Community on Tuesday (October 11, 2011 at 9 pm Eastern) for a Live Chat all about Halloween, with three of the most creative bloggers around: Amy from The Idea Room, Jen from Tatertots & Jello, and Beckie from Infarrantly Creative.


![sew woodsy[8] sew woodsy](https://dollarstorecrafts.com/wp-content/uploads/2011/10/sew-woodsy8.jpg)


5 Comments
Katie from Sew Woodsy
Thanks again for having me over! I hope everyone enjoys this project as much as I do!
Georgette
This came out so cute! Its spooky, but still pretty! very creative:)
Jenna
This is so awesome! Definitely doing this.
S. Harris
This is so creative and cheap to make! I’m making this for Halloween this year! I already have all the supplies. I’ll be posting pics on my blog. Thanks for sharing your wonderfully spooky Halloween craft!
S. Harris
I just made one and it turned out perfectly. I’ll be posting pics of my project on my blog tomorrow! Thanks so much for the darling and creepy vase for Halloween! I’ll need to see if I can find some of those tiny red rhinestones to complete the spooky factor!