I love making books and journals. It’s something I’ve dabbled in for a long time. The other day I came across a roll of kraft paper tucked away in a closet and it made me think of a project from my high school art class, for which we made art journals using recycled paper grocery bags. I ended up building mine into the cover of a book and turning it into a scrapbook, and I got an A+ on it! Inspired by that memory, I have recreated the project. It’s a great first book project because it’s so easy that it’s also kid-friendly!
Project estimate:
- Hardcover book, $1
- Paper grocery bags or kraft paper, on hand or $1
- Glue, on hand
Total: $1 and up
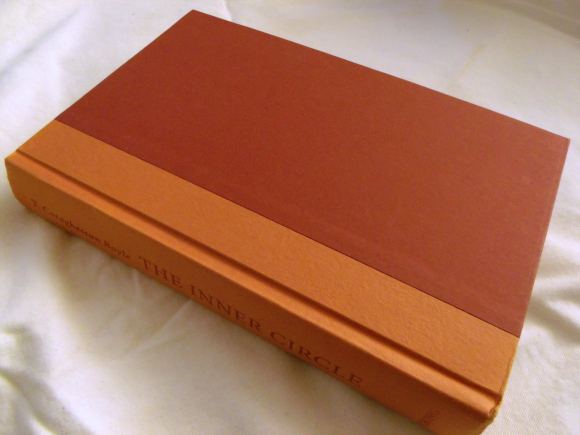
First, you’ll need a book. I picked one from Goodwill that I chose for its pretty colors (if it has one, make sure you take off the dust jacket and look underneath) and its title, “The Inner Circle,” which I thought would make a good title for a scrapbook.
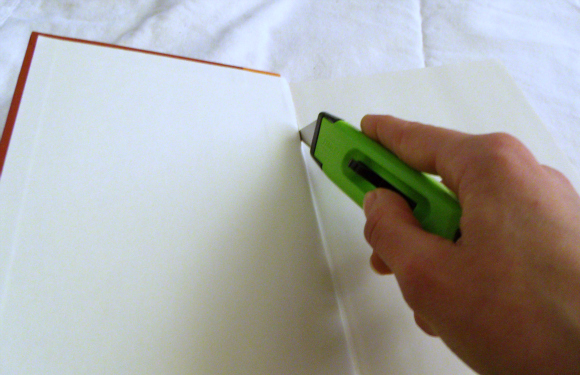
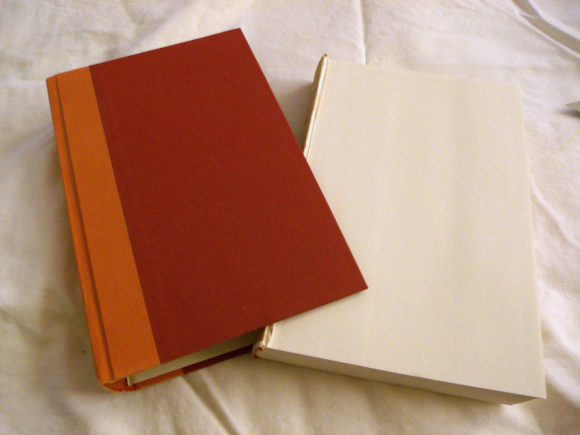
Carefully cut along the crease of the inside of both the front and back covers to remove the pages. Measure the height and width of the pages, and put them aside for future book page crafts!
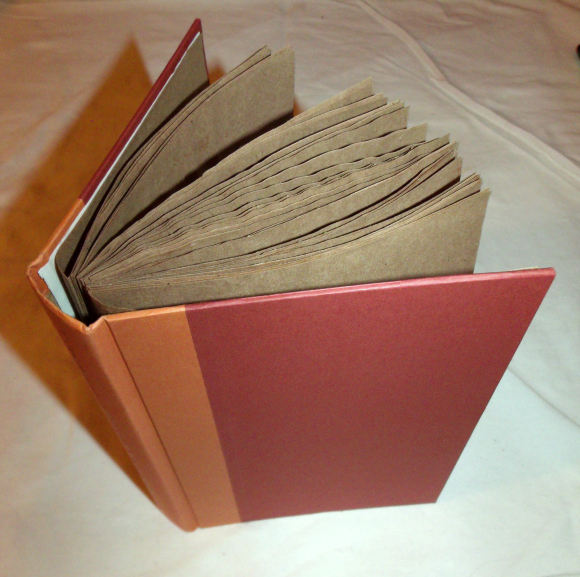
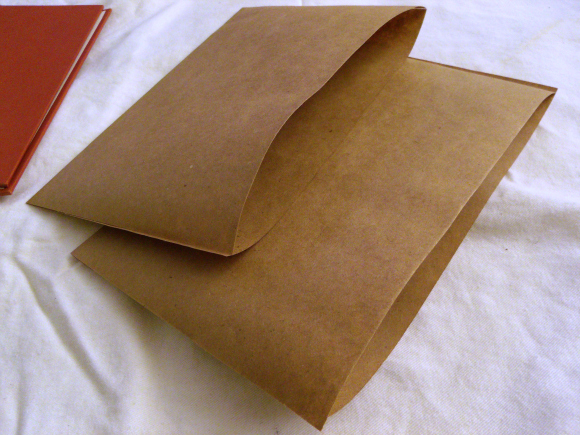
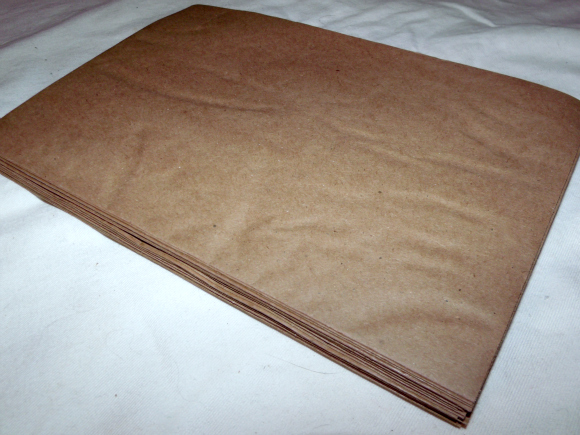
Cut your paper bags or kraft paper into pieces the same height as the book pages and twice as wide as the pages. Fold each piece in half and crease well. If you are using paper bags with printing on them, make sure the printed side is on the outside of each folded piece. If you are using kraft paper on a roll, you may want to carefully place the folded pieces under a couple of heavy books to make them lay flat.
Apply a layer of glue to the front of one of the folded pieces (I used a foam brush and a light coat of Mod Podge), and making sure the folded edges are facing the same way, place a second folded piece on top of it. Repeat until all of the pieces are glued together; you want your stack to be about 2/3 to 3/4 of the thickness of the original book pages to allow space in the book for gluing in photos and mementos. If you’re using liquid glue, place the stack under books to keep it from curling as the glue dries.
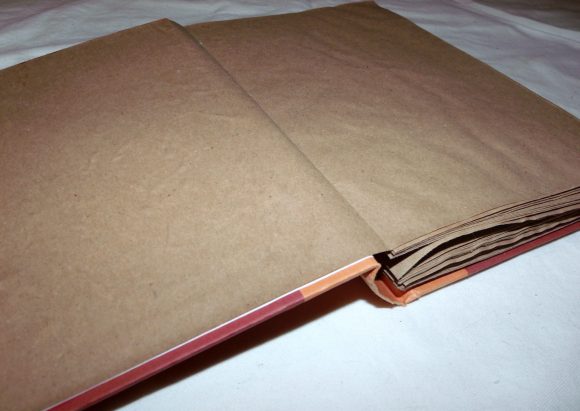
Apply glue to the page on top of the stack, then carefully line it up and press it into place in book cover.
Repeat with the other side of the book. Your book is complete!





9 Comments
Michelle L.
Oh! Fabulous tutorial, Rhonda! I have never seen this method (of gluing each page to the next) – love it! And it’s so cool inside the book cover. Thanks for the great project!
Daly @ Write a Bio
This is really great. We used to do something similar, but we would put the paper with some used teabags into the oven and heat it up (but carefully not to set it on fire) and burn the edges of the paper witht he lighter.
It made the paper look ancient
Kat
Fantastic! What a wonderful project to involve a young person with- not to mention us old folks! Many thanks for sharing!
Libby
Thanks for posting this very easy way for a beginner like me to get started in book making. Not too crazy about gluing the pages to each other – will have to see what else comes to mind – but I really like the idea of recycling paper grocery bags. Thanks Rhonda!
Tee
One of BF’s scored a scrap”book” from the 30’s-40’s. Presumably, a girl, used an actual book. The creator was into fashion and celebrity events so we ass umed that it was a teenager.
Anyway, the creator took out 10-15 pages every 5 pages or so to allow for the thickness she added. It’s been a real joy going through it.
Amy
I love this idea! My best friend is getting married this Saturday and this will make a GREAT Cook Book for her and her husband!
Diana Goodavage
I like the idea of using kraft paper or used paper bags for the pages, but I would never take a perfectly fine book apart — at least not while it still is intact and readable.
I think I’d prefer to just punch holes in the pages, and tie them with ribbon or twine? I might also make a laminated page for the covers, and punch holes in those, as well.