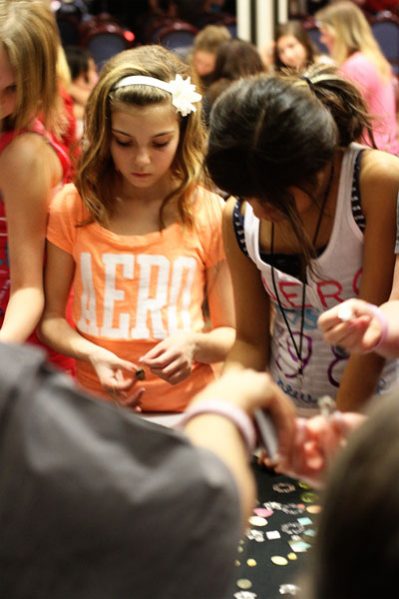
Back in January, I asked for your help to figure out a few craft ideas for a girls’ event. The crafts were for girls ages 13-18; I wanted the crafts to be relatively cheap, easy to explain, and take about 15-30 minutes each. Well, I went to the event last week, along with my friend Breanna from Dollar Store Mom, and we had a ton of fun doing late-night crafting with 200 teenage girls. Here are the crafts we did:
Teen Girl Craft Idea #1: Ring Bling
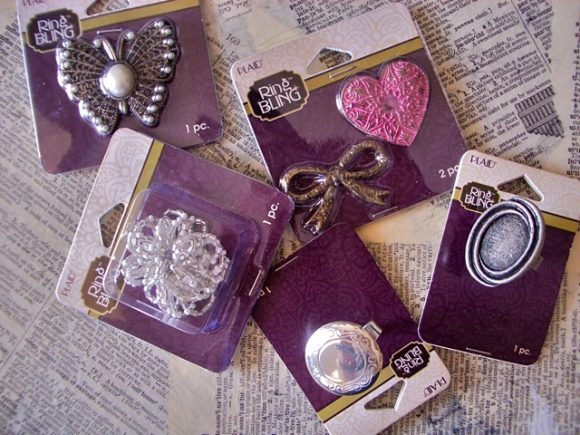
I got to try out the Ring Bling line earlier this year, and it was so simple and addictively fun that I knew it would make a great girls’ night craft. You can find this brand new line at JoAnn Fabric & Craft Stores. Thank you so much, Plaid (who sponsored this craft for us)! You totally rock! The girls LOVED this craft.
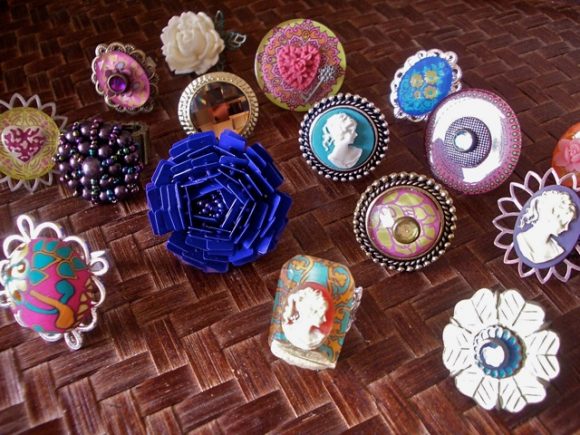
Ring Bling consists of assorted flat embellishments that you can layer and glue onto ring blanks. It is so simple anyone can do it, and it is so much fun to combine and re-combine these embellishments into amazing layered rings. For a great tutorial on making these rings, visit PlaidKidsCrafts: Monday Funday: Ring Bling.
Project Materials:
- Assorted adjustable Ring Bling ring blanks from Plaid
- Assorted Ring Bling Embellishments from Plaid
- Multipurpose Quick Adhesive (Like Quick Grip or Dazzle Tac)
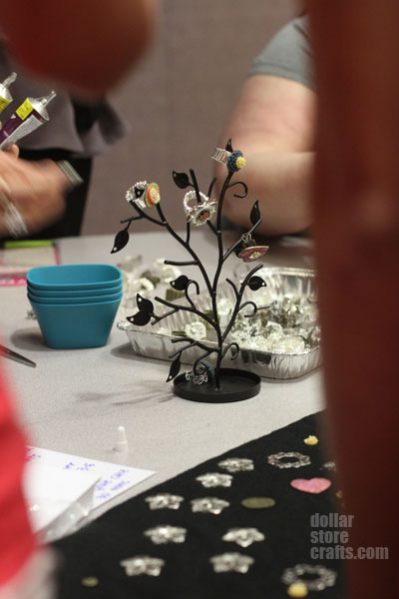
For the Ring Bling station, I set out some items to help the station work smoothly:
- Fleece: a 2-yard piece of black fleece to set the jewelry pieces on. This helped them stay put, made them easy to see and pick up.
- Baking Trays: 2 metal baking trays from the dollar store (to keep supplies in, and keep the table tidy).
- Index Cards: 4×6 index cards from the dollar store to put drying rings on and keep glue off the table. The girls can also write their names on the cards and then come back for their rings later when they are dry.
- Bowls: To keep extra Ring Bling pieces in (we ended up not using these much).
- A jewelry tree display (from Premiere Props) to showcase ring examples.
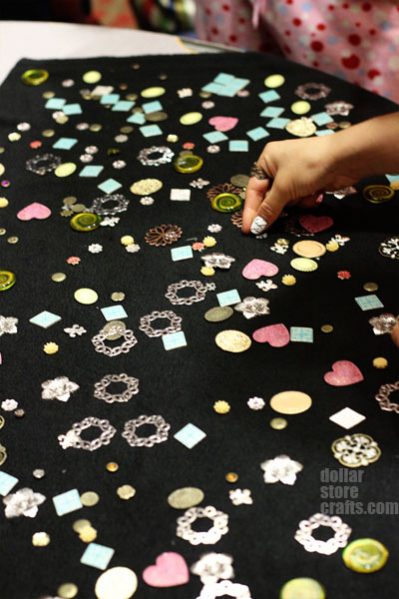
Girls and women alike LOVED this craft. I even brought the leftovers to my husband’s work and set up a craft table for the ladies at his office, and they had a ton of fun playing with the Ring Bling.
Teen Girl Craft Idea #2: Shrinky Plastic Charm Bracelets

I have been on a huge shrinky plastic kick this year, and I just happened to have 300 beaded bracelets lying around, so at my husband’s suggestion, I created a craft that involved the bracelets. You could also make shrinky necklaces (buy cord by the spool to string it on), for a very inexpensive and fun personalized craft. The girls loved this one, too. I could see an armful of these bracelets being quite the fad at school!
Project Materials:
- Shrinky Dink Rough & Ready Plastic Sheets, punched into 2″ circles with a hole punch
- Permanent markers (we used Sharpies in many colors)
- Colored pencils
- Pre-beaded bracelets
- Jump Rings
- Needle-nosed pliers
Notes about Supplies:
- Shrinky Dinks: We got Shrinky Dink sheets at the Shrinky Dink online store. We bought the box of 200, but for a similar-sized event, you would be more than covered with a package of 50 for $22.
- Pre-Beaded Bracelets: I got them from Fire Mountain Gems, and they cost about 15 cents each, which you can’t really beat! You could also have the girls make braided friendship bracelets, or use cord for necklaces.

For the Shrinky Charm Bracelet station, I set out some items to help the station work smoothly:
- A Toaster Oven with oven capabilities
- Trays to keep the Shrinky Plastic circles organized
- Cups for pencils and markers
- 4×6 index cards to bake charms on (have girls write their names on cards so you can keep track of which charm goes to which girl)
- 2″ Circle Punch to make the charms – we pre-punched before the event
- Standard Hole Punch to pre-punch the hole in the charm (BEFORE you bake it!)
- Scissors just in case
- Aluminum Foil to sharpen the circle punch, if needed — just punch through a few times to sharpen

The process for making the bracelets was pretty simple – the girls sat down, decorated a charm with Sharpies and colored pencils, and then the Craft Leader baked the charms for a minute or two, then attached them to the bracelet with a jump ring and pliers.
Teen Girl Craft Idea #3: No-Sew Recycled T-shirt Tote Bags
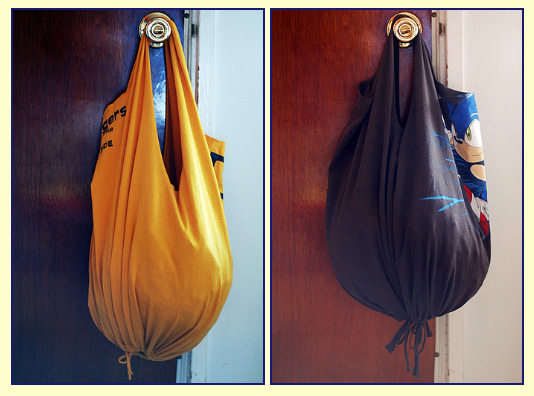
The No-Sew Recycled T-shirt Tote is a great idea that was originally designed by Lee Meredith of leethal for a teen craft event. We asked the girls to bring an old t-shirt with them to make this project.
Project Materials:
- Old t-shirt
- Scissors
- Safety pin
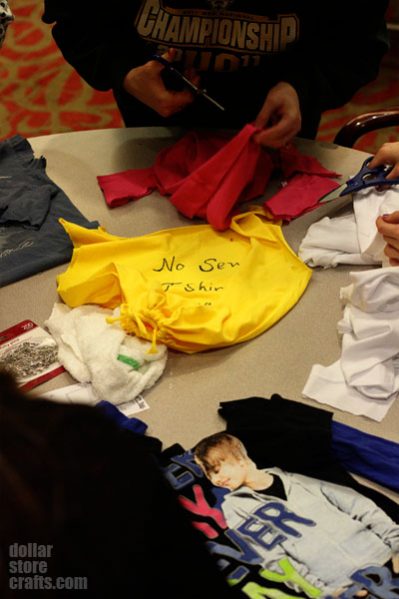
This project is very simple, but it is NOT obvious, so you definitely want someone to lead the table who understands and can clearly explain and demonstrate how to do it. You basically cut off the sleeves, cut out the collar, and then use a 1″ strip cut from the sleeve to make a cord (stretch it after you cut it). Then you cut a slit in the inner bottom hem of the shirt, and thread the cord through the hem casing to make a drawstring. Tie it off when you get to the other side, and you’re done.
For the craft station, I provided:
- Several pairs of scissors, including small sharp embroidery scissors for cutting the casing (I got a package of 10 assorted scissors at Michaels for about $10)
- A package of safety pins, $1
- A bowl, bag, or trash can for easy control of all the t-shirt scraps
I had so much fun getting out for some real world crafting with real girls. It was such a great feeling to share crafts with people in real life and get out from behind my computer!
These craft ideas would work well for any size of girls’ event, from a slumber party to a Girl Scout meeting.




8 Comments
Jennifer C.
The girls loved them too! Thanks so much for coming!
Ashley N Newell
Oh my gosh! Some of those rings need to come live at my house!
Evani
Great ideas!! Especially loved how the rings turned out!!
buggalcrafts
Very nice. Looks like it came out great!
Jum
Those rings are absolutely adorable!! I must try making one~
Blanca
I think the T-Shirt idea is magnificent! Those would make great sleepover travel bags or beach bags. The girls could swap strips of fabric and have multi color drawstrings. They could even braid the drawstrings and add pony beads (super cheap) to the dangling ends!