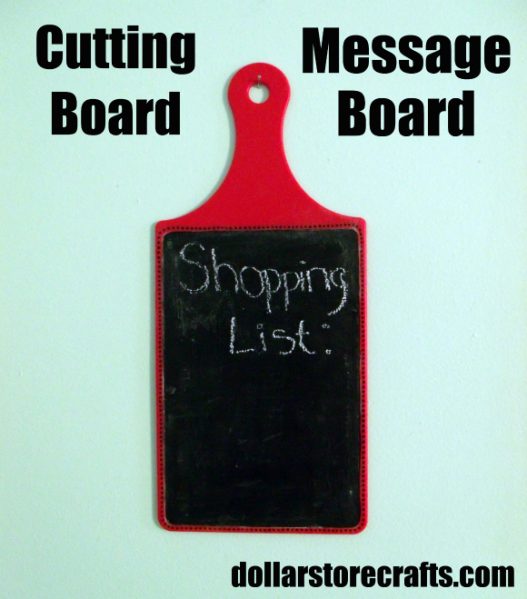
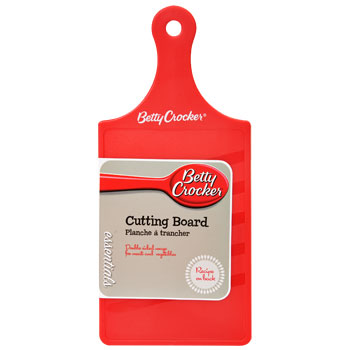
Have you seen the line of Betty Crocker kitchen tools that Dollar Tree carries? Every time I walk past my local store’s end cap display, the red and white colors catch my eye and pull me in. I’ve bought a few of the items to use in my kitchen at home, but I knew that there had to be alternative, craftier uses for some of the items. Before I even knew what I was going to do with it, I grabbed a small cutting board to play with. After some serious brainstorming and evaluation of my on-hand supplies, I was struck with a great idea. Why not turn it into a message center for in the kitchen?
Project estimate:
- Cutting board, $1
- Sandpaper, on hand or $1
- Magnetic paint (optional), about $15 and up
- Chalkboard paint, on hand or about $3 and up
- Sharpie, on hand or $1
Total: $1 and up
Start with a plain cutting board. There are quite a few things I like about the ones from Dollar Tree, including the bright color, the slight lip around the edge, and the hole in the handle that makes it easy to hang on the wall. I worked on the back side of the cutting board so that the white logo on the board will face the wall.
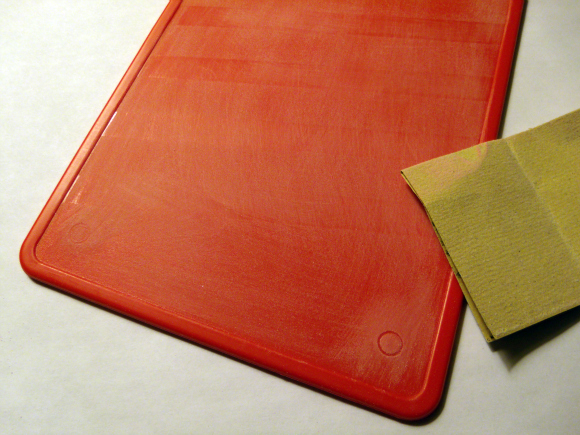
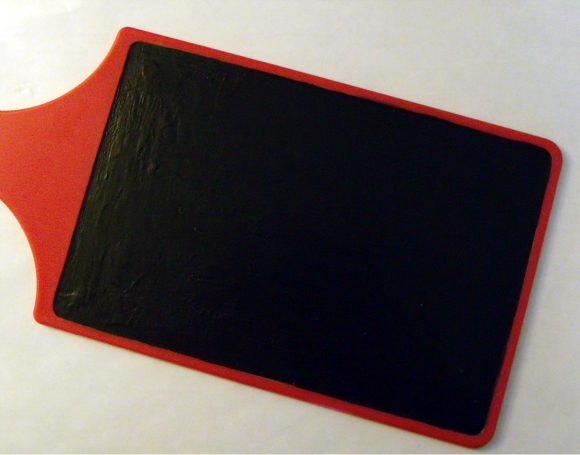
Lightly sand the surface of the cutting board to make the paint stick better. Be careful to only sand within the boundaries formed by the lip around the edge.
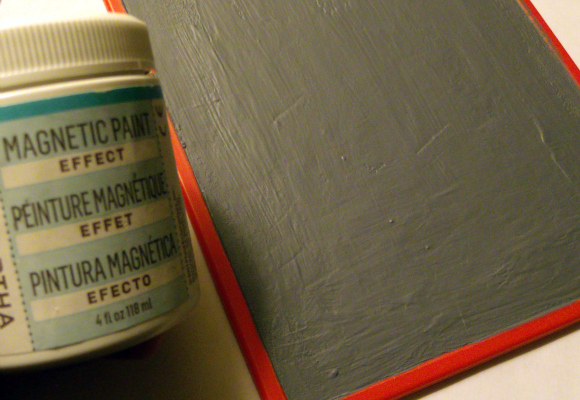
If you want your finished message board to also be magnetic, paint it with several layers of magnetic paint. This was my first time using magnetic paint; it was a little bit thick and the finish came out slightly lumpy, but I have also seen magnetic paint in spray cans which would eliminate this problem. Make sure you build up several coats of paint so that magnets will stick firmly to the surface. If you are using brush-on paint, you can carefully follow the edges of the lip around the edge, eliminating the need for masking!
Paint over the area inside of the lip with a couple coats of chalkboard paint to give it a write-and-wipe surface. When the paint is dry, be sure to rub it lightly with chalk and wipe off to condition the surface for writing.
To add some easy detail, use a Sharpie to add a dotted border all the way around the edges of the writing surface.
I decided to call my message board done at this point, but if you’re feeling too crafty to quit, there are a ton of things you could add to this project! You could use bent forks to add a chalk holder at the bottom of the board, glue a strip of cork along an edge to add a bulletin board element, or keep decorating it with more embellishments. Go ahead and make this project YOURS!
Disclosure: This post is sponsored by DollarTree.com. All opinions are 100% my own.




4 Comments
Kayla
This project fits right into my kitchen. I’ve already put the cutting board on my Dollar Tree shopping list for today. =D Just popping in to let you know I featured this project on todays Fave 5! I hope you stop by! http://saynotsweetanne.com/2012/fave-5/
Lola Zabeth
What an awesome idea–adding this to my weekend project list. This will be great to hang on the door to the garage with “Don’t forget ___” reminders.