This post brought to you by Whitney Farms. All opinions are 100% mine.
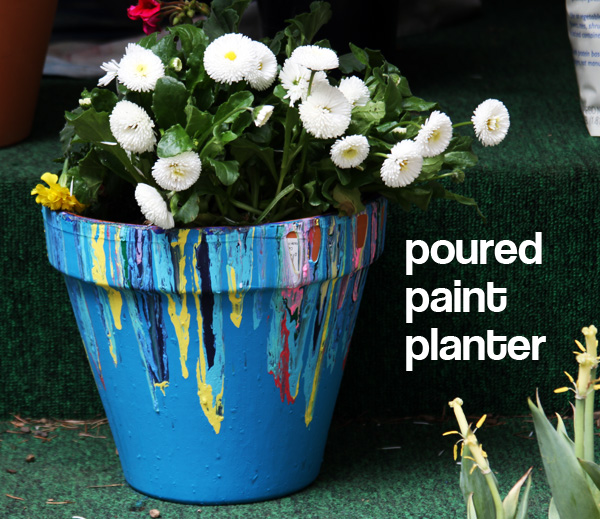
I spotted a poured rainbow planter over at Dilly-Dali Art, and I put it on my to-craft list immediately. I have tons of half-used bottles of acrylic paint, and this was the perfect way to bust through my paint stash and create a unique flower pot. You can use this technique on small dollar store pots to make a unique gift for Mother's Day or teacher's gift.
Project Materials:
- Terra cotta planter, $1 and up (mine was about $5)
- Assorted acrylic paint, on hand or about $1 a bottle
- A drop cloth
- Posterboard or a canvas to catch the poured paint, on hand or $1 and up
- Water in a pourable cup
Total: $1 and up (for the planter alone, see below for flower planting materials)
Make a Poured Paint Planter:
1. Lay out your drop cloth to protect your work surface. If you don't have a drop cloth, I highly recommend picking one up on your next trip to the hardware store. Next, lay out a canvas, poster board, or other flat surface (to collect the drips and puddle of paint).
2. Add 1-2 teaspoons of water to a half-full bottle of paint and shake well, depending on the paint's thickness. It should be thin enough to pour smoothly. Some brands of acrylic paint will pour more smoothly than others without additional water.
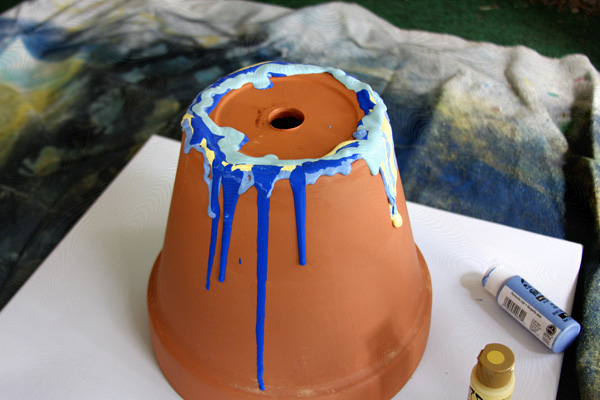
3. Pour a stream of paint around the edge of the planter. To get a result more like Dilly-Dali Art's, you will want to block off the hole of the planter and pour from the middle. I decided to go around the edge, which gives the planter a more drippy effect.

4. Continue to add different colors of thinned paint over the top of each layer of paint.
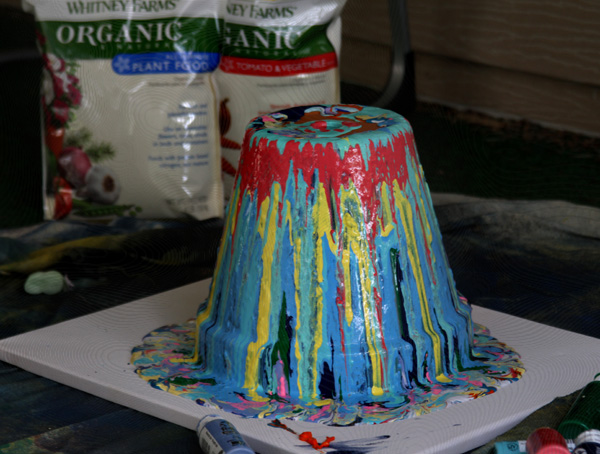
5. When you are happy with the paint layering, let the planter dry. I let mine sit outside for a day, and then removed it from the canvas and let it dry for another day before planting in it. You might need to let it dry for longer, depending on the weather where you live.
Read on to find out how to get a $3 coupon for organic plant food from Whitney Farms®!
Plant Flowers in the Planter:
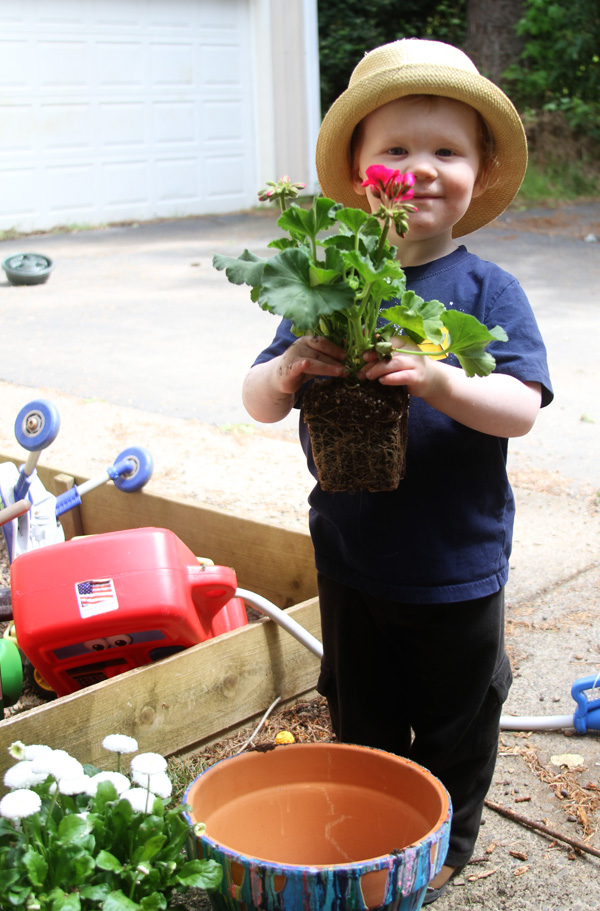

This project was sponsored by Whitney Farms®, so I wanted to share some planting tips with you. I was excited to try out this organic plant food because I have decided to do some gardening as a way to have fun with my kids while they are playing outdoors. I want them to be involved with the garden, so it's important to me to use all-natural organic materials so I can feel confident that they're not being exposed to any harsh chemicals.
Whitney Farms wants you to try out their plant food, so here's a $3 coupon: Whitney Farms®
To complete the potted plant, you will also need:
- organic soil
- Plants (I used a geranium, English daisies, and marigolds)
- Whitney Farms organic plant food
- Water
Plant it!
1. Add organic soil to the bottom of your planter. Put a bit of Whitney Farms organic plant food into the soil, following the directions on the package.
2. Gently remove your plants from their plastic planters, and loosen the roots a bit with your fingers. Place plants into planter.
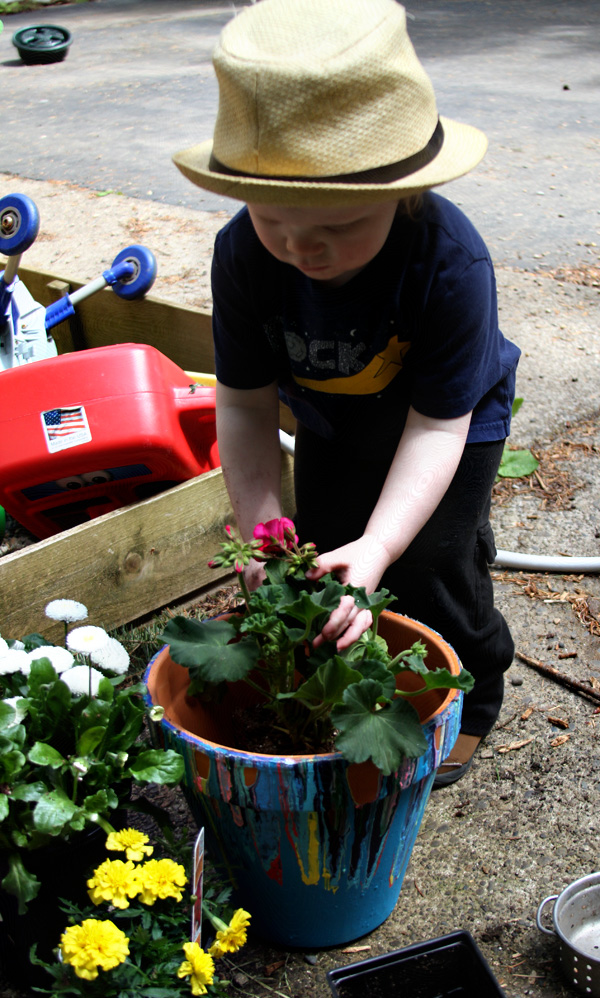
3. Fill in the remaining space in the planter with additional soil.
4. Water thoroughly.

I am looking forward to having this brightly-colored planter filled with pretty flowers out on my patio! I'm excited to see how big and healthy my flowers will get with the help of this Whitney Farms plant food.


8 Comments
Jewelry Rage
I really like this should I seal the planter to keep the paint from chipping?
heather
@jewelry rage: yes, you can seal it with polyurethane.
Gill cina
I stood our pots on a plain white canvas and we had a super pot and magnificent painting
Cindy {crazylou}
So cute! I’ve featured this project on my PINTASTIC Friday post, tomorrow, Friday June 7th! Stop by and say hello!
Cindy @ Crazyloucreations.blogspot.com
sumona
It is such a wonderful idea… Loved it.. Am definitely going to try that!!!