This project has been a long time coming. See, last fall I bought a pumpkin-shaped metal container from Dollar Tree, thinking that I would make some sort of centerpiece out of it. I loved the shape of the container, but I wasn’t overly fond of the the original color. Unsure what to do with it, I spent months staring at it on my work table. When the snow started falling outside I admitted defeat, tucking it away with the rest of my fall whatnots to come back to at a later time. This year I pulled it out again, and I was determined that this time I would come up with a good idea for it. Well, I have finally turned it into something, and I love how it came out!
Project estimate:
- Pumpkin-shaped planter, $1
- Paint, on hand or $1 and up
- Masking tape, on hand or $1 and up
- Foam disc, $1
- Short foam cone, $1
- Toothpicks, on hand
- Silk flowers, about $3 and up
- Eucalyptus, $1
- Decorative grass, $1
- Wine corks, on hand
- Ribbon, on hand
- Flameless pillar candle, $1 and up
Total: about $9 and up
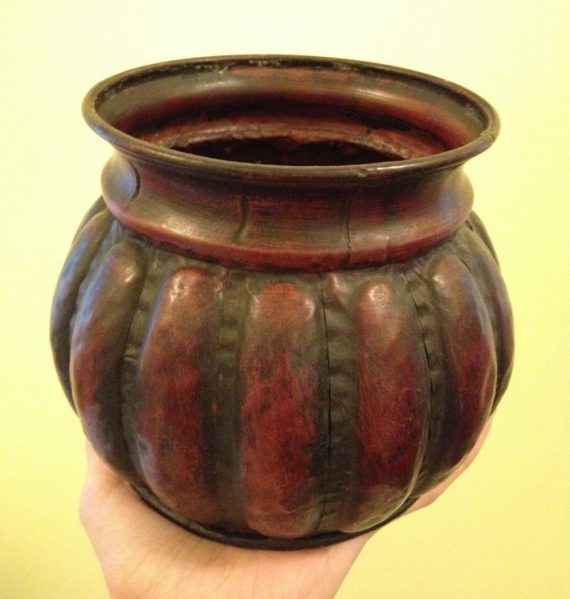
This is what the container looked like when I got it. See what I mean? Inspiring, but underwhelming.
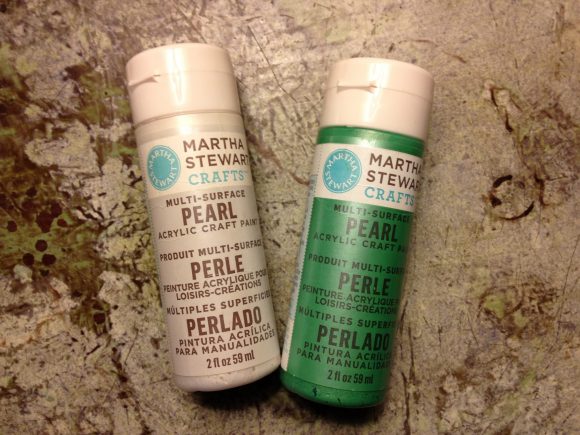
I decided that the best course of action would be to paint it. I dug out some craft paints – Martha Stewart pearl paints in “mother of pearl” and “putting green” – and got to work.
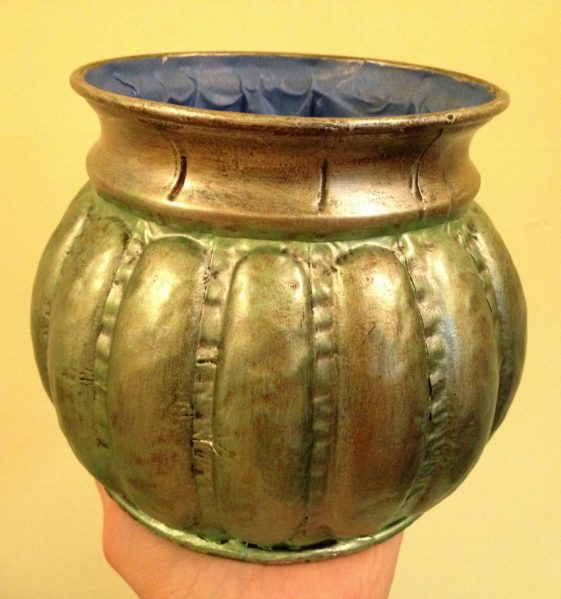
After taping off the top edge of it, I used a dry brush to apply a couple of light coats of paint to the pumpkin. First I did two coats of the white, which gave it the weathered, brassy look that you see around the top section of the planter. Then I added a couple of very light coats of green to the bottom. I love the sheen of the pearl paints, and how the dry brushing left a little bit of the original color peeking through! Isn’t it an amazing difference?
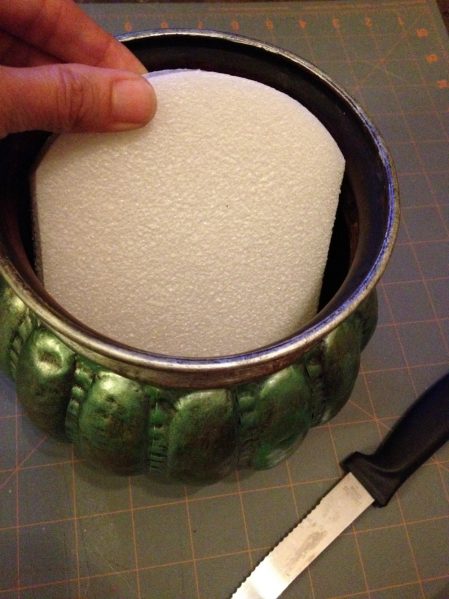
Next, I needed to put something in the bottom that would serve both as a riser for a flameless candle and as a means of anchoring a floral arrangement. My solution was to use a couple of pieces of foam.
The foam disc I used for the bottom of the arrangement needed a wee bit of trimming, so I used an old steak knife to shave a little bit off of two sides until it fit through the opening.
To attach the foam pieces, I stuck toothpicks into the trimmed disc, then placed the smaller piece of foam in the center. (I actually ended up adding a second small piece of foam to boost the candle a little higher – how much foam you need will depend on the height of your candle and the fullness of your arrangement!)
Once you’ve got the base situated inside of the pumpkin and you’re satisfied with the height of the candle, it’s time to start adding flowers!
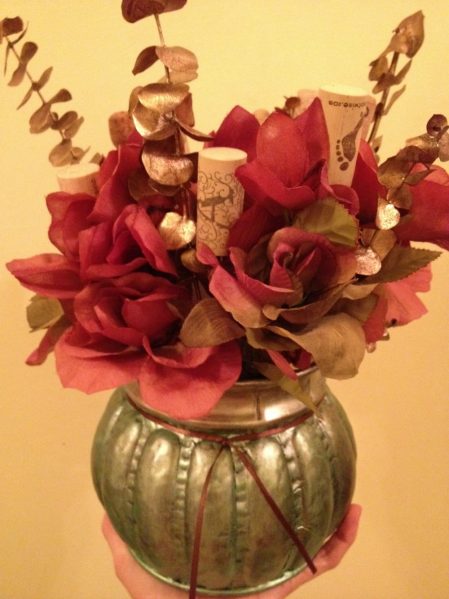
Use a sharp pair of scissors to cut apart bunches of silk flowers. I used three bunches; two bunches of maroon flowers and one of greener flowers with a touch of maroon. I like how the green ties into the color I painted the pumpkin, and the maroon is a nice color for fall that strays a little bit away from the traditional.
Add flowers by carefully pushing the end of each stem into the foam. Make sure you place them in the sides of the foam pieces, not in the top, so that you don’t interfere with how the candle fits into the center. Keep adding flowers until you are satisfied with the fullness of the arrangement.
I also wanted to add some other visual interest to my arrangement. I found some eucalyptus that was painted gold in the floral section at Dollar Tree and thought that the metallic accent would be a nice addition for fall! The pieces were long so I chopped each section in half before placing them randomly throughout the flowers.
I also wanted to add some wine corks to the arrangement. Rather than inserting them using bamboo skewers or wire, I wanted to use something that would blend in with the arrangement to give the corks more of a floating appearance. Also in the floral section at Dollar Tree, I found some maroon-colored, decorative, straw-like grass that was sturdy enough to hold the corks.
I cut it into short sections and pressed one end into the foam. Each cork already had a small hole from the corkscrew so I used those holes to place the corks on the other ends of the straw pieces.
As a final detail, I tied a thin piece of ribbon around the pumpkin at the point where the two different colors meet. Add the flameless candle and it’s done!







2 Comments
Mixed Kreations
Very pretty! I really love the pretty little pumpkin planter, I never see any cute planters like that when I go to dollar store. Thanks for sharing.