
A while back I picked up a memory game (the kind with pairs of matching tiles) at Dollar Tree with the intent of turning the chipboard squares into jewelry. When it came time for this year’s ornament making to begin, they were one of the first things I grabbed off the shelf. A set of 60 chipboard squares is enough to make as many as 30 of these simple, sparkly ornaments! Here’s how.

Project estimate:
- Memory game, $1
- Christmas table scatter, $1
- Other embellishments (optional), on hand or $1 and up
- Paint, on hand
- Glue, on hand
- Sparkle Mod Podge, on hand or about $5 and up
- Ribbon, on hand or $1
Total: $2 and up

Paint two chipboard squares the same color. Try to get good coverage around the edges as well as the top surface, so that the sides of the ornament don’t show raw cardboard. When the paint is dry, add a coat of Sparkle Mod Podge to make it glittery. (I love using Sparkle Mod Podge because the glitter won’t come off on everything else!)
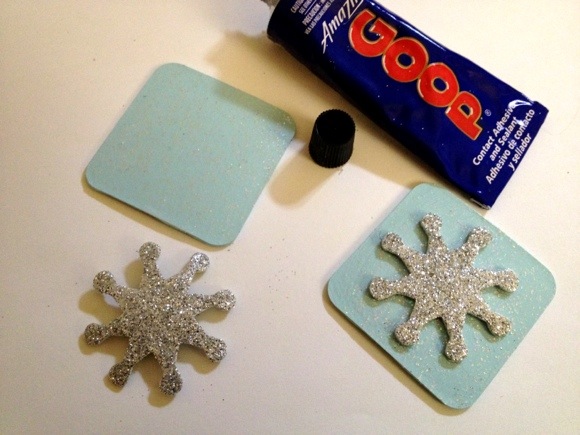
Glue a piece of glittery table scatter to the center of each painted chipboard square. Since the glitter from the table scatter was coming off quite easily and getting all over the place, I sealed them in with a coat of matte Mod Podge. For this ornament, I also added a snowflake-shaped brad to each square. Make them as simple or as complex as you want!

You should now have two identical halves; one will be the back of the ornament and one will be the front.

Cut a length of ribbon for hanging. Sandwich the ends of the ribbon between the chipboard squares and glue them together.
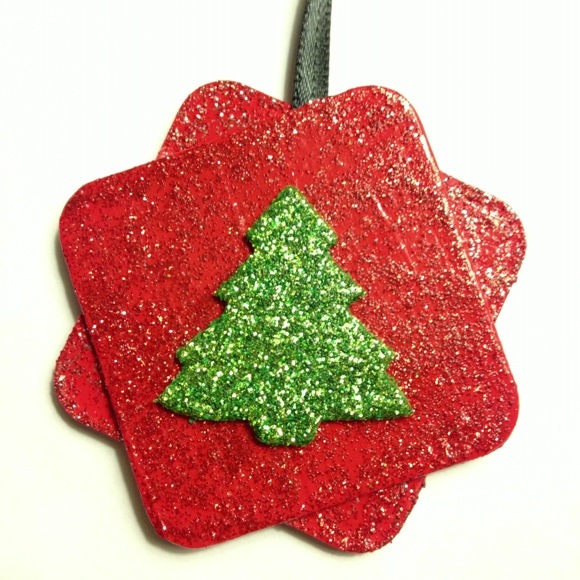
For this version of the ornament, I painted both sides of the squares and put them together in an offset manner. Rather than using Sparkle Mod Podge, I used red glitter paint from Martha Stewart to go over a coat of satin red. I also waited to add the table scatter pieces until after I’d glued the squares together to ensure that I got them on straight. There are a ton of possibilities with this project!


6 Comments
Ellie
What is Christmas table scatter?
heather
@ellie — “Table scatter” is a little baggie of confetti they sell at the dollar store. It’s kind of like stickers that aren’t sticky, or die cut shapes.