
I am a sucker for anything that combines my two passions: crafting and photography. I came up with a great way to put my pictures on Dollar Tree coasters and make them into this super cute wall hanger.
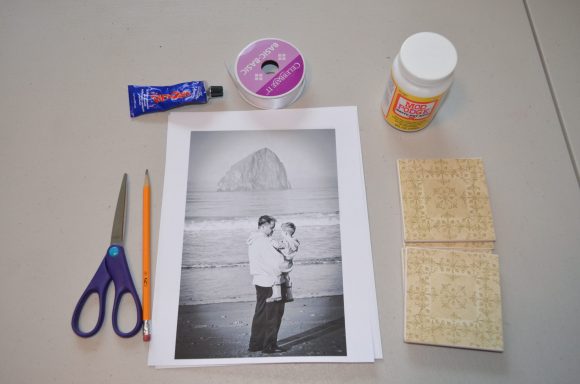
Project estimate:
- Coasters, $1 and up
- Glue, on hand
- Mod Podge, on hand
- Ribbon, on hand or $1 and up
- Photos, on hand
Total: $1 and up
I choose these coasters instead of the usual tiles because they are much lighter and they have a wonderful cork backing on them which will keep the wall from getting scratched.
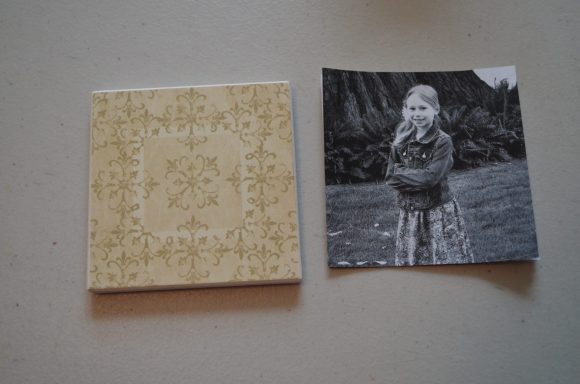
The first thing you need to do is cut the pictures to fit the coasters. You can easily do this by placing the coaster over the picture and and tracing around it. (Quick side note: I simply printed my pictures on regular paper. It was an inexpensive way to print pictures for this project and the weight of the pictures make them very easy to work with. Note that if you print your photos on an inkjet printer, the ink may smudge when you apply the Mod Podge; avoid this by using a laser printer, by sealing the inkjet image with clear spray paint before applying Mod Podge, or by making a photocopy of the inkjet image.)
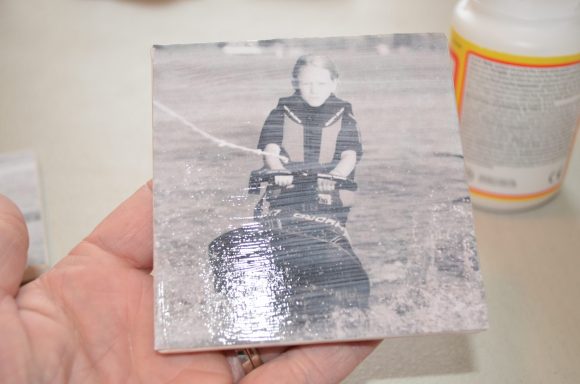
Next you will Mod Podge the pictures to the coasters. After they are secured you can Mod Podge over the top of the picture to hold it in place and seal it in. I placed the Mod Podge over the edges to insure the pictures wouldn’t lift off in case I decided to use the coasters as a coaster some day.
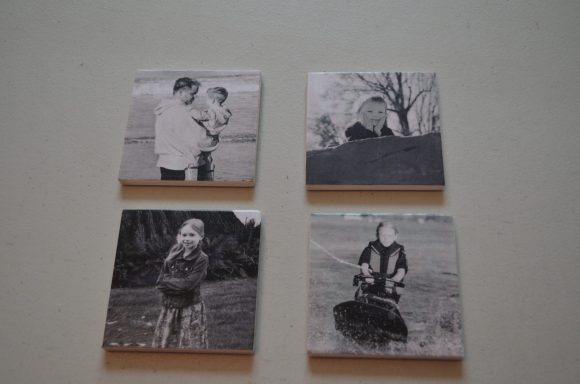
At this stage you can use them as coasters. (To make sure the Mod Podge doesn’t get tacky if it gets damp, seal it in with a few coats of clear spray paint first!) They would make a awesome grandparents gift. My family received some for Christmas and they loved them. I decided for me I wanted something to hang on the wall so I continued with making a wall hanging.

Flip all the coasters over and place a small dot of Amazing Goop glue on the top and bottom center. Secure the ribbon to the glue. Using a ruler place the coaster 1 inch from each other and continue to glue them together with one strip of ribbon. Once you have glued them turn them over. The weight of the coaster will help hold the ribbon in place until the glue drys. Once the glue is dry tie a knot at the top of the ribbon to use as a hanger. You can place a bow near the knot to give it a more finished look.


3 Comments
Jocelyn Kennedy
Great Idea! I will be trying this idea out very soon.. :)
Audrey
I too will be trying this, what a great project!
Sheila
There are so many possibilities.. Babies, couples, I can hardly wait..