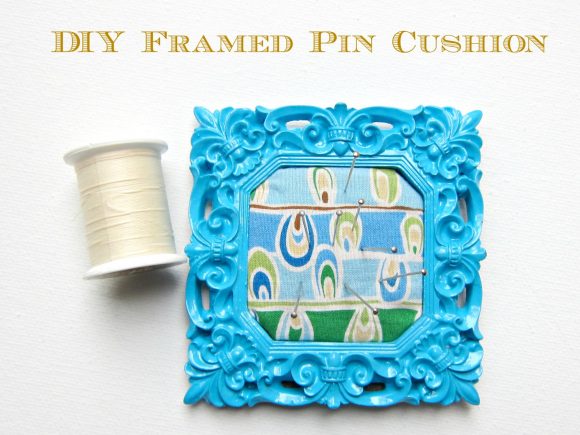
Okay, between last week’s mini chalkboard magnet tutorial and today’s mini frame pin cushion, it’s probably fair to say that I am crazy about miniatures. I mean, they’re just so cute and tiny! When I saw these itty bitty frames in the dollar bins at Michael’s last week I had to grab a few. They come in fun colors, the shape is gorgeous, and you can do so much with them. Did I mention that they’re only ONE dollar? Read on to learn how I turned a miniature frame into a fun pin cushion.
Project estimate:
- Mini frame, $1
- Cork board, on hand or $1 and up
- Fabric Scrap, on hand
- Glue, on hand
Total: $1 and up
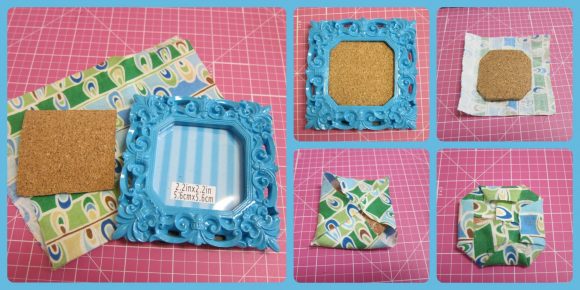
How to make your own framed pin cushion:
Step 1: Cut a piece of cork board to fit in the front of the frame. I had cork left from another project, but you could recycle it from the back of old coasters or dollar store coasters, since you only need a 2 inch square.
Step 2: Cut a fabric scrap slightly larger than the cork. Use a hot glue gun to glue the corners down first, then fold the edges over and hot glue to finish.
Step 3: Glue the fabric covered cork into the frame.
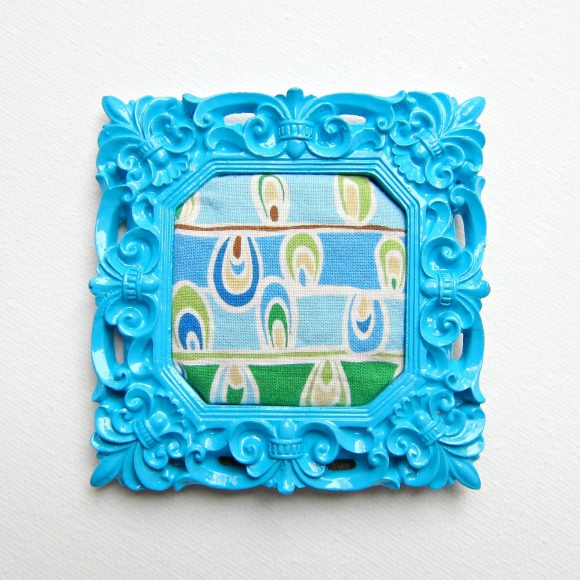
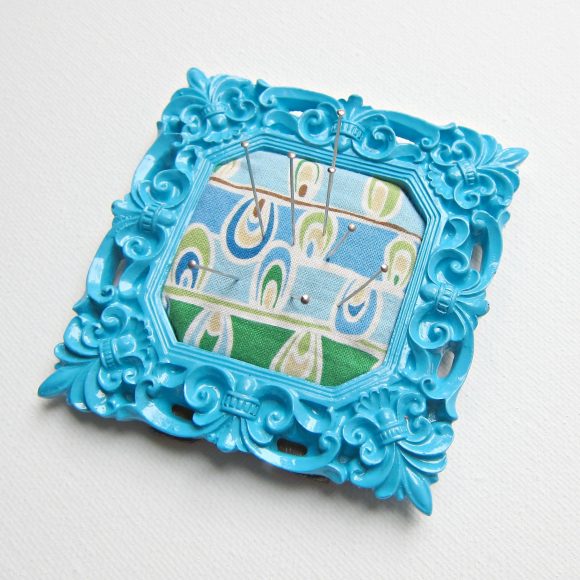
My fun little framed pin cushion is such a happy addition to my crafting desk! It’s pretty and functional. I like that it lays down flat when I’m using it, and when I’m done I can stand it up so it takes less space. Heck, I might even use it as a tiny pin board for instagram pictures! Why not?


5 Comments
erin
Thank you so much for this tutorial and idea. I just loved it. I made one and posted about it. I changed it a little, but I linked back to you. Thanks again. Erin
http://abirdandabean.com/pin-cushion-frame/
Sam
Hi, I live in Australia, and am in love with those frames, are they Micheals brand? i have been searching to buy them online but cant find any, can you please give me the name of the manufacturer so i can contact them, we have nothing like that in Australia. Thank you
morena
Hi Sam! I checked my frame but the info was on the packaging that I threw away, so I have no idea who the manufacturer is. Sorry! I will make sure I check when I head into Michael’s next week. Feel free to message me at [email protected] so I can get that info to you!
morena
Erin, great job!! I love it! Thanks for sharing!