
My daughter has more headbands then we know what to do with. The trouble is how to store them. If she puts them in the drawer they get hung up and you can’t open the drawer. If she hangs them on the towel rack they swing over and fall off. This mommy was losing the headband war and was ready to do something about it. Off to my favorite store I went to find a solution. Two paint rollers, some ribbon an fabric our problem was easily solved and made for a really cute hanger.
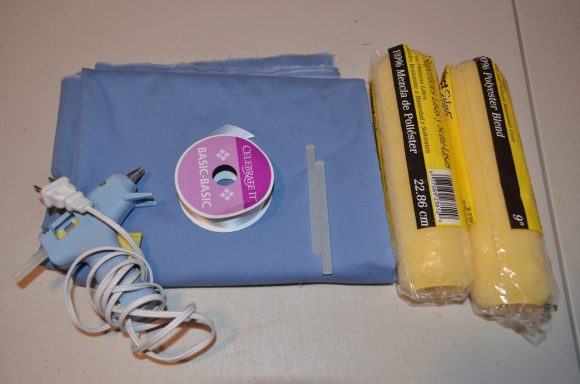
Project estimate:
- Paint rollers, $2.00
- Ribbon, on hand or $1 and up
- Hot glue, on hand
- Fabric, on hand or $1 and up
Total: $2 and up
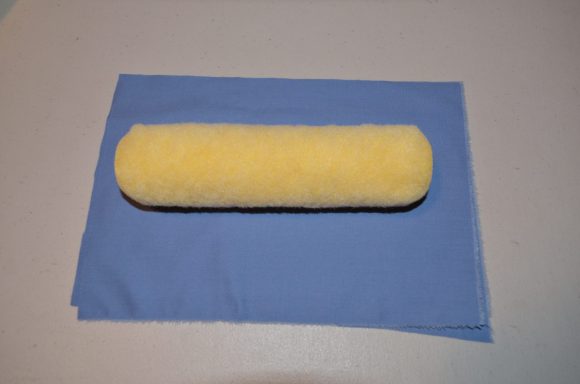
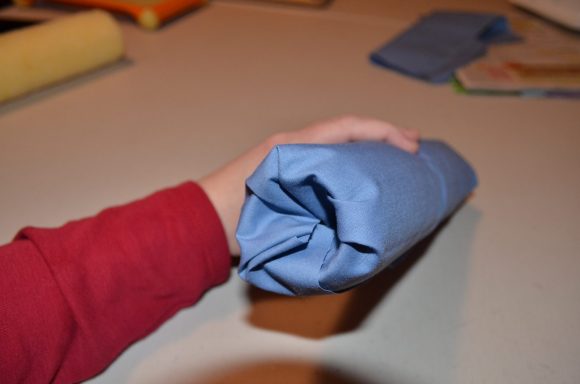
This is the fun part. You can use any fabric you would like. My kids’ bathroom is decorated with a rubber duck theme so I went with a pretty blue to match the decor. I’m excited to change it out for different holidays. Once you’ve got your fabric chosen cut it about 2 inches past the side of roller and give it enough length it be able to roll it all the way around. I cut it a little big so I could roll the rough edge under before I tucked the edged inside the ends of the roller. If your fabric wont stay secured you can apply a few drops of glue to hold it in place.
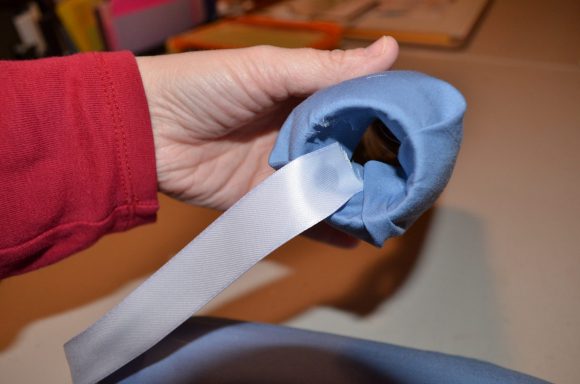
Cut ribbon length according to how far apart you want your upper and lower rack. Place a drop of glue on the ribbon and attach to the inside of the roller. Place the top racks ribbon to the bottom of the inside of roller. Place the bottom rack ribbon to the top of the inside of the roller. Glue a single piece of ribbon to the inside top. Go over the top of the roller and glue on other side of roller on the top. This will create your hanger.
Once the glue is dry you’re ready to hang it on the wall and organize the headband craziness!


3 Comments
Sandy
I love this idea and so cheap to make! I was thinking if you want to change the fabric frequently I would make a figure 8 with the ribbon going through the roller and tie at the top. That way you can easily tuck the new fabric inside and the ribbon won’t be glued in the way. Hope that helps. Happy crafting!!
summer
Sandy what a wonderful idea. I love when crafting minds come together.
Sue
Very cute! I’m going to make one for my granddaughter.