
Some time ago I started saving all of my cereal boxes to use for making various projects, mostly notebooks and the like. A few people found out I was saving them and decided that they would save theirs for me too. While I appreciate the thought, I suddenly found myself with more cardboard than any sane crafter would save on their own – a large box of boxes resides under my craft table now, weighing in somewhere around 30 pounds. Yeah, that’s a lot of cardboard. So I decided I had better use some up! Inspired by a roll of pretty wrapping paper, I came up with this mini album project. It’s super easy, even if you have no book binding experience!
Project estimate:
- Recycled cardboard, on hand
- Wrapping paper, on hand or $1
- Mod Podge, on hand
- Brayer, on hand or about $5
Total: Free and up
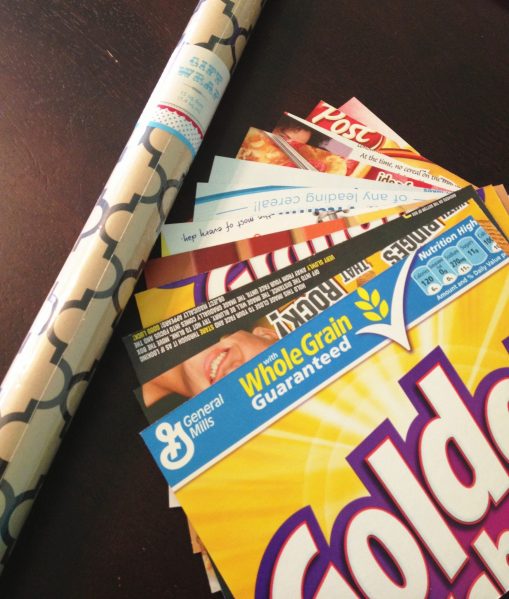
I started out with a roll of wrapping paper that I found in the Dollar Spot bins at Target and a stack of cereal boxes. Cut the boxes to the size of your finished album (mine is 5 by 7 inches). Make sure you cut an even number of pieces – I cut 12 total, which in the end gave me 10 pages inside my album.

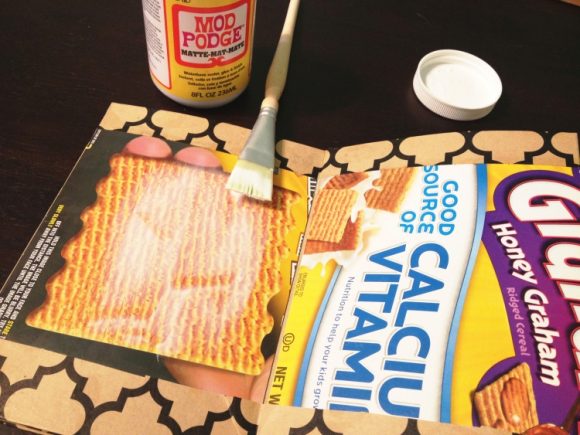
Roll out the wrapping paper. Along one of the long edges, about 1 inch in, draw a straight line to use as a guide. This will keep your pieces lined up straight as you add them. Apply Mod Podge to the unprinted side of the cardboard (what would have been the inside of the box) and glue them down in one long strip, leaving a gap of about 1/8 inch between each piece. As you apply each piece, roll over it with a brayer to make sure there are no wrinkles or air bubbles. Continue until all of the pieces are glued down to the wrapping paper.
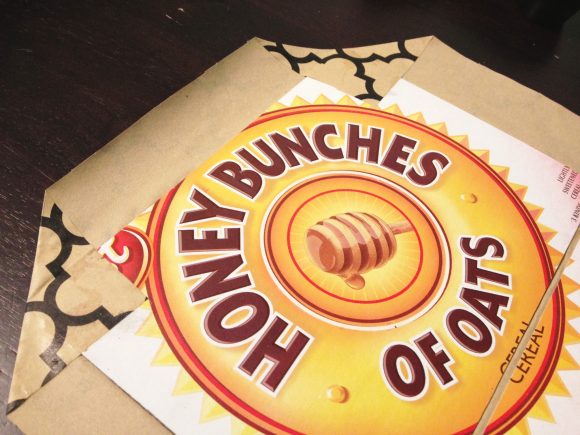
Cut off the excess wrapping paper, leaving about 1 inch of extra paper around the outside edges of the strip. Carefully fold down and glue all four corners as shown.
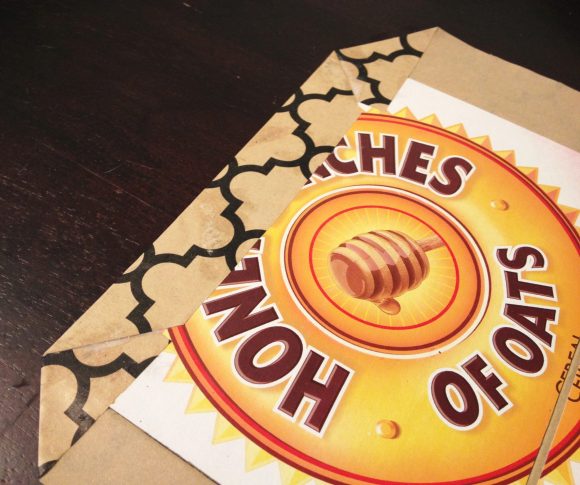
Fold in the short edges and glue them down as shown, then carefully do the same with the long edges.
Fold the strip accordion-style to create the shape of the book. Apply a coat of Mod Podge to the back sides of each piece and press the pieces together, creating thick pages. If you have trouble with the pages warping, leave the album sitting under a stack of heavy books for a few hours to straighten them out.

For the spine edge, cut a piece of paper to fit around the whole spine and use Mod Podge to attach it to the book. You can use any scrap paper you want for this, including a piece of the wrapping paper that you used for the rest of the project; mine is actually several strips of washi tape placed across a scrap piece of paper and Mod Podged to hold them down permanently.

Now all that’s left is to figure out what to put inside the album! (Mine is just the right size for 4×6 inch photos!) If you plan to use this album as a scrapbook, you may want to spray the pages with archival mist to neutralize any acid in the paper and keep it from yellowing your photos or other memorabilia.
In the mood for more recycled crafts? Check out these other posts from some of our friends!


12 Comments
condo blues
This would make a great scrapbook to hold school memories. You could make one for each grade.
Niki
This is great, and I am amazed at how well you got the geometric shapes to line up so well on each page…that’s always tough. :)
Jennifer
Ooooh!! I fell in love with that paper when I saw it! But I just kept thinking “No, I don’t really have a use for it.” Now I hope they still have it in the dollar isles :)
jackie
How did you attach the book to the binding? Thanks
rhonda
Jackie – it’s just glued into place with Mod Podge.
Kelly Jo
LOVE THIS!!