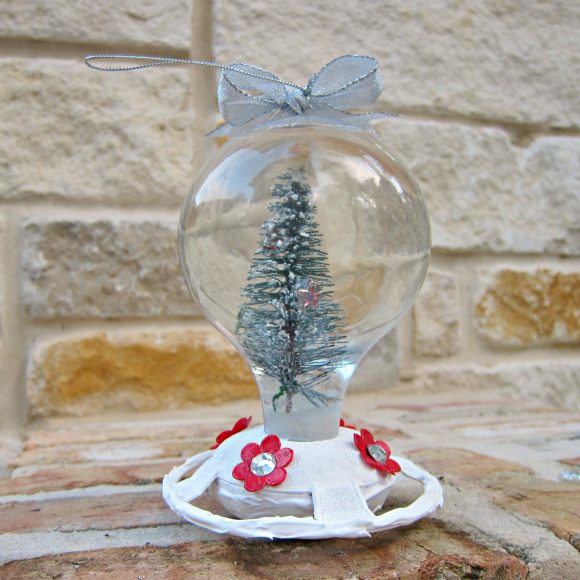
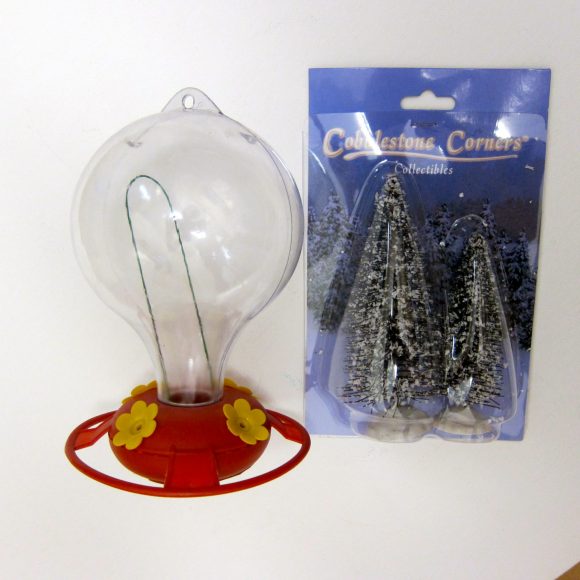
The holidays make me think of snow globes, among other things. I bought a humming bird feeder at Dollar Tree this summer, and as I looked at it on my counter it made me think of a snow globe. When I saw some adorable miniature trees at Dollar Tree later, my idea came together. This fun, pretty snow globe is easy and inexpensive to make, and safe for little hands to hold!
Project estimate:
- Hummingbird feeder, $1
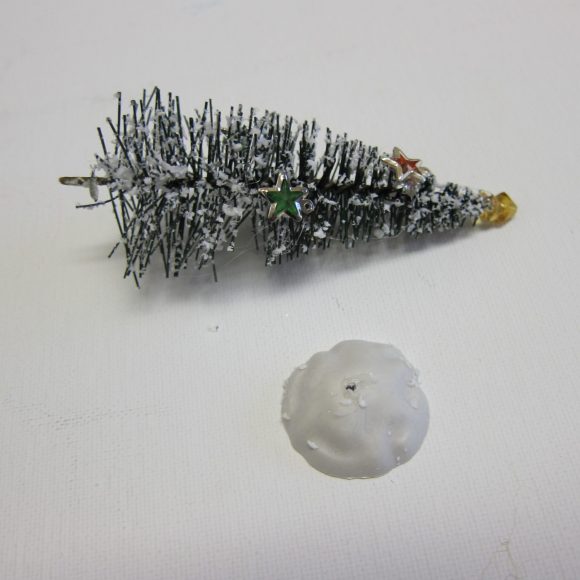
- Miniature tree, $1
- Paint, on hand
- Glitter, on hand
- Glue gun, on hand
Total: $2
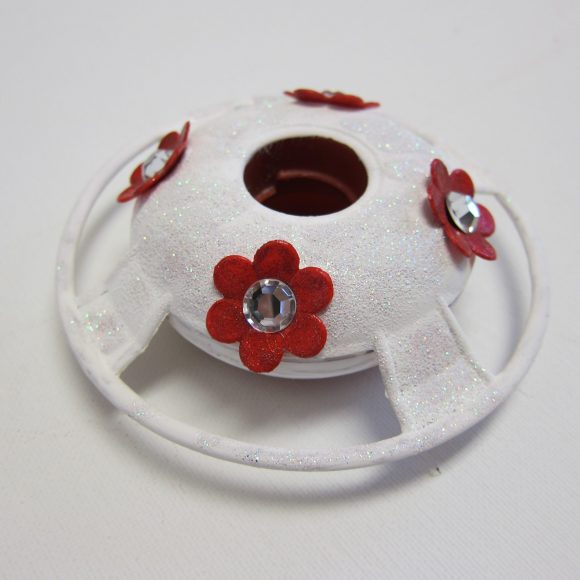
Step one: Take the hummingbird feeder apart. Paint the base white and add glitter. Paint the flowers red and add glitter. (I used Glamour Dust glitter paint to cut down on the mess.)
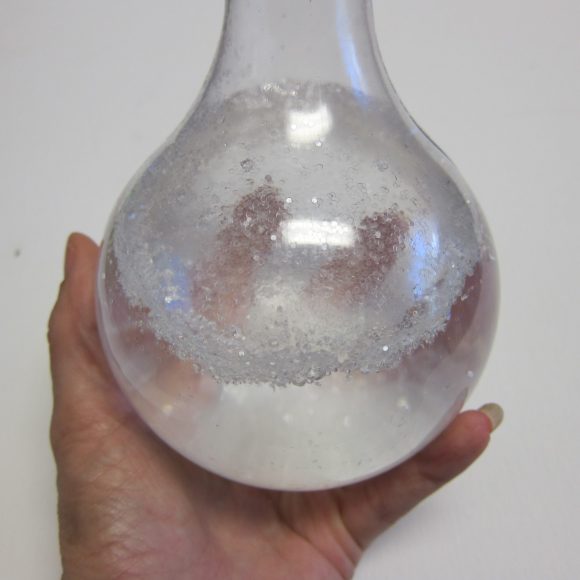
Step two: Fill the bowl of the feeder with water. Add glitter.
Step three: Insert the tree into the feeder. I used the wire that came with the feeder to wrap the base of the tree and create a coil to hold the tree in place, as pictured.
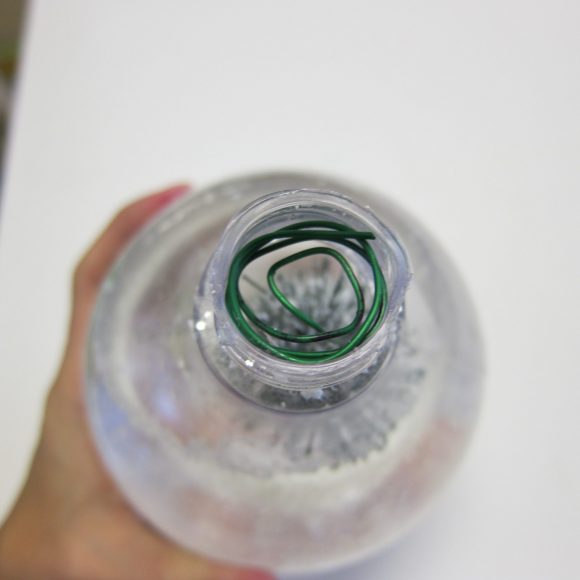
Step four: Use hot glue to hold the coiled wire in place. Add hot glue to the base of the feeder before inverting it and screwing it onto the bowl of the feeder.
Step five: Add a ribbon and cord to the top of the snow globe.
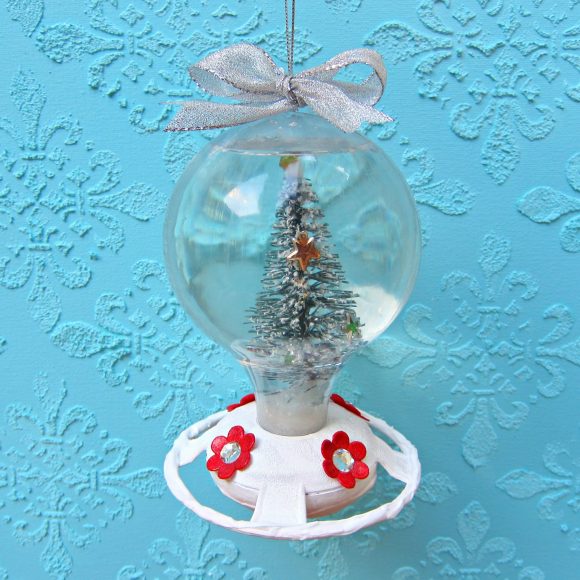
My daughter loves this snow globe, and we plan to make a few more together. I love that it is plastic, so if any little one should drop it, I don’t have to worry about shards of glass everywhere. I think it would be cute to hang a few of these with lights as festive porch decor! You could easily change this by adding a different miniature or even a photo to the globe. So many possibilities!


2 Comments
Sherry
Just a caution — water and wire trees will eventually cause rust in the globe. I believe people often use glycerine instead of water to avoid that, but then it might be less kid-friendly. Not certain.
Ashley
How cool!! This definitely looks like a craft I could do :)
*Pinning this*