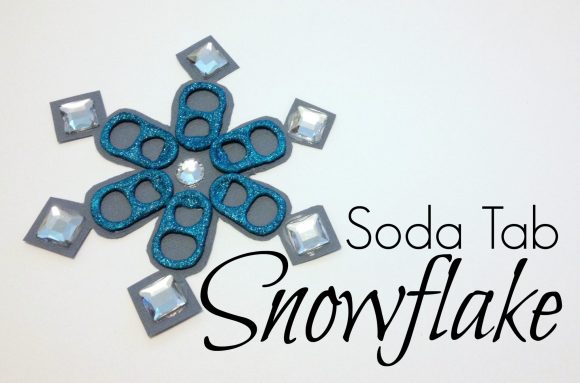
It’s been snowing here non-stop. Snowing and snowing and snowing some more, with lots of snow days all around. Need a fun snow day activity? Try making these recycled soda tab snowflakes! Like real snowflakes, you can make endless variations on this theme so no two are exactly alike.
Project estimate:
- Soda tabs, on hand
- Nail polish, on hand or $1 and up
- Paper, felt, or craft foam, on hand
- Rhinestones, on hand or $1 and up
- Glue, on hand
Total: Free and up!

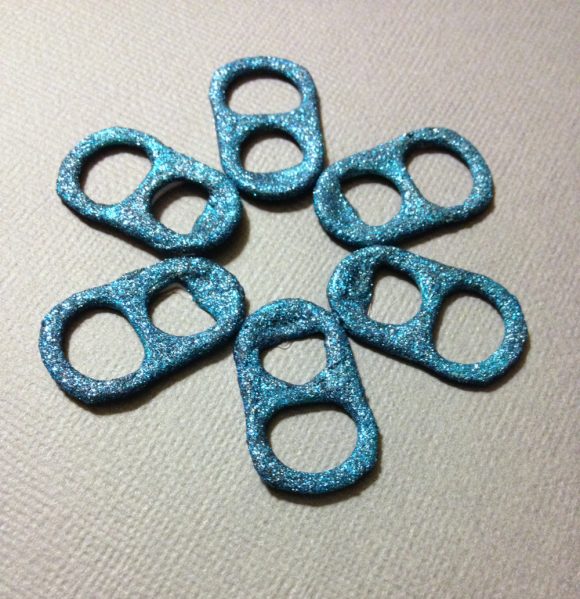
Start with a few soda tabs – about 5 or 6 per snowflake is a good number – and paint them with nail polish. I like thins particular polish because it was cheap, it gives a fairly opaque finish with a single coat, and it’s super duper glittery.
When the nail polish dries, arrange the tabs in a circle on a piece of paper, felt, or craft foam and glue into place.
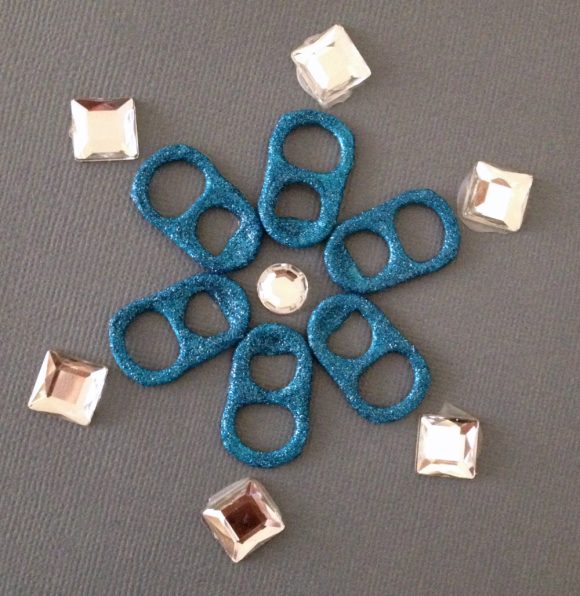
Arrange rhinestones in a patten around the soda tabs to fill out the snowflake and add even more sparkle. Glue these into place as well.
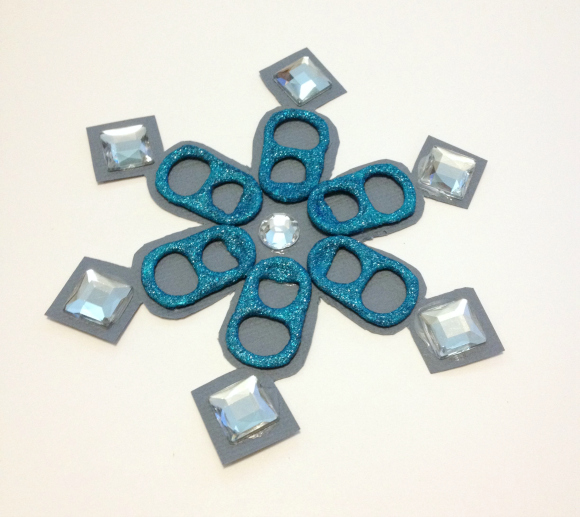
After the glue dries, carefully cut around the design, leaving a thin strip of the background material showing around the edge as evenly as possible. Voila! A snowflake! Wondering what to do with your finished snowflake? Mine is going to go on my bulletin board. To hang it, glue a loop of string or ribbon to it. Or use it as an embellishment in any other number of craft projects!


1 Comment