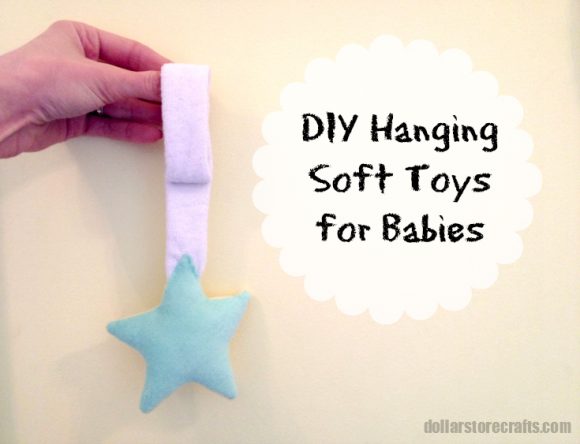
I love hanging toys for babies, the kind that you can velcro around a car seat handle or anything else it will fit around, and nearly every infant I’ve ever met loves them too. I have to confess that my sewing skills aren’t the greatest (actually, calling them “skills” is kind of a long shot), but I figured that this kind of toy ought to be something I am capable of whipping up on my own. Not only was I successful, but it actually turned out pretty cute – and if I can do it, anyone can!
Project estimate:
- Baby washcloths, $1
- Sewing machine and/or needle and thread, on hand
- Polyfill, on hand or about $3
- Velcro, on hand or $1
- Template, free
Total: $1 and up
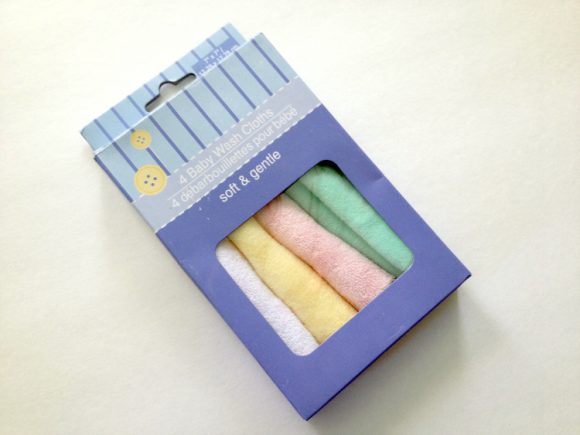
You can use any soft fabric for this project; I chose to use baby washcloths because I love the colors and they are made from a very soft material. Fleece would also work well.

Choose a shape – something simple like a star or heart works best – and make a paper template. I just found a star graphic that I liked and printed it out in the appropriate size. Remember that your finished shape will be smaller than the ones you initially cut because of seam allowances, so keep that in mind as you are coming up with a template. Use the template to cut two of the same shape. I used two different washcloths so the star is a different color on each side, but you can of course do two of the same if you prefer.
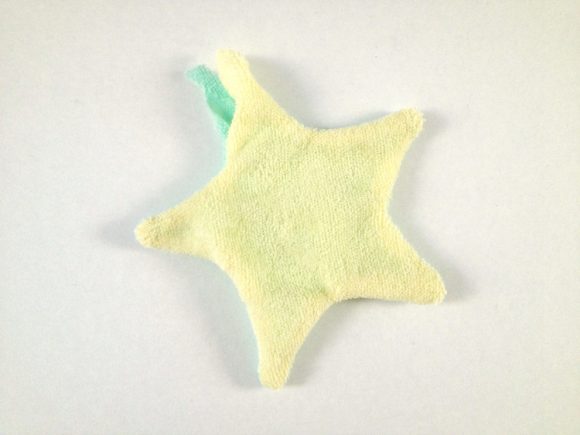
Pin the two shapes together. If your fabric has a front side and a back side, make sure that you pin the shapes with the fronts facing each other. My washcloths were fuzzier on one side and I wanted that side to face outward on the final project, so at this point in the project I pinned them with the fuzzy sides facing in. Sew most of the way around, leaving about a 1″ to 2″ unsewn area at what will be the top of the toy. (I left one of the points of my star unsewn.) Use that gap to flip the shape right-side-out.

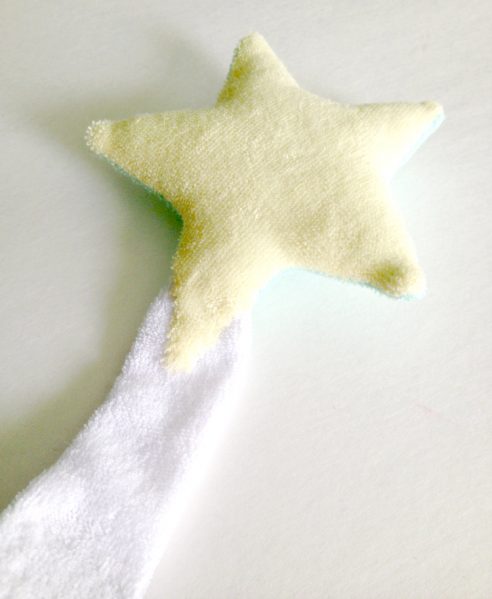
Stuff the shape with Polyfill. To make a strip for hanging the star, I cut up another washcloth to make a long strip about 3″ wide and 12″-ish long. (This is also a great time to dig into those fabric scraps!) Fold the strip in half lengthwise and sew along the long edge to form a tube; also sew one of the short edges to make a finished end. Turn the strip right-side-out through the unsewn end. Pin the unsewn end of the strip into the gap at the top of your shape and carefully hand-sew around the rest of the shape, tucking in the raw edges as you go.

Sew a small piece of velcro to the strip for hanging, placing the two parts of the velcro in such a way that when you wrap the end of the strip around something, it forms a loop. Ideally I would have used white velcro, but the black is what I had on hand, so I just went with it.
The finished toy is ready to entertain baby on the go! You could even make fun variations on this project – try adding a squeaky insert inside the toy so that it makes noise when you squeeze it, or add elastic to the hanging strip to make the toy bouncy. There are so many possibilities!


2 Comments