I hope you’ve enjoyed my series on how to make jewelry from a single $1 box of hardware. Once I started playing with the hardware pieces, it was really fun to come up with different ways to transform them into jewelry. I hope I’ve inspired you to look at items in a different way and to find beauty in unexpected places! That’s one of the charms of budget crafting for me: taking something ordinary and transforming it to something special.
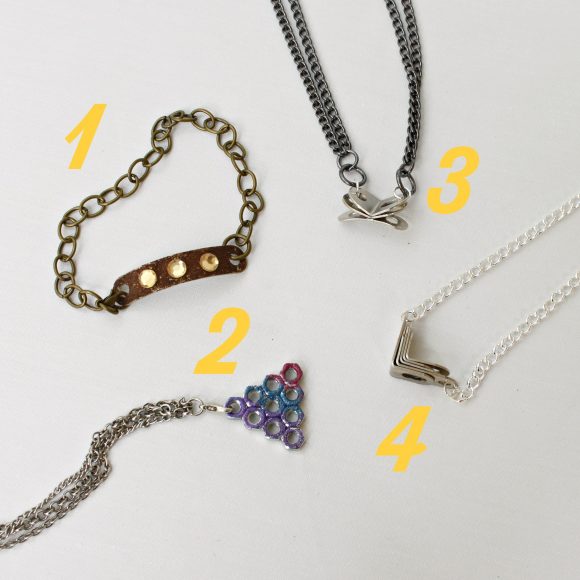
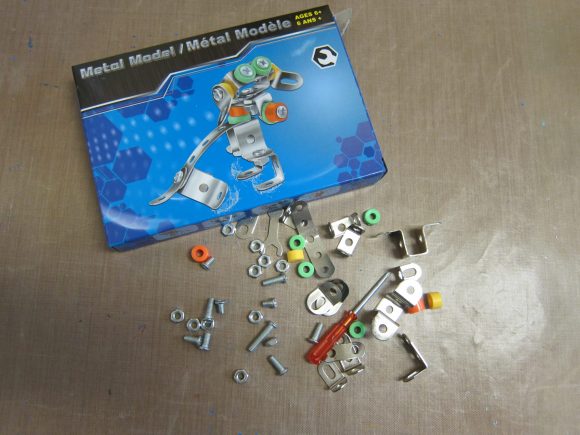
All the pieces I used to make my pendants came from this single box that I found in the toy section at Dollar Tree. I added color and chains to complete the pieces. Here’s a reminder of the other two jewelry pieces I made. You can find the bracelet tutorial here and the flag pendant tutorial here. My last two pieces are simple but chic, and I turned them into necklaces. Here’s how:
Project Estimate:
- Toy kit, $1
- Jewelry glue or super glue, on hand or $1
- Chain, on hand
- (Optional) Alcohol ink, $2 and up
Total: $1 and up

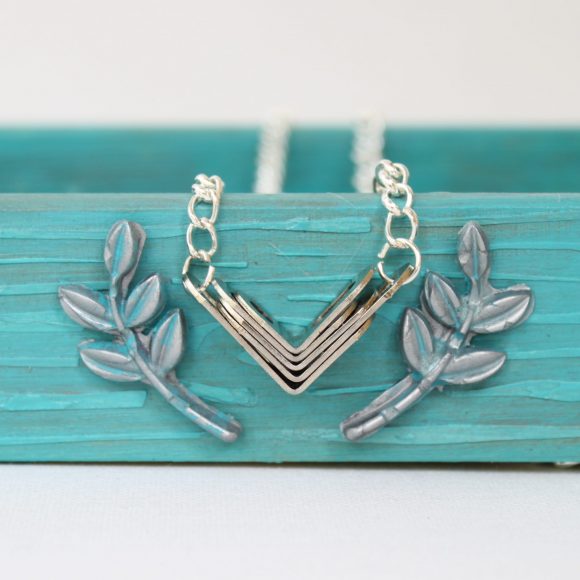
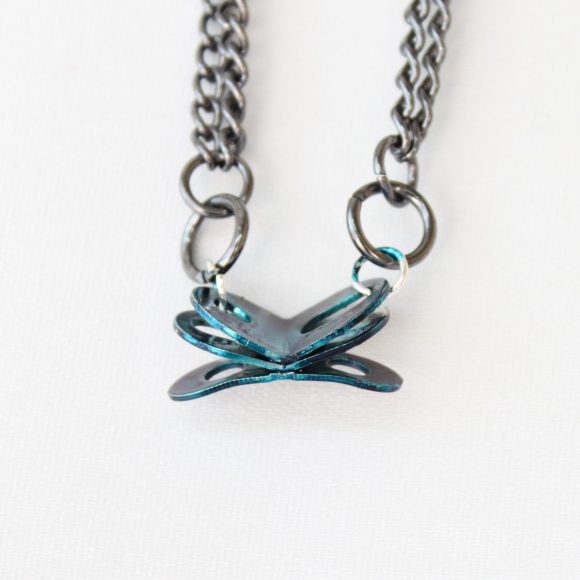
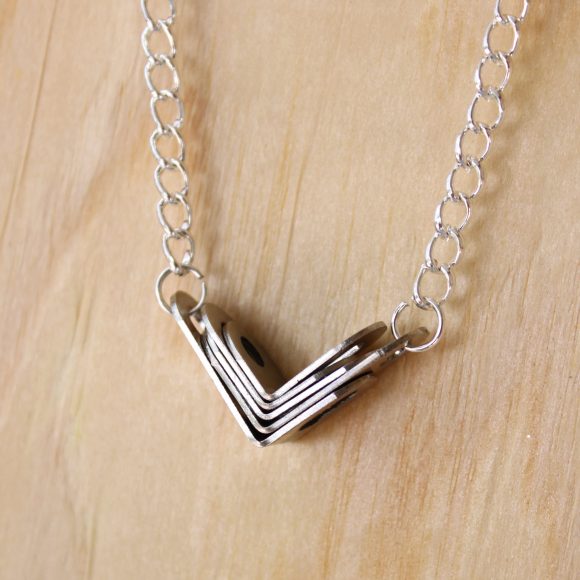
Step one: Choose the pieces you want to work with, and arrange them as desired. I made a simple “v” shape and a piece that was inspired by butterflies. Use the jewelry glue to adhere them together and let them dry.
Step two: I repurposed a broken necklace to add chain to either end of the pendant. I attached the links to the holes that were already in the hardware.
Step three (optional): If you want to add color to your piece, use alcohol inks to color the metal.
Two more fun jewelry pieces to rock this summer! Head to your tool box and grab some hardware pieces. Who knows what funky, cool fashion jewelry you’ll come up with.


1 Comment