
I have to give my five year old credit for this discovery. One day, she and her cousin went to town with temporary tattoos, applying them to plastic toys, clothing, shoes, etc. I was surprised to see how well the tattoos adhered to plastic and fabric, and it made me want to try it for myself. So I did, and I love the possibilities!
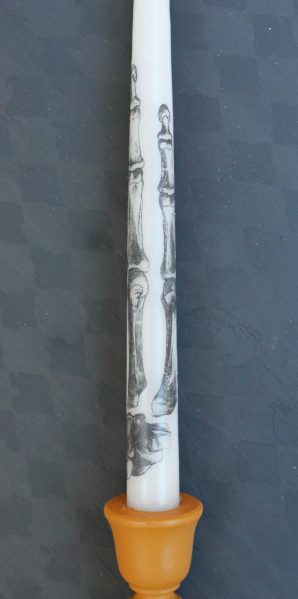
I used a skeleton hand temporary tattoo from Dollar Tree to add some spook appeal to mundane items. If you’re short on time or crafting skills, here’s an easy, inexpensive way to decorate.

Project estimate:
- Temporary tattoos, $1
- Candle, on hand
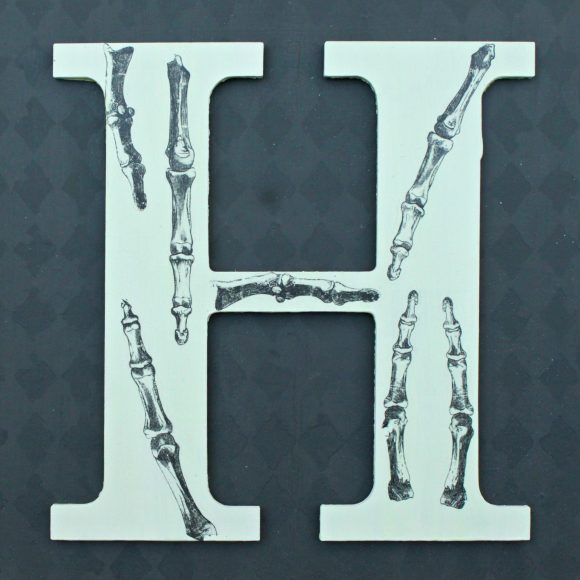
- Wood letter, $1
- Paint, on hand
Total: $2

Step one: Paint the wood letter white.

Step two: Cut apart the tattoos, and plan where you want to place them. Peel off the protective plastic film.


Step three: Place the tattoos on the candle and the wood. Use a wet washcloth and dampen the tattoo paper backing. Carefully remove the backing to leave the tattoo.

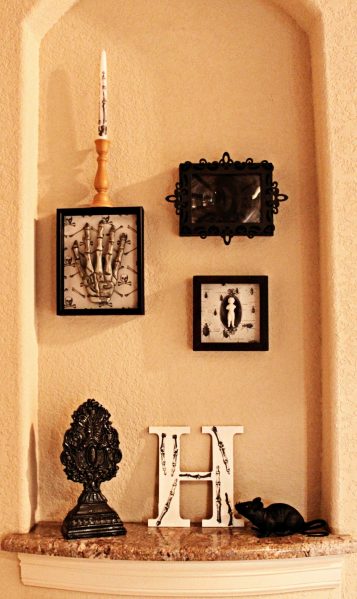
You can seal the letter with the finish of your choice. I used Glow in the Dark decoupage medium on mine so it emits a faint glow at night. I love how it looks with the other decor I made.
With all the temporary tattoos available, you could adapt this project for any holiday or event. Try this out as a fun alternative to decoupage! What will you craft and create with temporary tattoos?


