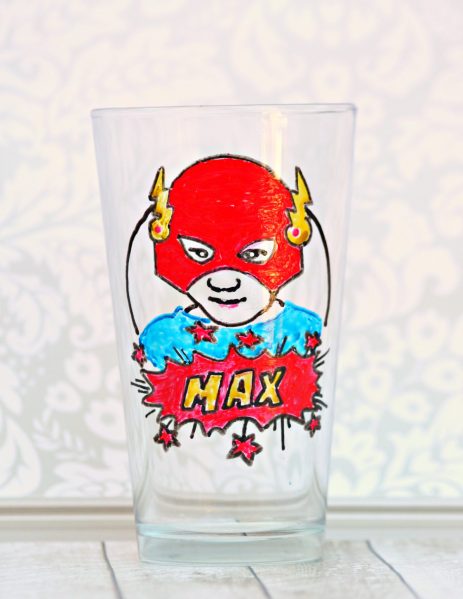
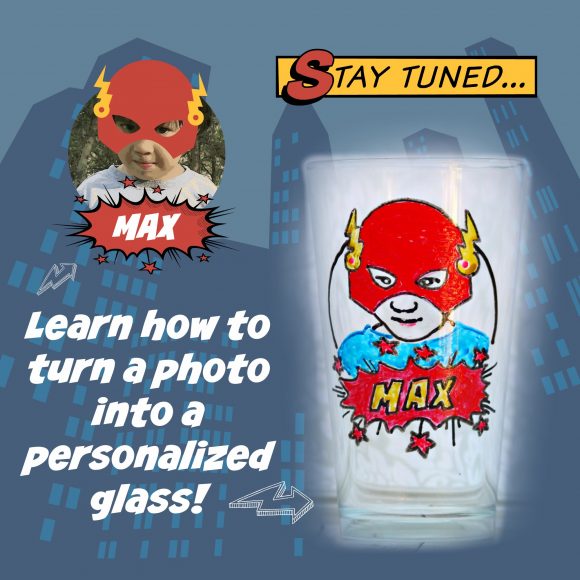
Sharpie mugs are all the rage, but I’ve heard so many stories about the ink smearing off that I decided to avoid that Pinterest trend. Instead, I decided to try glass paint markers instead. I used them to turn my son into a superhero, and make him a personalized drinking glass. This was such a fun, easy project that I can’t wait to make more!
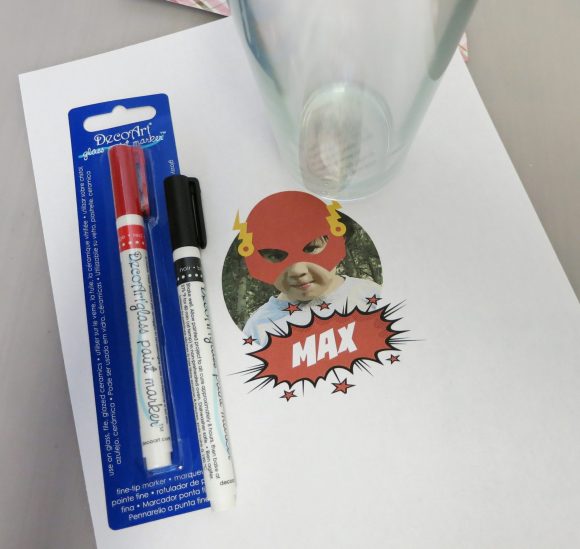
Project estimate:
- Drinking glass, $1
- Glass paint markers, $3 each
Total: $4 and up
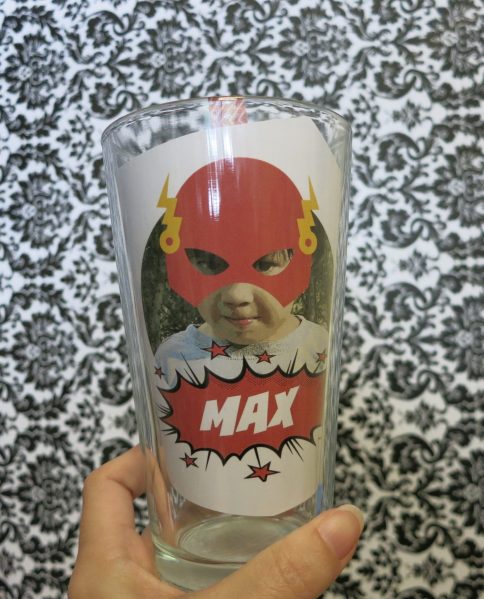
Step one: Print the selected image out. I used PicMonkey.com to add the superhero effects to a picture of my son. Trim the paper and tape the image inside the glass.
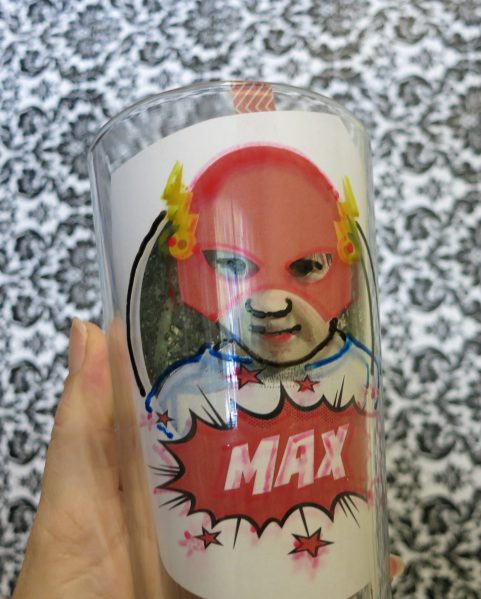
Step two: Use the glass paint markers to trace the image.
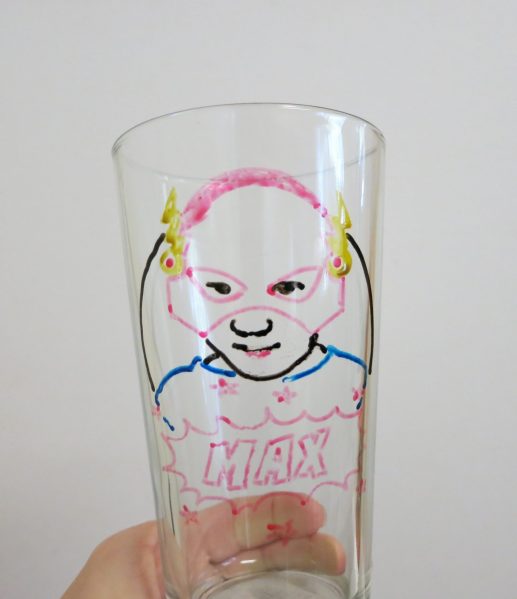
Step three: Remove the paper so you can see the outline of your image. Begin to color in the image with the desired colors. I outlined most of it with a black paint marker to define it and make it look more like a comic book.
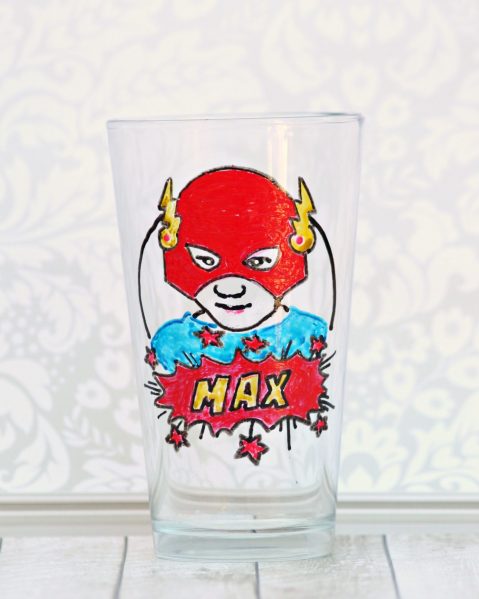
I wanted the red to be brighter, so I went over the red areas with some opaque red glass paint to brighten them a bit.
The instructions on the markers say to let it dry for at least 4 hours, then bake in the oven for 40 minutes to make the paint permanent. I usually hand wash my painted glass items, just to be on the safe side, but the instructions do say that they are dishwasher safe after the paint has been heat set.
I’m looking forward to making these for my other 3 children! One wants to be Spiderman, the other a princess, and my 10 year old wants to design his own superhero and make his own glass himself. The paint markers are so easy to use that I CAN let him do it himself!


3 Comments
Crystal@Zipperhead Creations
This is so cute! My son loves anything superhero, and I’m sure he would love to see his face as a superhero on the side of a cup. What a great idea!