This quick, easy project doesn’t just have to be for Valentine’s Day. You could easily use different stamps to create custom decorative candles for your home, for parties, or for gifts. I made several winter themed candles as gifts for my neighbors for Christmas, and they loved them! So pull out your inks and stamps, and let’s decorate some candles!
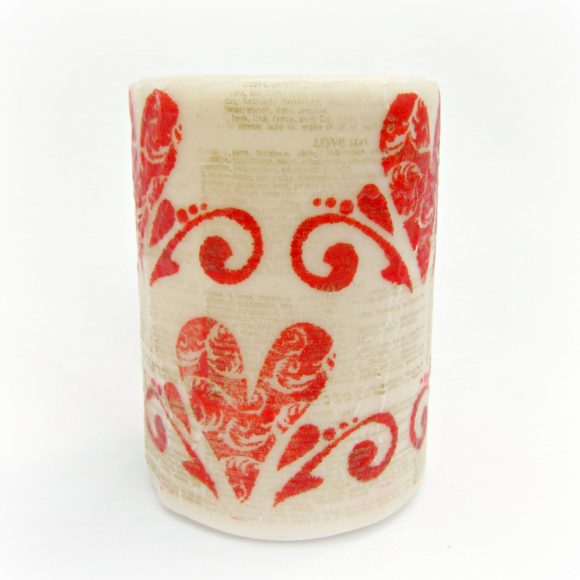
Project estimate:
- Candles, on hand or $1 and up
- Stamps and ink, on hand
- Tissue paper, on hand
- Hair dryer or heat embossing tool, on hand
Total: Free or $1 and up
It’s a good idea to do a few practice runs with old candles or dollar store candles. I often find bags of new to barely used candles at thrift stores, and they are great for practicing this technique. The candle I used in this project was purchased at Dollar Tree, and while it is a battery operated votive candle, it has a wax coating on the outside, so it works for this project.
To make your own stamped Valentine’s Day Candle:
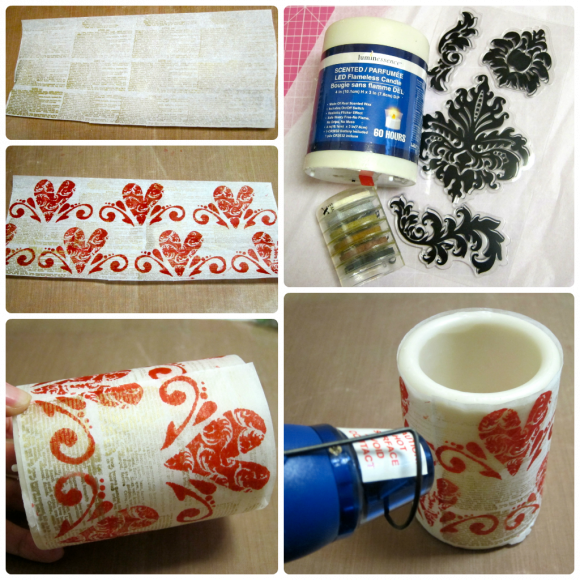
Step one: Cut a piece of tissue paper to fit around your candle.
Step two: Stamp the tissue paper. First, I covered my paper with a text stamp that has the definition of love. Then I stamped the heart image over the text.
Step three: Wrap the stamped tissue paper around the candle.
Step four: Heat the tissue paper with a heat embossing tool or a hair dryer. As the wax melts, the tissue paper will seem to disappear into the candle, leaving only the image. Be careful to keep moving your heat tool so you don’t burn the tissue paper or create uneven dimples in your candle.
If you want to, you can further embellish your candle with ribbon, string, rhinestones, etc. I’m decorating a few candles with blue and green damask stamps to match my living room. Which stamps are you going to reach for? Have fun creating!


4 Comments
Alvina Castro
I wouldnt have known how to do this, It looks so pretty and expensive. Plus you could make it to match any season or holiday