
Morning, everyone! Your very own crazy crafter, Jess from Mad in Crafts, here.
Are you cheap? I am. I have a little panic attack anytime I see a price tag in the triple digits. Do you like pretty things? I do. When my house is clean and decorated, sometime I just sit and look around at it all. Partly because I know it will be many moons until it’s actually clean again. Anyway, because of my remarkable cheapness and love of pretties, you can imagine the internal torment that overtakes me when I visit the Pottery Barn website. ((shudder))
A few months back I wrote a couple of posts called A Dollar Barn Christmas where I took items I found at my local Dollar Tree and turned them into home decor that was inspired by all the goodies at Pottery Barn. I was browsing on the PB website a few weeks ago, and got that lovely crafter’s voice in my head. “I can make that. I could make that too!”
I am adding a series of posts on my blog, Mad in Crafts, with tutorials on how to make PB-ripped off Easter/ Spring decor for your home. The first post in the series showed how to create the elements for a fancy Easter centerpiece based off of two PB catalog items.
Today’s tutorial is redonkulously simple and would be a fun project to do with any bored, little ones you have moping around the house.
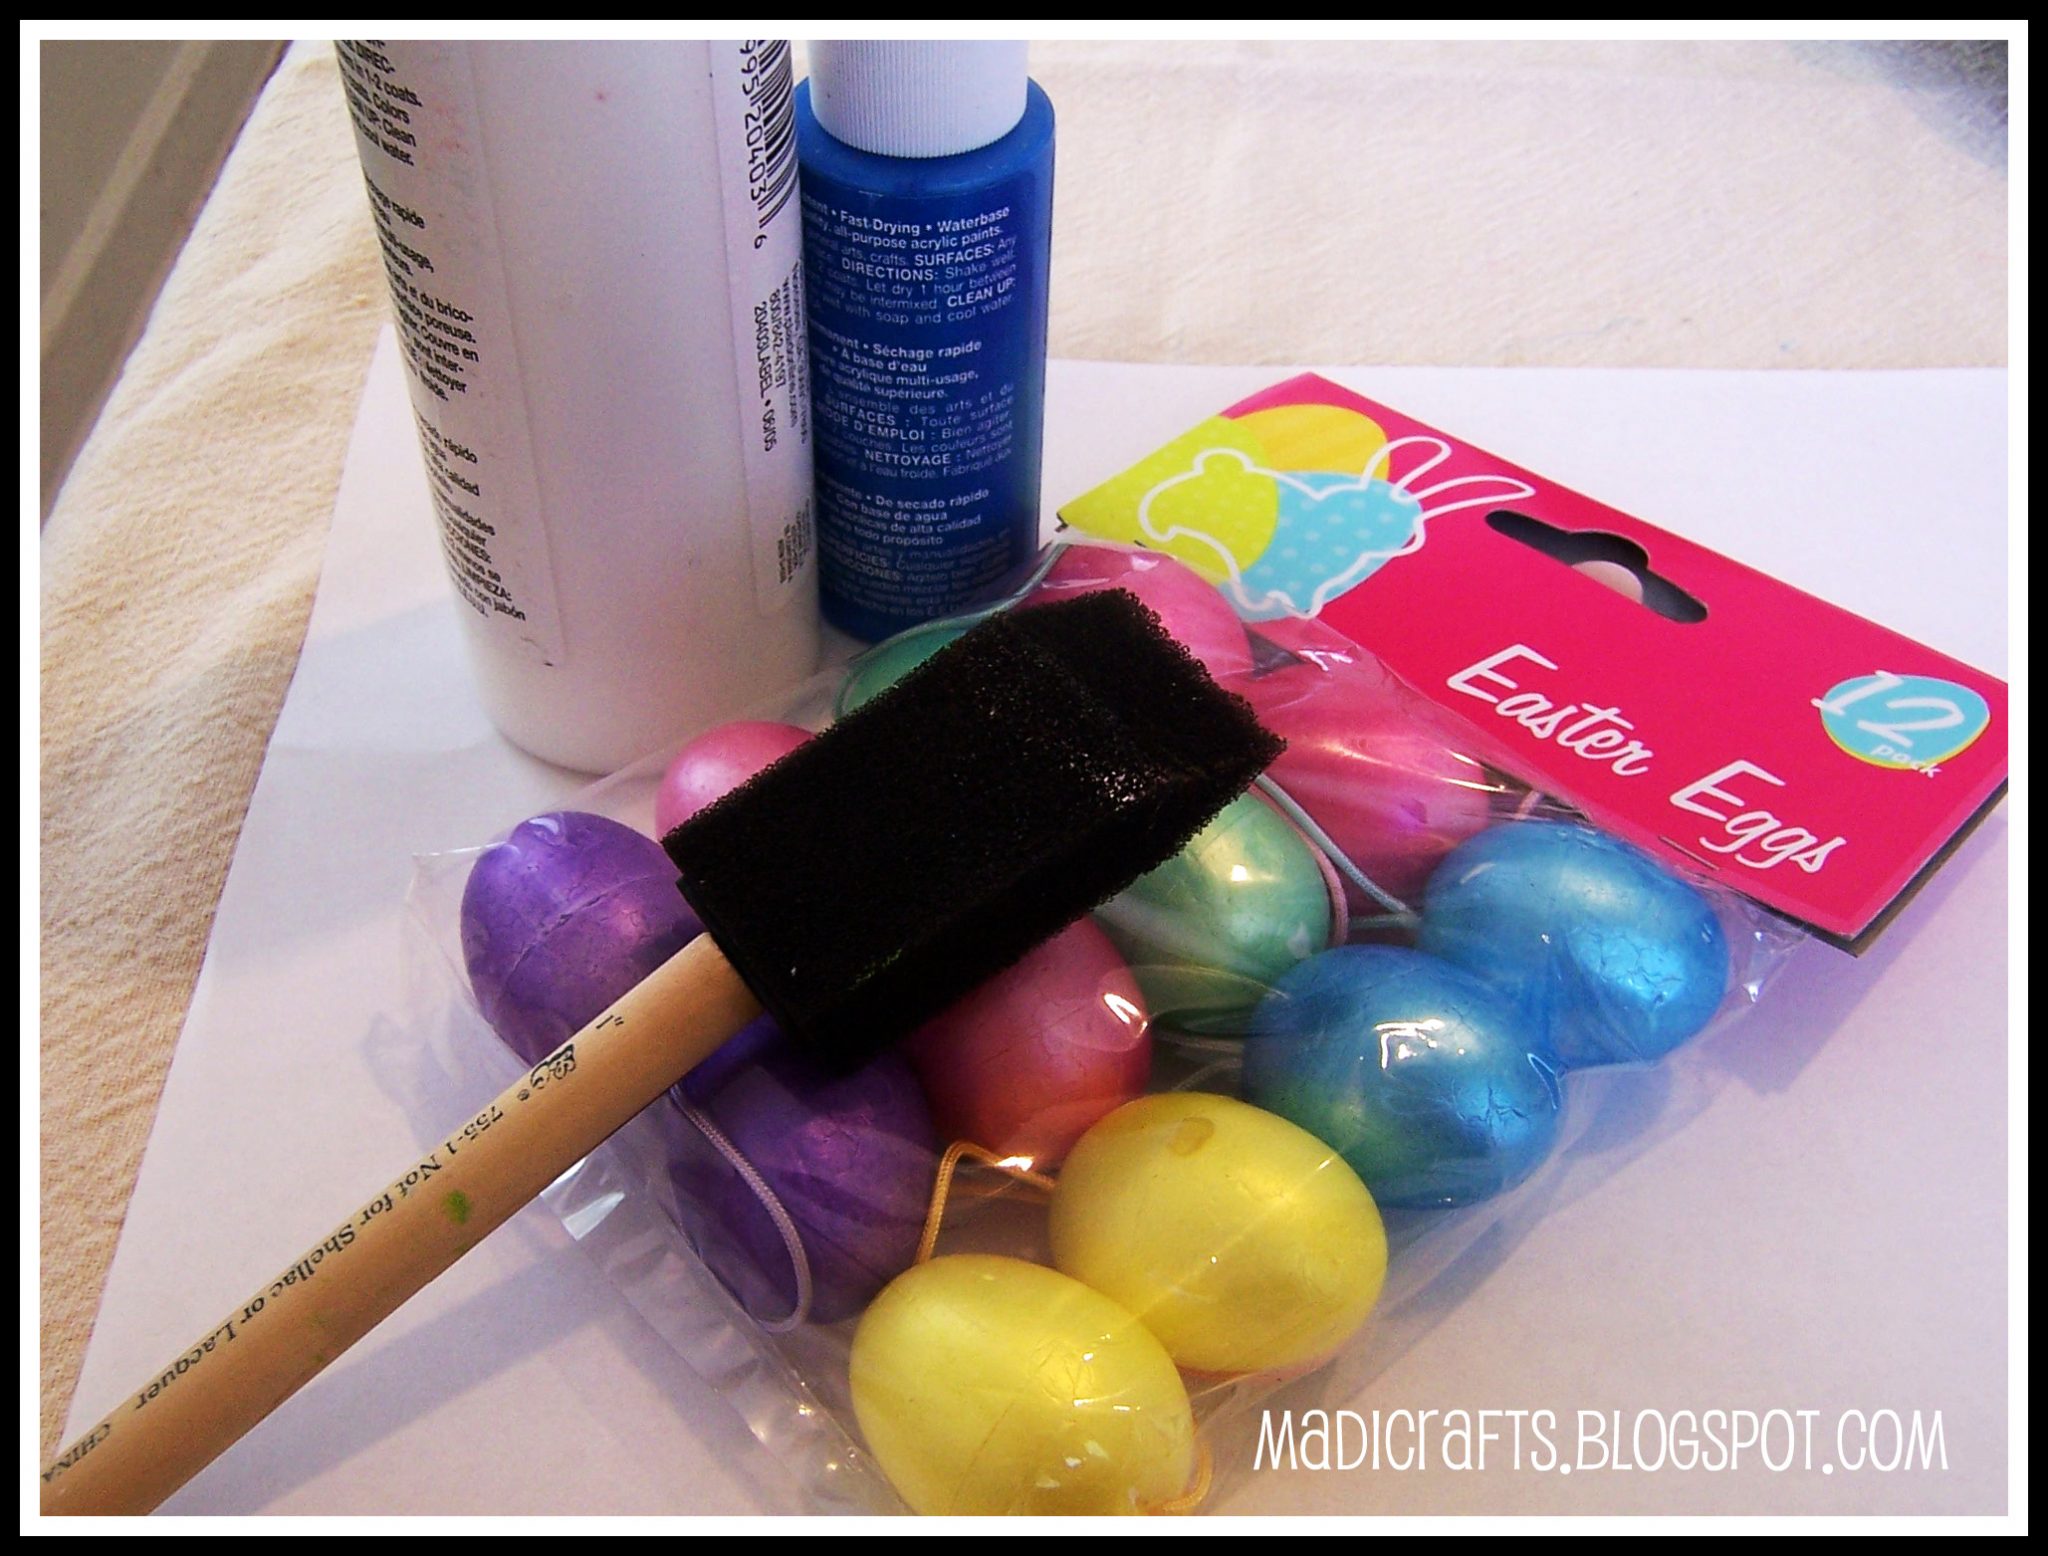
To make Robin’s Egg Vase Filler, you will need:
- 1 or 2 packs of 12 styrofoam easter eggs (Dollar Tree): $1 each
- craft paint in robin’s egg blue: on hand
- craft paint in brown or black: on hand
- paintbrush: on hand
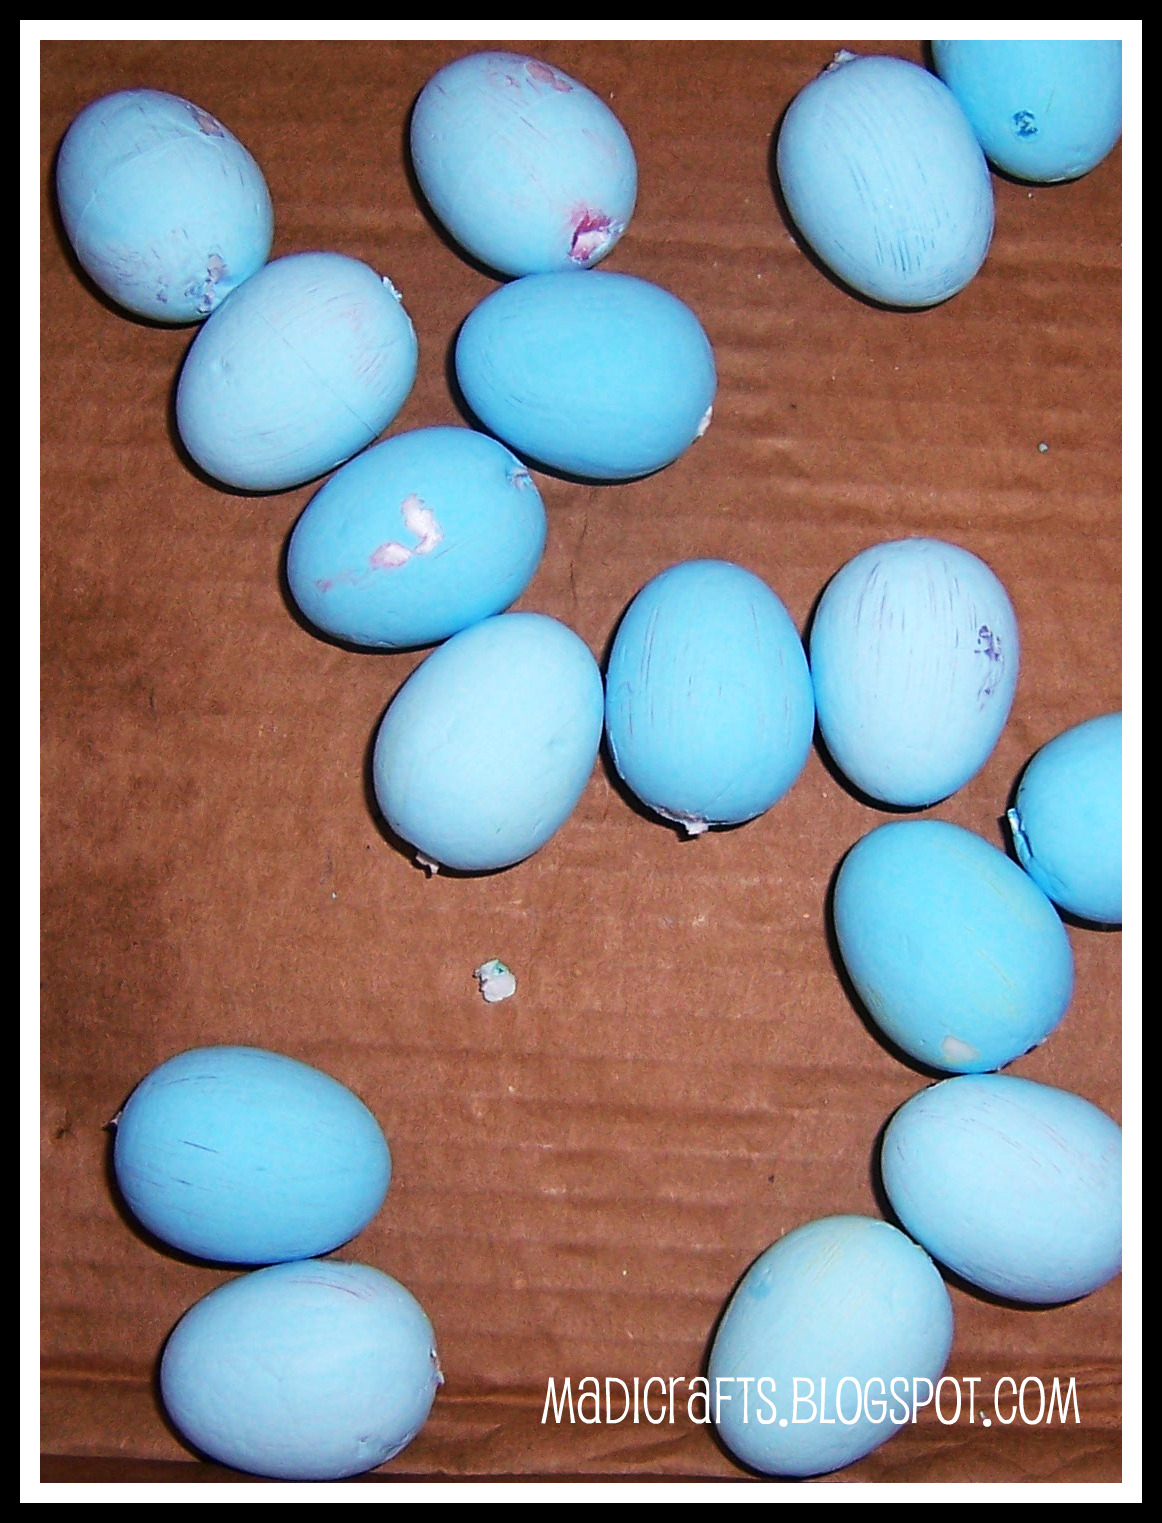
I mixed up a few craft paints until I got a color that I thought made a reasonably good robin’s egg blue color. Holding each egg by it’s handy little hanging loop, slop some paint all over each egg. Let dry. Even though one coat didn’t completely cover, it was good enough.

After your eggies dry, yank the hanging loops out of the ends. You might end up taking a little bit of the paint and styrofoam with the loop. You can touch up the paint if you would like, but nobody is going to be looking THAT closely. Unless you have some really weird friends. Which I do.
Put the eggs in a cardboard box or on a well-covered surface. Things are about to get messy. Dip a bristled paintbrush or an old toothbrush in black or brown craft paint. If the paint is thick, you will probably need to thin it out, I found. Flick the paint off the brush and onto the eggs with your pointer finger. SPLAT! Kids will love this part. Keep splattering and rolling the eggs around until each egg has splatters all over it, like so:
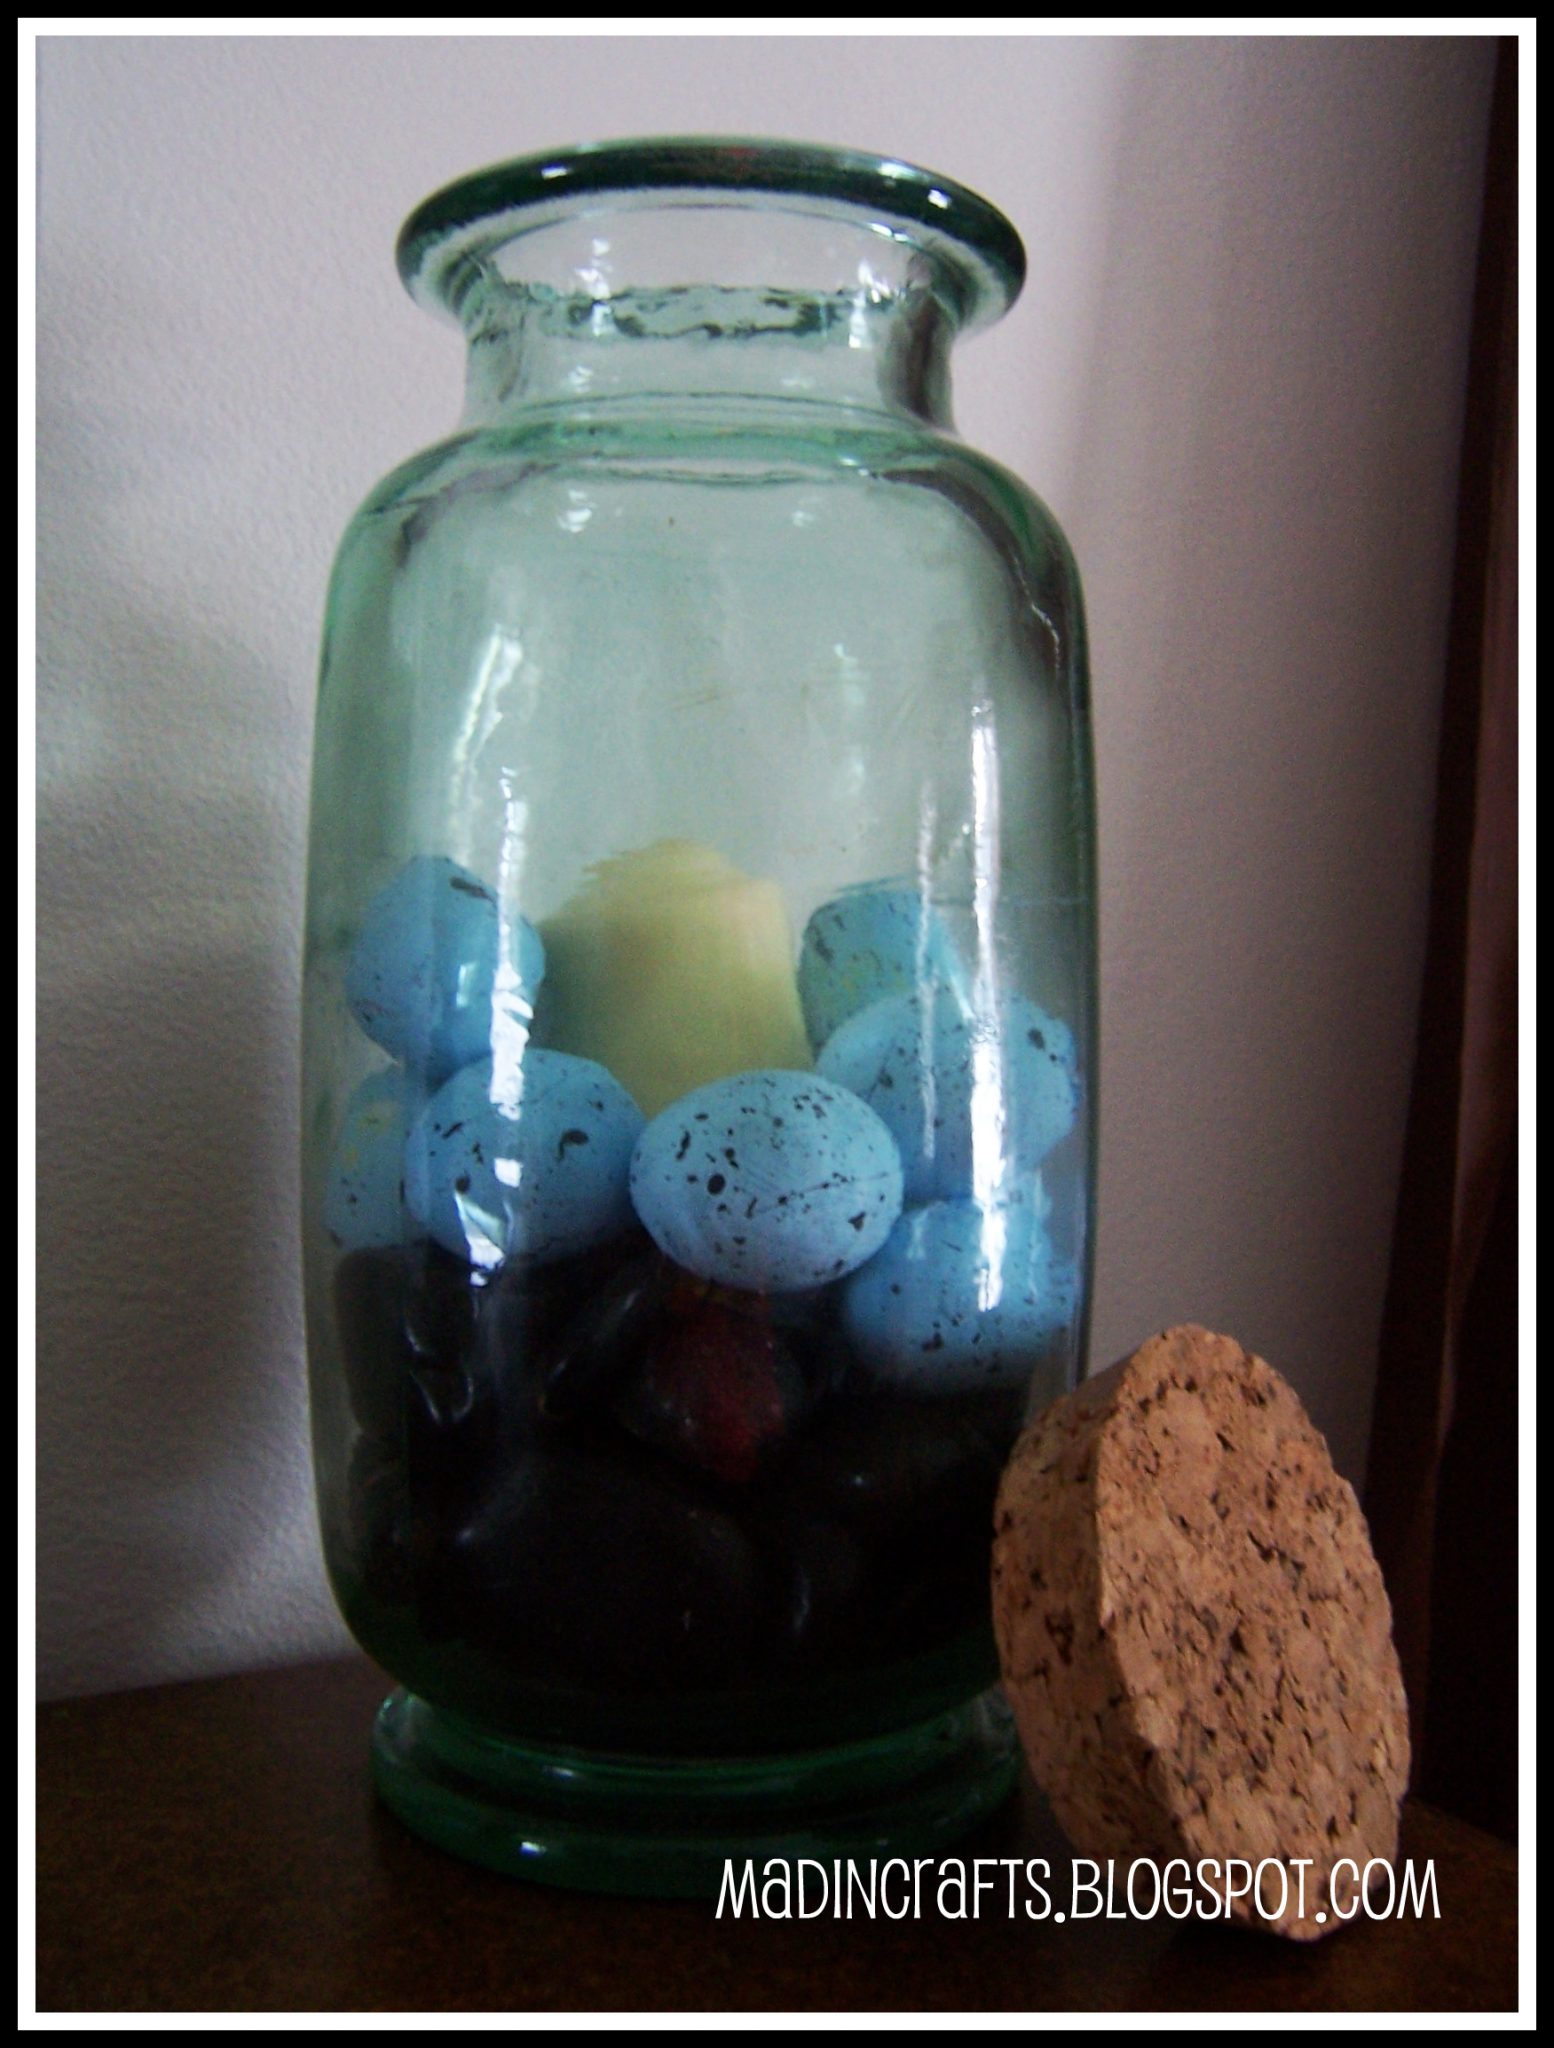
Ta Dah! You just made a rip-off of PB’s Decorative Speckled Egg Vase Filler which is listed as $14 for 12 eggs. That’s right, friends, you just saved yourself $26 if you made a double-batch. Plop them in a pretty vase, bowl or apothecary jar and your home is looking more Spring-y already.
Come and check out the rest of my Dollar Barn series (with a special Ballard-Derived feature) this week on Mad in Crafts! And, not to beg, but comments totally make my day. :P


27 Comments
melissa
Come and check out the rest of my Dollar Barn series (with a special Ballard-Derived feature) this week on Mad in Crafts!
the link in this sentence is busted. Thanks!
Rachel
That is so creative! I never would have thought they were plastic eggs. Thanks so much for sharing, I’ll be linking.
heather
Thanks for catching that, Melissa!
Sarah
LOVE. Can’t wait for the rest of the series!
billybojenny
Great idea… They are really pretty, can’t wait to make my own.
Nancy Grant
Very cool! I love this look!
:-)
Tabitha
Great idea! I’m definitely going to have to try this. Thanks!
Winklepots
So cute! I’m going to have to try this one. Thanks for sharing. :o)
Keisha - Cupcake Wishes & Birthday Dreams
Oooh! Me likey! I was at Dollar Tree yesterday actually looking for Robin’s Eggs – no dice – but your idea is GENIUS! Thanks for sharing!
SweetLilSmoothie
These are AMAZING! I just whipped out a batch of them and they look fantastic. Thank you for this awesome crafty on the crazy cheap!
Tawnya
So adorable. Great job! Love your site. The Dollar Tree has made more money from me since I discovered your blog! lol
Tammy
Thanks for the fantastic idea!!! I just finished making a whole bunch of these and they came out GREAT!!! One helpful tip…I removed the string and stuck a toothpick in before I painted. They are much easier to paint with a “handle” and then I stuck the toothpick into a styrofoam disk (from Dollar Tree, of course) to dry. I love this site…please keep the great ideas coming!!!
Amy @ Dealusional
Great idea! I’m thinking these would even be cute decorating our tree out front for Easter :)
Amy @ Dealusional
heather
@Tammy, thanks for your helpful tip!
Owly
Featured as a post on my owl blog.
Julie Bagamary
GREAT idea. Did you sand the eggs before painting them? I’ve often bought the wooden eggs to let little ones paint but this is even better!
JHill
@Julie – Nope. No sanding necessary. Since they are styrofoam, the paint takes really well.
Casey
This is the most adorable and easy to make project ever. Like Tammy above, I also used a toothpick to hold mine (mainly because i had ripped the loops off before thinking). I can’t wait to get these on my mantel.
I was also thinking that they would look cute put on a wreath. I just have to find a little nest to use.
Thanks for such a great project.
Becca
Argh! I just left a comment and it disappeared. Anyway, awesome eggs! I made some nest decorations to go along with them. Come check out the DIY at my blog!
The Bee Zoo
Mandy
What a fun idea! Not only is it a great craft idea, but I love things that the kids can get involved in. They’ll LOVE splashing the black paint on the eggs. I think I’m going to do an all-white easter table with these as the only color and focal point. Thank you!
Steph
Very creative! Absolutely love, thanks for sharing!