I’m happy to have Heather from My Frugal Family guest-posting a tutorial today! I first became aware of Heather’s dollar store crafting skillz when she posted some great projects at the Dollar Store Crafts facebook page! Heather is a black-belt frugal crafter who has a lot of great ideas, so go check them out over at her blog. And now, on with the tutorial! – Heather
Frugal Magnet Board
by Heather Herber from My Frugal Family
My niece is turning 3 soon, and in the spirit of craftiness, I’ve been making the gifts she’ll be getting from our family. Today’s gift is a Dollar Store magnet board!
Project Materials:
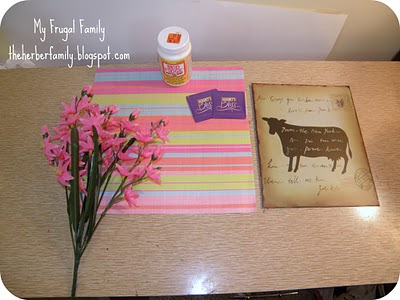
- 1 tin sign, $1 (found in the wall art or frame section)
- Scrapbook paper, on hand
- Promotional magnets, on hand
- Mod Podge, on hand
- Fake flowers, $1 (though, I wound up HATING these, so I didn’t use them)
- Ink pad and stamps, on hand (the alphabet stamp set was $2 at JoAnn
, and the floral stamps were $1 each at Michaels)
- Sequins, buttons, rhinestones, on hand
Total: $1 and up
This project was pretty easy, but oh so cute in the end!
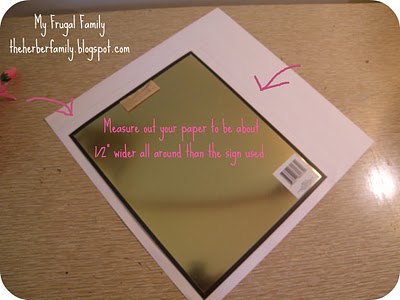
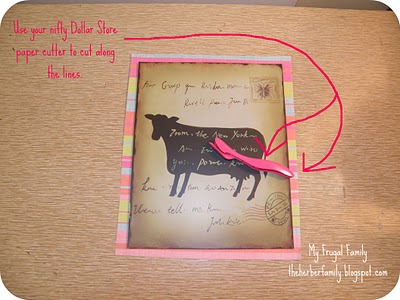
First, measure your paper. I left mine about 1/2″ wider all around so that it could wrap around to the back of the tin piece. I have one of those 3M paper cutters, and it worked great for cutting this nice and quick.
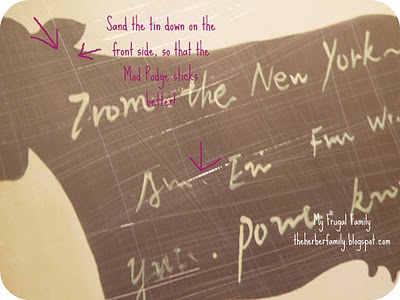
Once the paper is cut, sand down the front of the “art” lightly, so that the mod podge takes better. You might be able to skip this step, but it was easy and quick to do.
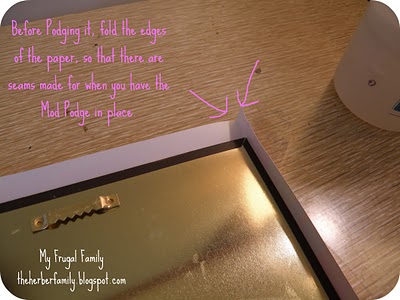
Make sure to use a soft cloth to wipe all the paint dust off the art, then coat it with Mod Podge. From there, smooth your paper over it, and use something flat to help seal out air bubbles. Once it’s dry, turn it over and fold the paper against the edges of the tin, so that you are forming a crease before using the Mod Podge. This made podging it a LOT easier.
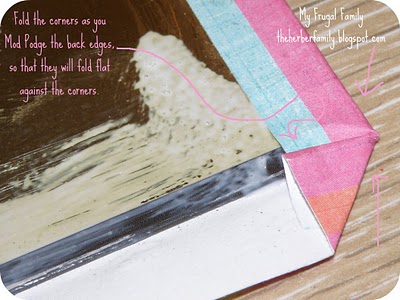
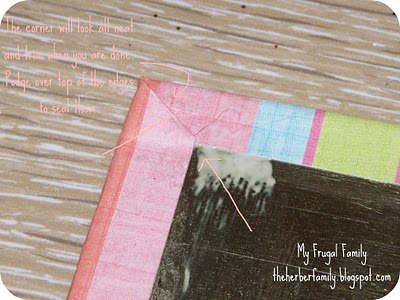
From there, podge it 1 edge at a time. When you come to the corner, fold the excess in a triangular pattern, before folding the next edge down. This will help make nice tidy corner seams.
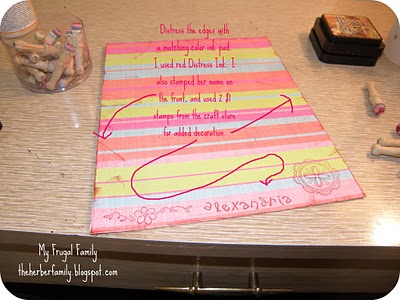
Apply a coat of Mod Podge to the seams and hold them flat as they dry. Some of them kept popping up at the corners. It’s easier to do this one edge at a time, as opposed to applying it to all the edges at once. Before sealing the front, I used my cheap stamping sets to decorate it a bit. Michaels sells some cute stamps in the $1 bins, and I had two flowery stamps. I also have a cute set of alphabet stamps I found at Jo-Ann’s back before Christmas for $2. It’s come in very handy!
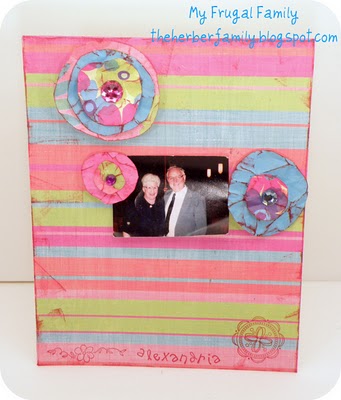
I stamped her name on the bottom, then added the flowery stamps to the bottom corners. Lastly, I used my red Distress Ink to distress the edges ever so lightly. I love how it turned out. While waiting for it to dry, so that it won’t smear when you seal it, I dug out a snack.
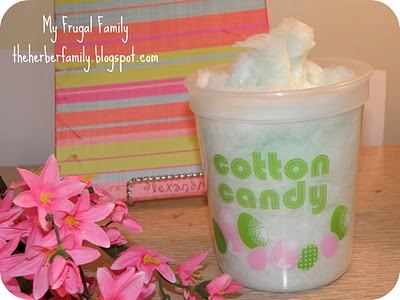
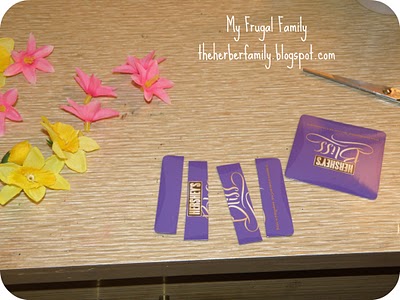
This little tub was only $1, and has only 50 calories. Sold! Once the front is dry, seal it with another coat of Mod Podge. Make sure to get the edges good, so the paper won’t scrape off. Next, it’s time to make some magnets for it. My original idea was to take the little pink flower buds, and make magnets out of them. The end result was… hideous, so I didn’t do that in the end. I didn’t even photograph it.
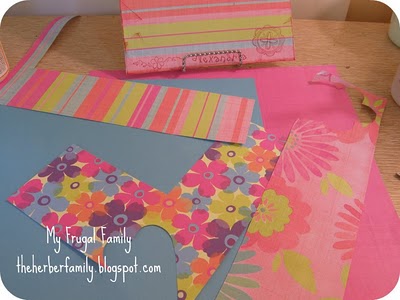
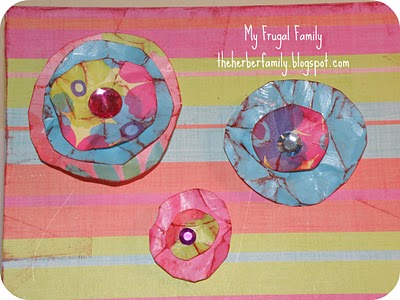
Instead, I took complimentary shades & patterns of scrap paper out, and made little round flowers out of them by cutting various sizes of circles.
Once you have the circles cut, crumple them up, smooth them out, distress the edges, then hot glue them in stacks of 2-3 circles. Hot glue a chunk of magnet to the back, and let them dry. Because these are going to a 3 year old, I mod podged the flowers as best I could, so they can last a wee-bit longer. I then glued a rhinestone to the center of each flower.
I plan to pick her up an alphabet set to use more frequently, but the paper flowers were cute if it’s being used decoratively.
These would be great gifts for teachers, and would make excellent changeable photo frames as well.
I hope you enjoyed this craft! I really enjoyed being able to guest post here at Dollar Store Crafts today!




9 Comments
Jackie A
Nice Heather, I think that is just so cute, and to even think of making this was cleaver… I love it…
Heather@My Frugal Family
Thank you Jackie!
And thank you, Heather, for giving me the opportunity, I love this site!
Mod Podge Amy
VERY cute! Love it.
Rachel
Ohh that is pretty! Thanks so much to both of you. I’ll be linking to this board. Off to check out My Frugal Family…
joan
its very cute!!
Melanie
one thing you could add would be a ribbon…drill holes in the metal and the wrap tin.
Denise
Very cute Idea , I am going to make minature’s of these with the Grandkids.. Probably Christmas Kitchen Photo Magnets. You are a creative gal, keep up the good work !! Happy Thanksgiving and Merry Chris mas !!!!