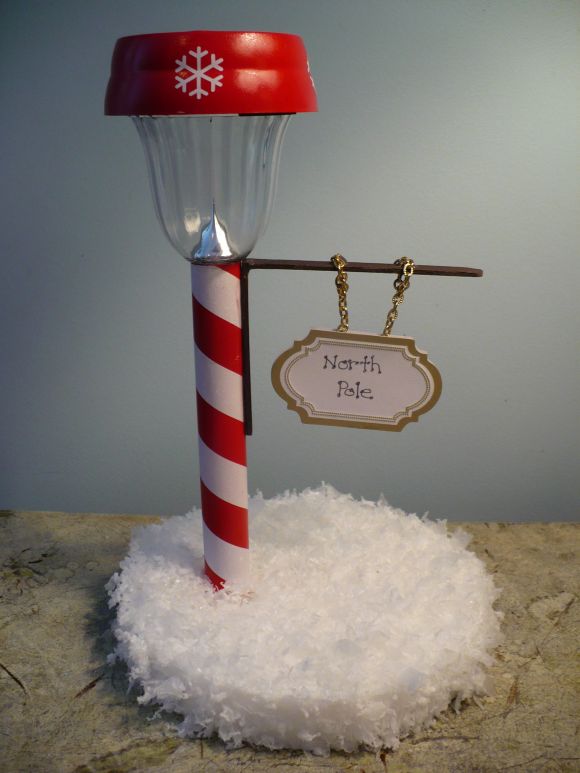
The other day I was wandering through Walgreen’s to kill some time and I decided to check out the holiday decorations. (I’ve actually found Walgreen’s to be a good source for cute decorations at reasonable prices!) As I meandered down the aisle, one thing in particular caught my eye – a box of little Christmas-themed solar path lights. They were $2.99 each or 2 for $5, and my inner crafter screamed at me that I needed a pair. (Well, really I only needed one, but I wanted the discounted price!) I knew immediately what I wanted to make – a North Pole street light!
Not only is this craft functional as a Christmas decoration, it also serves as a handy cordless night light. Or, you can put it in a window as an alternative to a candle. Just like a real street light, it will turn on at dusk!
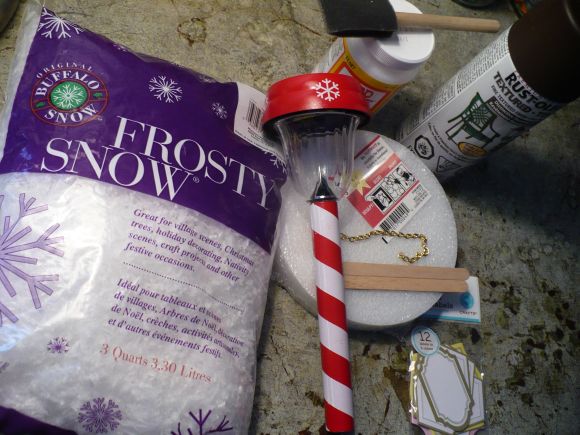
Project estimate:
- Solar path light, $2.50 and up
- Foam circle, $1
- Fake snow, $1 and up
- Popsicle sticks, on hand or $1
- Chain necklace, on hand or $1
- Paper shapes, on hand or $1
- Paint, on hand or $1 and up
- Glue, on hand
Total: $4.50 and up
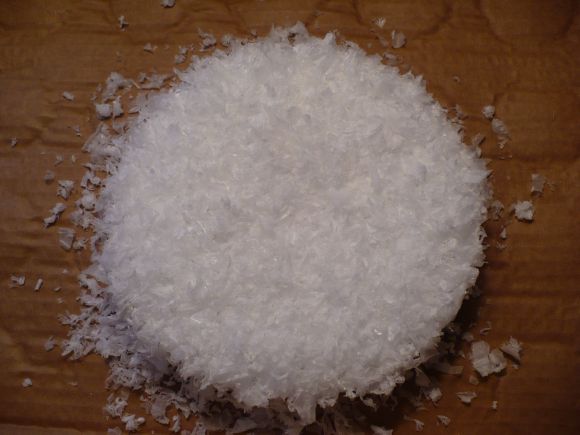
Start by covering a round foam base with fake snow. I used loose snow, but you could also use the sheets of felt-like “snow” for Christmas villages or use a cheap tree skirt. (If you’re using fabric “snow,” make sure you cut a hole in it where the path light will be inserted into the foam!)
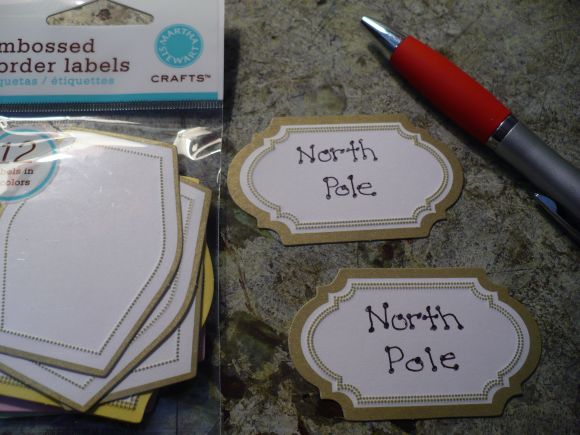
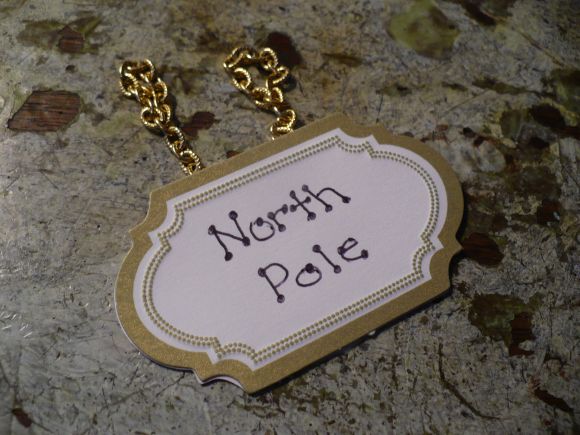
While you’re waiting for the glue on your snow to dry, take two sign-shaped pieces of paper and write “North Pole” on each one. I used pre-cut, embossed scrapbooking shapes that I found at one of my favorite dollar stores, but you can easily make your own from plain scrapbook paper.

For hanging the sign, you will need two short sections of necklace chain. Mine are about 2 1/2 inches long and came from my collection of broken costume jewelry. Make sure both pieces of chain are the same length so your sign will hang straight.
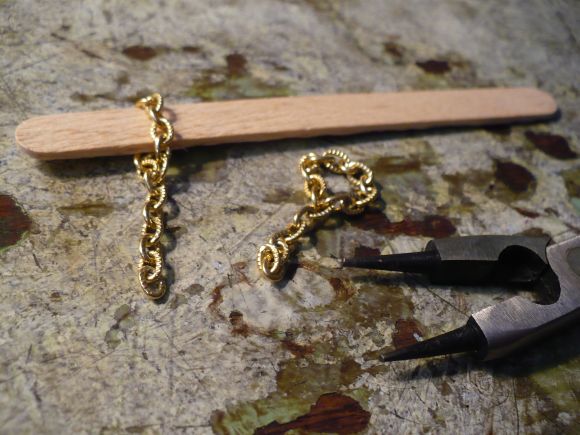
Open the end link on each piece of chain and secure it to a link farther up the chain, forming a loop. Make sure the loops on both chains are the same size, and that they are large enough to slide around a popsicle stick.
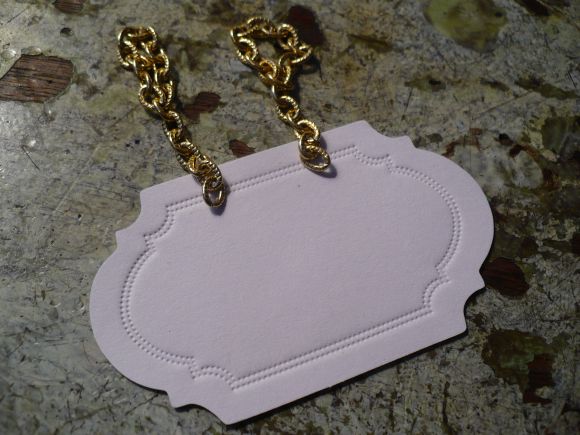
Lay one of the North Pole signs face down and place the unlooped ends of the chain pieces on the top side of the sign.
Put a layer of glue on the back of the sign and layer the second sign on top, so that the lettering on both sides of the sign is facing out with the ends of the chains sandwiched in between.
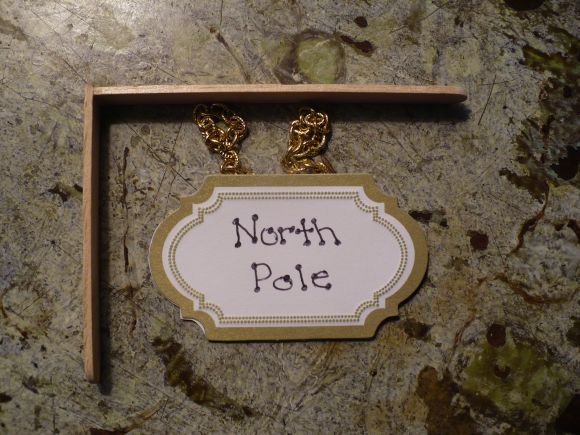
Cut a pair of popsicle sticks to make a sign bracket. Make the bracket just longer in each direction than the finished sign will hang. Glue the cut ends of the popsicle sticks together at a right angle.
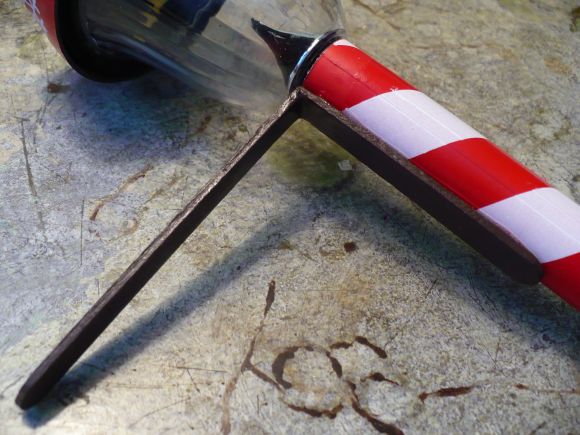
Apply a coat of paint to the sign bracket, then glue it into place on the shaft of the solar path light at the top.
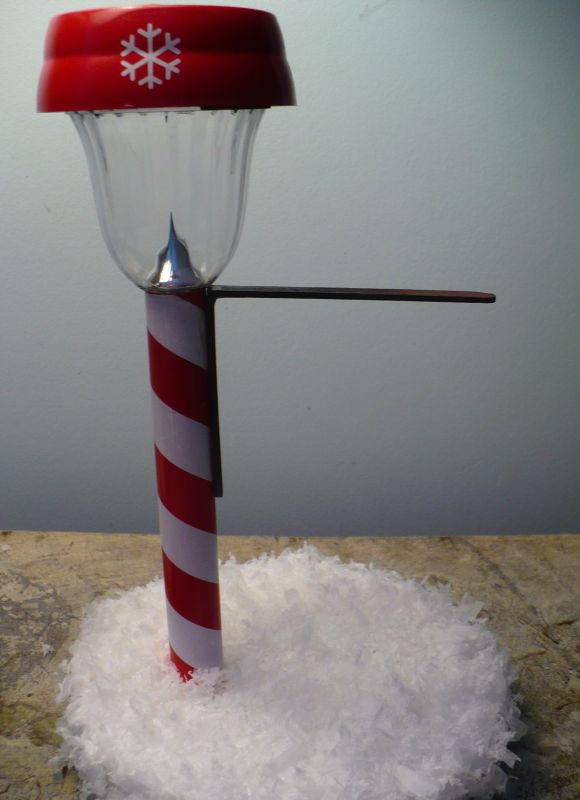
Carefully press the bottom end of the path light into the snow-covered foam base. If desired, you can add a little bit of glue to make sure it stays firmly in place.
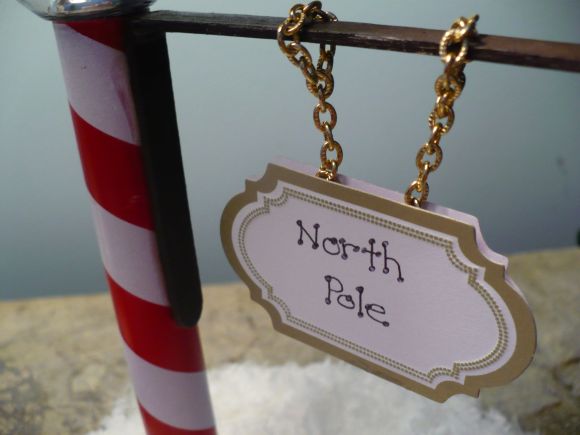
Slide the looped ends of the chain pieces over the popsicle stick bracket to hang the sign. To make sure it stays in place, you can add a dab of glue to the top of the bracket where each chain rests.


33 Comments
Buffy
This is incredible. I know where I’m going today!
heather
This is really inspired, Rhonda!! I love how the light turns on at dusk like a real streetlight… so cute! :)
Sherry
Adorable!
Amy
I am so glad it the lights come in a pack of two, because I want to make the Christmas one, and then I want to make a black one, so it looks like an old fashioned street light, with interchangeable signs. That way it could be used year round. I could put it in spanish moss, and have little flowers, or clovers, or spiders/pumpkins… an every day decoration! The possibilities are endless, and I am in love. Thanks so much for the tutorial (and inspiration!)
WES
I have a question will the solar light gather enough sun to actually turn on at night if placed in a window? Have been very curious about that in the past.
Amanda
That is really cute!
Angelica
Wow, this idea is incredible… Like Amy said, paint one of the two black and use it for everyday occasions. Flexible and functional- what’s not to love about it?!
Alyssabeths
How cute is that!
Tauni
Oh my gosh! LOVE THIS! What a fantastic idea. I am totally bookmarking this for next year :)
Laurie
thinking white PVC pipe would work GREAT as the pole , solar light would slide into it and then a red tape of some kind to wrap around the white PVC pipe to make it “striped” and you can then make it the height you want :)
I am thinking a good 6-7′ would be great @ Christmas outside !
Patty
There are some red and white striped around the stake but the top is black. Perhaps just a coat of red paint would fix that. They are at Walmart for a $1.50 perhaps you could use them for this Christmas.
melissa
These would make really cute night lights for the kids
Amy
i was wondering if there was issues making it stand- seems if the bottom is just a foam circle with some snow then the base would be super light… and top heavy. Just wondering if there were issues to watch out for?
Iris
Are the lights still at Walgreens ? I could not find them
Lizy
Brillint!!! who would have thought!!! You have just made my little one very happy! Thank You!
Schawn
I just found the lights at Dollar Tree! They are also at WalMart for $2.60, I think.
Mary
This is so a definite project!! Adorable.
Lori
Love this. Just picked up a pair of lights this week!!! Can’t wait to do this w the kids. Thx for the inspiration
Johan
Inexpensive and creative – I love it!
Mistress Arawynn
This is absolutely adorable. I am putting it on my list of things I want to make. Thanks for the tutorial :)
Serena
That is so adorable! You could even glue a Santa figurine on the base next to the light pole.
Deana
How about attaching your foam on top of a clay pot so it would be a little bit heavier and more stable to sit outside and the Santa figure is a cute addition as well.
Caddie
Absolutely gorgeous! WOW! So gonna do this
shelia
I think I will use thin slices of wood and drill a whole for it to stand in and use liquid nails to keep it in place ..for the sign I will put Welcome to (the family name) and give as gifts cheep and homemade are cherished for years to come
Jenna
I fell in love with this project when I came across it on Pinterest! What a great tutorial, too. I’m hoping to include it in my Inspiring Christmas Projects post in the next few weeks with a link back and credit to you.
Sylvia
So excited to use this is display cookies for a Dessert Auction!
Debbie ghent
Very cute idea for christmas
Elly
Adorable. I love it :-)