
Remember that big felt Christmas decoration that I snagged on a recent trip to Dollar Tree? I used it as a stencil and spray painted myself some placemats! Then I figured, why stop there? I had a stained white table runner laying around (I should know better than to buy white table linens by now!) so I stenciled that as well. I prefer snowflake-themed decorations for the holidays, but I also saw similar felt decorations in the shape of Christmas trees and other holiday motifs. Or, you could use an actual stencil. Feeling extra creative? Make your own stencil! Whatever you choose to use, here’s how it’s done.
Project estimate:
- Felt Christmas decoration, $1
- Placemat, $1
- Spray paint, on hand or $1 and up
- Newspaper, on hand
Total: $2 and up
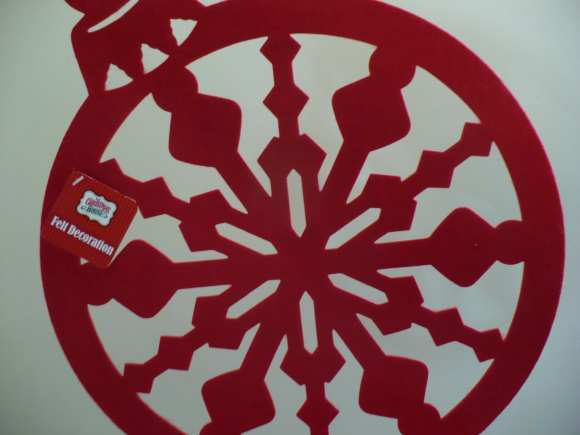
First, you need a stencil. This large felt Christmas-ornament-shaped decoration was my stencil.
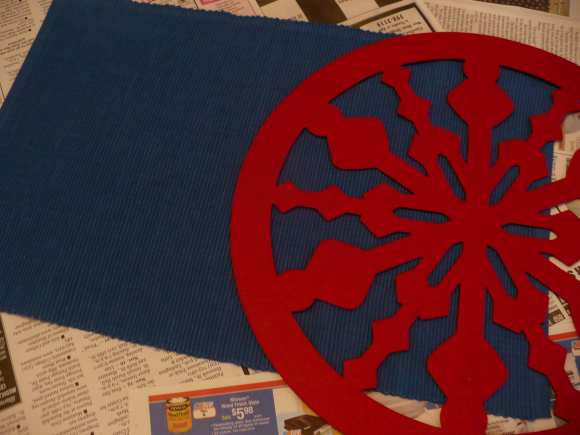
Position the stencil on the placemat where you would like the painted shape to appear.
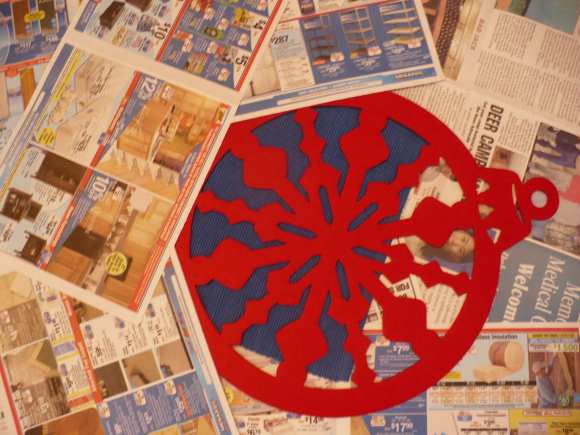
Use newspaper to mask off the rest of the placemat. You may also wish to tape long the edges where the masking meets the stencil to avoid overspray from getting through any small gaps. Spray paint over the stencil. Once the paint dries, you can reposition the stencil and add another image if desired.
Note that if you are using a light colored paint on a darker background, it will take extra coats of paint to show up. I was surprised how much white spray paint it took to achieve the look I wanted against the blue!

I like the way the edges are fuzzy from the overspray seeping under the edges of the stencil; I think it gives the snowflakes a more organic look. If you prefer a more crisp line, try holding the stencil down with spray adhesive.
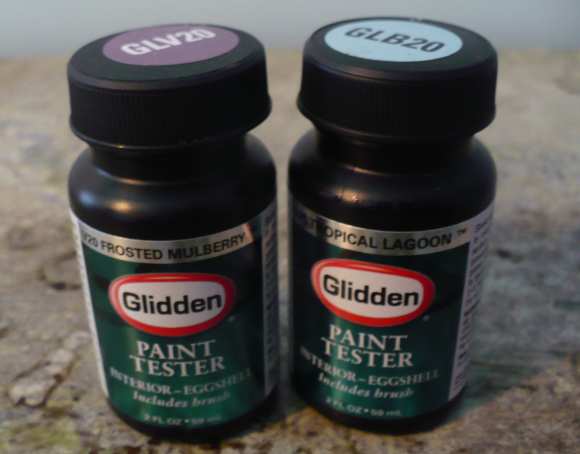
You can also paint around the edges of the snowflakes to give them definition. I used some free samples of interior paint I got from Glidden earlier this year.
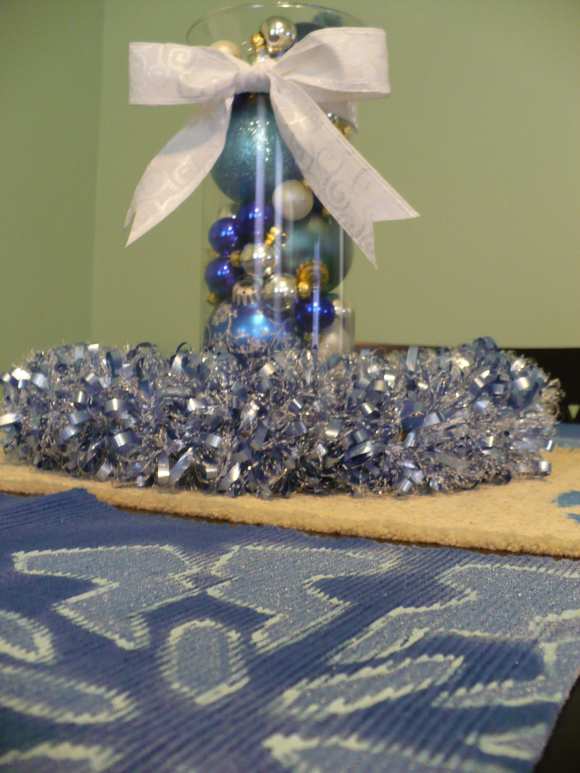
I finished off my table display with an easy centerpiece. I started with a candle centerpiece left over from my wedding, removing the candle and decorative stones. Then I filled the vase with varying sizes of Christmas bulb ornaments. Instant centerpiece! I finished off the look with the 5 minute tinsel garland wreath from Creature Comforts that you may have seen recently on the DSC Facebook page.


5 Comments
Kristi S
Looks great! This is one of my favorite projects to date on this blog. I think I would remove the bow though. At least in the photos, it makes the pretty ornaments less visible.
Kathy V.
Super crafty!!
Angelica
Great idea, thanks for sharing!