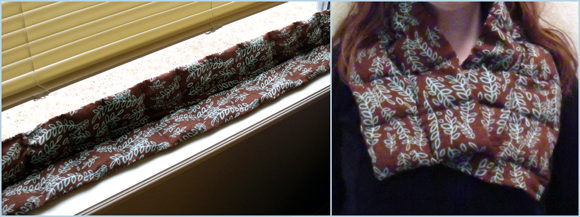
A “Draft Dodger” is a simple tube of fabric stuffed with other fabrics or materials. It is used to keep the outside cold air from sneaking into your home through the threshold of your doors and the sills of your windows. There are many ways to make them, but I decided to make one that could also double as a microwaveable neck heat wrap!
Project Estimate:
- Cotton fabric and thread, on hand
- Pinto beans, on hand or $2.00
Total: $2.00 and up
Instructions:
(Click the pictures next to each step to see a bigger version.)
| 1. | Measure the area where your Draft Dodger will be placed (along the bottom of a door, the inside ledge of the window, etc.). This will help you determine how much fabric you will need. The average amount is about 36″ x 8″ – about a quarter of a yard. | |
| 2. | Select fabric and thread. Select a fabric that’s a little on the heavy side. Select thread that is compatible with the fabric weight and color you’ve chosen. IMPORTANT: Make sure you use natural fibers – others may melt or burn in the microwave!
You will also need a bag of 2 pounds of dry beans (I used pinto beans), non-instant rice or feed corn (not regular corn – otherwise you will make popcorn!). You can also put in some lavender, or other items to make it smell good. |
|
| 3. | Cut your fabric the same length as the inside of the bottom edge of your window (or along the bottom edge of your door), plus 2 inches to allow for stuffing (when you fill it, it will get a bit shorter as the fabric allows for the added height) and 1 1/4 inches to allow for a 5/8 inch seam. | 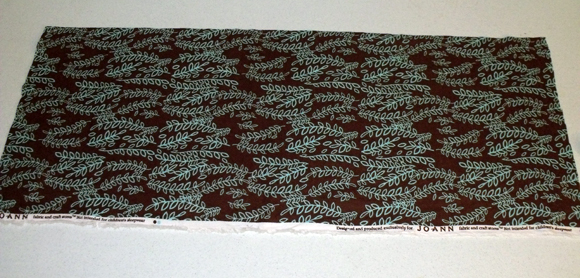 |
| 4. | With the “right” sides of the fabric facing, fold the fabric length-wise and pin it together along the open edges, placing the pins about 4″ apart. You now have a pinned, rectangular “tube” that is inside-out.
On the sewing machine, sew one end and the long side of the tube closed, using a 5/8″ seam. Do NOT sew both ends closed. Remove ALL pins. |
 |
| 5. | Turn the tube right-side-out. If you have difficulty, insert the handle end of a spoon or other blunt-ended tool into the closed end. Working with your fingers, manipulate the tool through the full length of the tube until the spoon brings the closed end out the open end. Now you have an open-ended tube that is right-side out. | 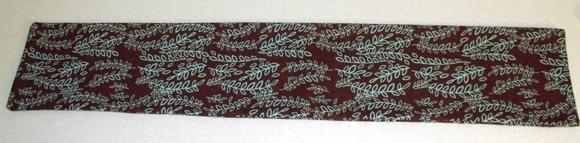 |
| 6. | To keep the beans from sliding to one side, stitch a seam down the middle of the tube. To make it easy, I folded the fabric in half the long way, ironed it for just a second to leave a crease, then used pins to mark the line and keep the fabric together and not bunched up. Leave a little bit of room at the open end so that you can turn in the ends and create a seam to close the tube later on. | 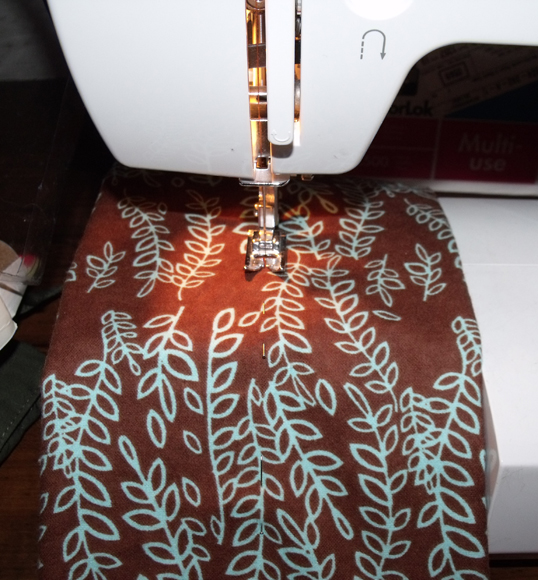 |
| 7. | To keep the beans from ending up on one end of each chamber, I decided to make little “pockets” for the beans, so that they would stay evenly dispersed, and I didn’t have to keep mushing them around to get them to stay even. This also helps keep them evenly heated.
Along the long side of your fabric, make a mark every 3 inches. These will be where your pocket seams go. Then add half a small Dixie cup of beans to each side of the chamber. Note: I started by marking my tubes every 5 inches along the long side, then adding 1 full small Dixie cup worth of beans, then stitching the pocket shut, but I found out that not only did it use up all my beans too quickly, they still fell to one end, and wasn’t as even as I wanted. |
 |
| 8. | To keep the beans out from underneath the sewing machine foot and running all over, use pins to keep them in the bottom of the pocket while you sew the seam across both chambers. | 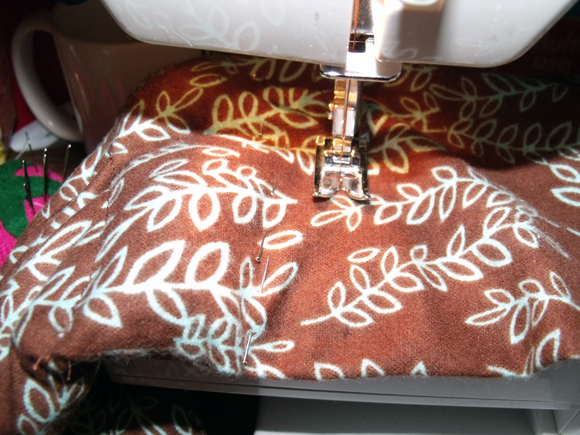 |
| 9. | When you get towards the end, leave a bit so you can turn in the ends to create a seam and close your tube (if you didn’t leave enough room when doing your long seam down the middle, you may need to use a seam ripper to open up the seam going the length of the tube so you can do this). | 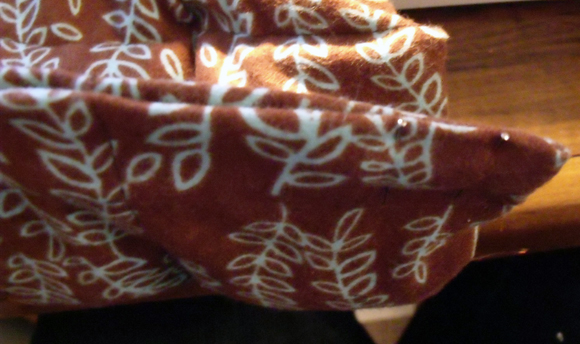 |
| 10. | To use as a Draft Dodger, place it in your windowsill (or at the base of your door). (Even my dog likes it as a headrest!) | 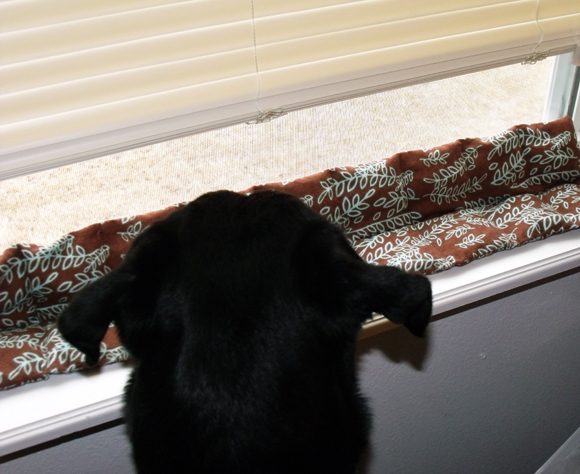 |
| 11. | To use as a microwave-heated neck wrap (you can use this wherever you want on your body, I need it for my neck), microwave for 1 minute. It may not seem like enough, but trust me – 1 minute, 30 seconds is too much – you start to burn the beans! The first few times you heat the wrap, it may smell funky trying to get all the smells from the processing plants out. Just open some windows and turn on a fan. |  |
Note: To clean, use a lightly damp cloth to rub on outside. Due to the nature of the filling, don’ soak or wash it washing machine – your filling will cook! You can also make a machine-washable cover for it (make a tube that’s just a little bigger, and put the wrap inside). You’ll end up with a long, skinny version of a pillowcase. You can make a couple different ones in different colors to change out throughout the season, or to have one as a backup when one is in the wash.


2 Comments
Nancy
I love this dual-purpose project! (And I love that brown and blue fabric!!!) Thanks for all of the great tips about what to do–and not to do. They were both helpful and amusing!
diy-day.com
Man, I’ve been weatherproofing my home the wrong way all these years…