As a kid, I had a few little treasures that I saved in a special box, including a few necklaces and friendship bracelets. This flattened bottle cap necklace is easy to make, cheap, and a good gift to give to little friends. It will only take you a few minutes, and you just need a few common supplies. Oh, and you can keep it in your treasure box when you’re not wearing it.
Don’t be intimidated! I promise this project is super easy! Even if you have never used tools like a hammer or needle-nosed pliers, you can do this. I actually put off trying this because I thought poking a hole in a bottle cap with a hammer and nail would be too hard. Nope! It was quick and easy.
Project Materials:
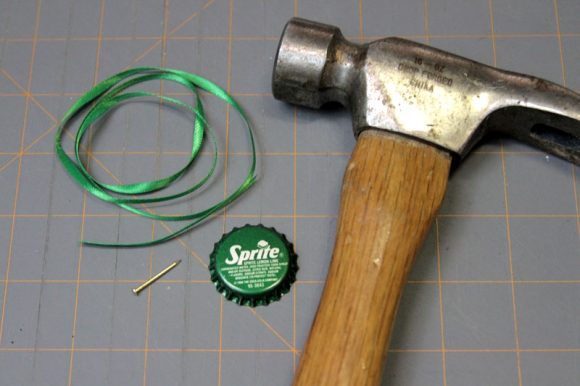
- Bottle caps, on hand
- A small nail, on hand
- A hammer, on hand
- A jump ring, on hand
- Needle-nosed pliers, on hand
- A piece of ribbon or cord, on hand
- A surface to hammer on, such as a self-healing mat or a piece of recycled corrugated cardboard (the sturdy, thick kind of cardboard), on hand
Total: FREE
About my supplies:
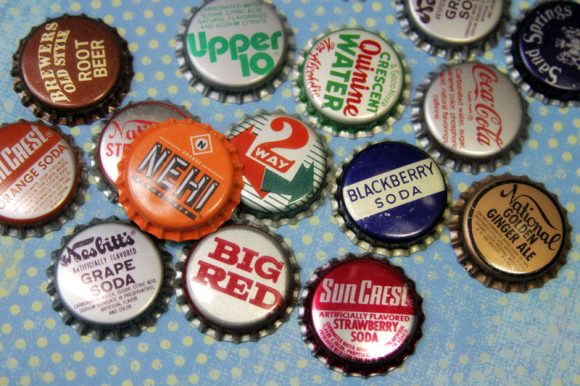
Bottle Caps: I got a pack of vintage bottle caps at the Bottle Cap Co. website, but you could buy an old-timey glass soda, drink it, and then use the cap, or even a new-timey soda like Izze, bottled root beer, or Jones Soda. They often have bottled soda in the Mexican food section of your local grocery store, or check convenience stores.
Jump Rings: These are the little split rings used in jewelry making. You can buy a small package in the jewelry-making section of your local craft store (or dollar store, sometimes), or take apart an old piece of jewelry and re-use the jump ring (check with your mom first!)
Needle-Nosed Pliers: You can buy these in the floral section of the dollar store, or ask your mom or dad if they already have a pair (they probably do!). You just need this to grip the jump ring and open and close it.
To Make the Bottle Cap Necklace:
1. Prepare your work surface by laying out a piece of corrugated cardboard or a self-healing mat.
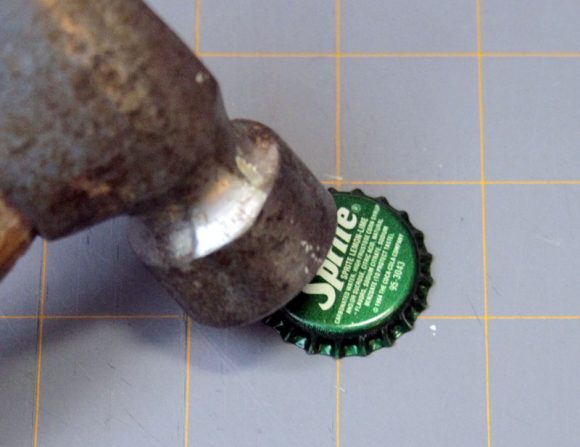
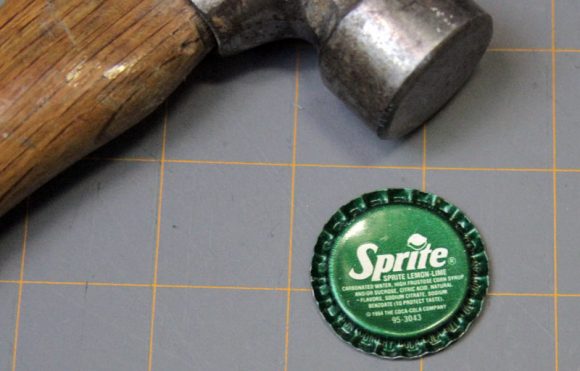
2. Put the bottle cap on the work surface, and gently tap it all the way around the circle with your hammer. This will flatten the bottle cap a bit and make it more comfortable to wear.
3. Take your nail and put the point at the top of the bottle cap, near the edge. Lightly tap the nail until it goes all the way through the bottle cap.
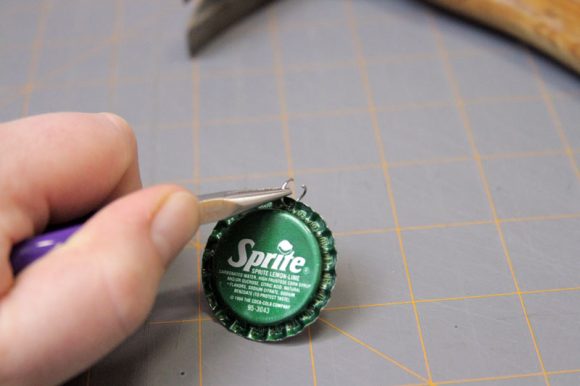
4. Open your jump ring using the pliers and your fingernails. You always want to move one side one way, and the other side in the opposite direction to retain the circular shape of the jump ring. Visit this link for more detailed instructions on opening a jump ring.
5. Slide the jump ring through the hole in the bottle cap, and close the jump ring in the opposite way you opened it.
6. String the ribbon through the jump ring, tie the ends, and wear and share!


