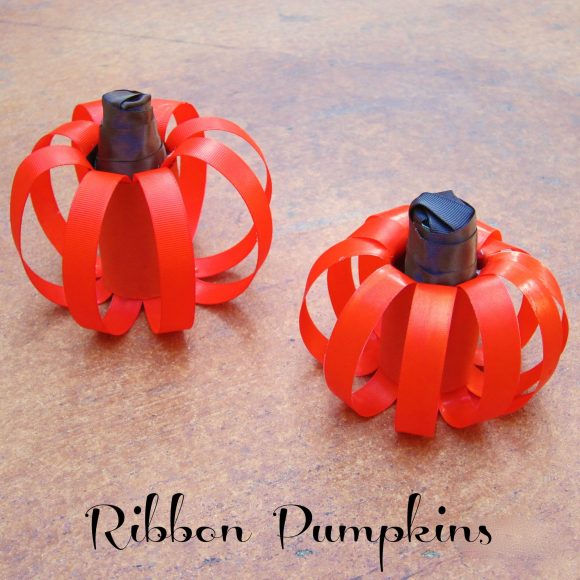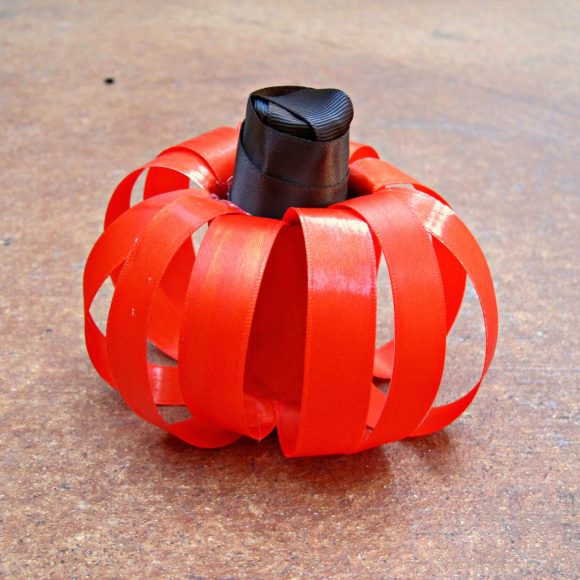
I was thrilled to find a huge assortment of ribbon on my last trip to the dollar store! Grosgrain and satin ribbon in an assortment of fall colors. I used them to make inexpensive ribbon pumpkins! They look adorable as a decorative item, and could work as place card holders at Thanksgiving, too.
Project estimate:
- Ribbon, on hand or $1 and up
- Fabric stiffener or starch, on hand
- Toilet paper tube, on hand
- Orange paint, on hand
- Hot glue gun, on hand
Total: Free and up

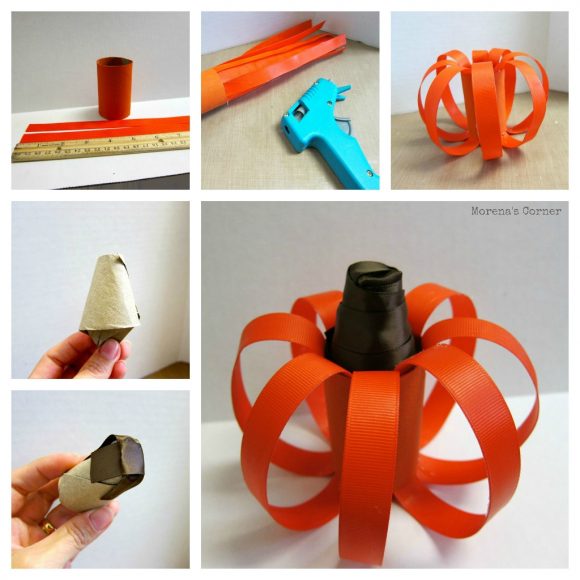
- Cut your ribbon into 6 inch strips and cover with the fabric stiffener or starch.
- Cut the toilet paper tube to 3 inches tall (save the excess) and paint it orange.
- When the ribbon is dry, glue each strip to the inside of one end of the painted tube.
- Curve the ribbon over and glue it to the inside of the opposite end.
- For the stem: Roll the excess part of the tube into a cone shape and cover it with ribbon. Glue it onto your pumpkin.
Your ribbon pumpkin is done! I used orange ribbon, but it would be fun to do a variety of colors and sizes to create a display. Enjoy!

Looking for more pumpkin crafts?


