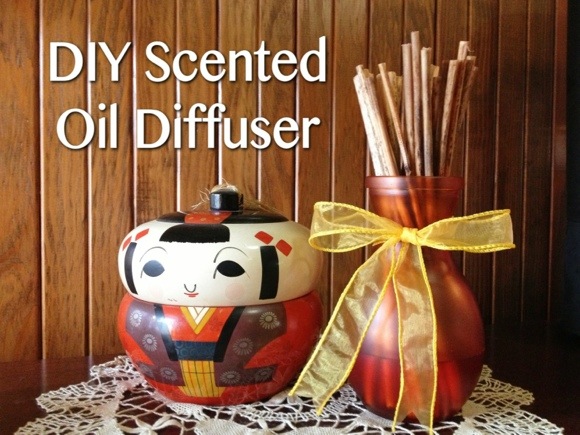
I’m a big fan of filling my house with pleasing scents. However I’m not a fan of anything that uses extra electricity or requires me to constantly manually refresh it. That’s why scented oil diffusers are a product I’ve come to love. They’re generally inexpensive to get store-bought so making your own won’t save a ton of cash, but I made a DIY version anyway because I was inspired by a series of events. With some materials plucked from nature and a little help from Dollar Tree, you can make your own scented oil diffuser as well!
It all started when a package arrived in the mail at the office where I spend my mornings. It was a package for my boss, sent by his father, an avid gardener. In order to secure the contents of the box, he had cut down handfuls of dead flower stems to use as packing material. The stems were removed from his garden in preparation for winter, so using that waste as packaging seemed a brilliant idea to me.

Then the boss’ wife had an even better idea. Once the box was unpacked, she filled a large vase with the stems rather than throwing them away. I was amazed at how striking the look was, considering that she’d just decorated the office with something that most would consider compost!
I posted a photo of the stem-filled vase on Instagram. That’s where one of my IG friends, a local artist known on Instagram as @typedrawer, made the suggestion. He commented that he was curious if they would work to create a scented oil diffuser. The idea made sense – I mean, isn’t that pretty much what Mother Nature designed the stems to do in the first place?
Project estimate:
- Dead flower stems, free
- Bud vase, on hand or $1
- Liquid potpourri, $1
- Ribbon (optional), on hand or $1
Total: $1 and up
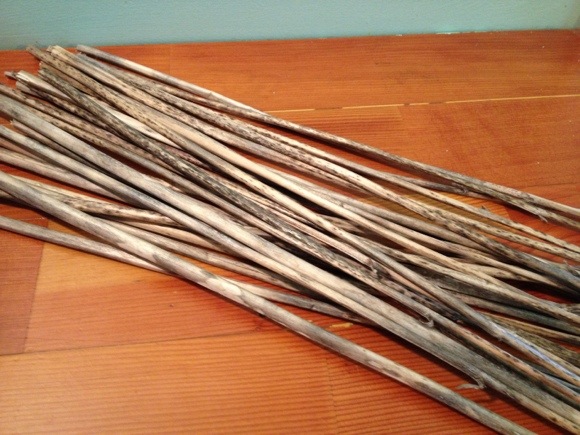
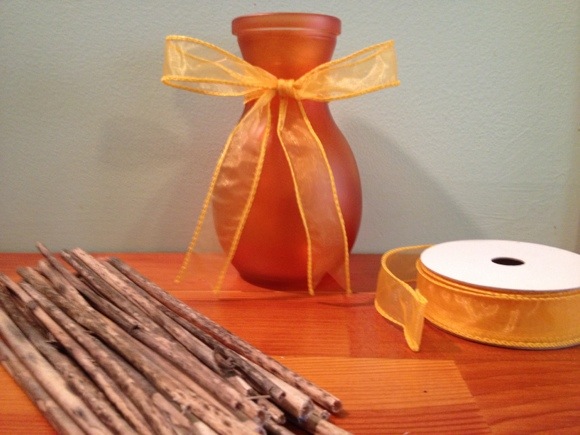
When selecting your flower stems, look for specimens that are long, fairly straight, and free of leaves. I believe that the stems I used came from some kind of lily because that’s mainly what my boss’ dad grows.

A smaller vase like a bud vase works best for this project. The one that I used for my diffuser came off the shelf at my local Dollar Tree and has a squat, rounded shape to it. It came with a little plastic, crystal-like butterfly charm around the neck, which I set aside for a future project.

If you prefer a more sleek look, they also sell these taller, skinnier vases in a variety of colors.
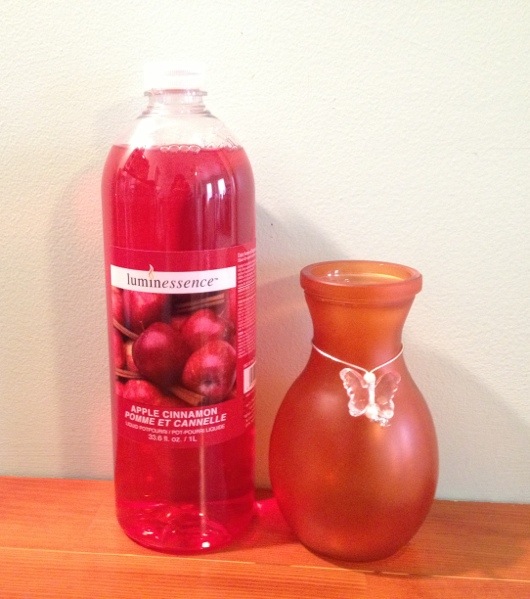
You will also need a bottle of liquid potpourri. I know, it’s not the same thing as scented oil. But I will tell you a secret. As I was standing there debating whether to get the huge bottle pf potpourri or the tiny bottle of scented oil, I grabbed a scented oil diffuser off the shelf and flipped it over to read the back of the box. The ingredients were water, alcohol, coloring, and perfume… Not a drop of oil! Knowing that the “scented oil diffusers” sold packaged as such were filled with basically the same things that liquid potpourri contained, I snagged the giant bottle. My house will smell great for months and months with this much fodder for my diffuser!
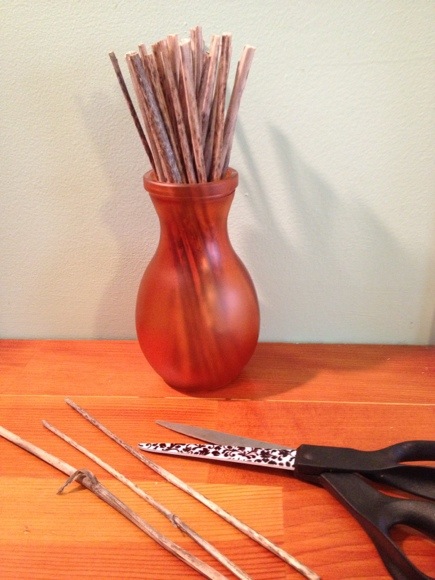
Trim the flower stems if needed to make them fit into your vase. I had long stems and a short vase, so I cut my stems in half to make them the right height. Stick them in the vase to check the height and adjust if needed until you are happy with how they look.
Remove the stems from the vase and, if desired, cut a length of ribbon to embellish the neck of the vase. Tie it off in a pretty bow.
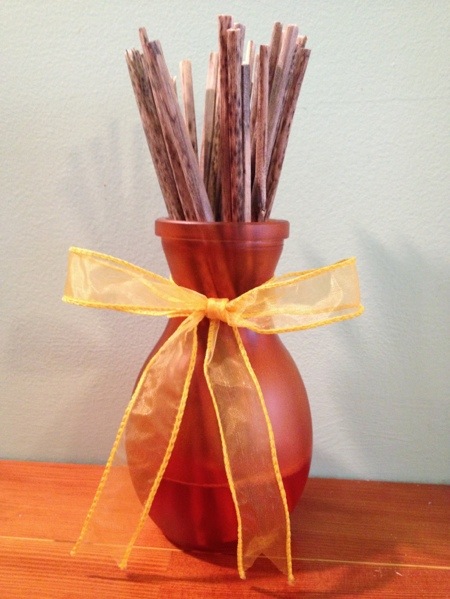
Now it’s ready to put into action. Start by pouring a small amount of liquid potpourri into the vase, enough to fill it about 2 inches. Let the stems sit in the liquid potpourri for 10 to 15 minutes to let them start absorbing liquid, then flip them over so that the wet ends are exposed. You should immediately notice a burst of fragrance! Keep the fragrance fresh by flipping the stems about once a week, or whenever the scent needs a little boost.
Add as many or as few stems a you want. More stems will diffuse more liquid and therefore result in a stronger scent; you can add or remove stems as needed if the diffuser is emitting too much or too little scent.


9 Comments
Jessica Erritt
Oh my! I love candles and well anything that makes my house smell amazing! Thank you so much for posting this! I think I will use Christmas ribbon! :D
Michelle L
Now that is a fascinating idea! Never would have thought flower stems would be reusable for anything – this is really clever, Rhonda!
Carrie B
Or better yet skip the artificial potporri liquid and use a few drops of essential oil in a base of a carrier oil, like canola or olive (which you can also get at the dollar store). Natural, non-toxic in many cases, and better for your lungs. ;-) I like these stems. Very cool, much better than tossing them out!
Teri
Awesome idea – I’ll be trying this one!
Shan
Love the idea! Can you tell me what the Japanese doll/dish is called next to you? Nana had one of these, and I would love to find another one. Thanks a million! -Shan
Myrna
Wow, just ran out and collected some hosta flower stems, alread had the bud vase and some liquid potpourri and presto. again Wow nice idea!!
Ariella
So going to try this out! Candles sometimes have bad affects to my sister and my lungs as we both have asthma, so hopefully oil won’t have the same affect! This is a very clear and simple tutorial, wonderful! :)
Karen
What an excellent idea! I’m off to my garden, then the Dollar Store. Perfect craft for gift giving and for a rainy afternoon. Thanks!