
A few months back I bought a bunch of these little frames from the Dollar Store to use as place card holders for our teaching staff. After the event I had no idea what to do with them. I shuffled them all around my craft room until yesterday when I said, “No more! I have to come up with something to do with these or get rid of them.” Being a craft supply hoarder of course I wasn’t going to throw them out. Here’s something really fun I came up with.
Project estimate:
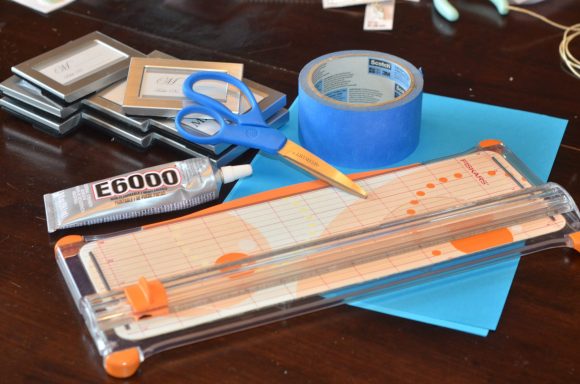
- Paper, on hand
- E6000 glue, on hand or about $3 and up
- Painter’s tape, on hand
- Small frames, $1 each (you will need approximately 7 or 8 frames total)
Total: about $7 and up
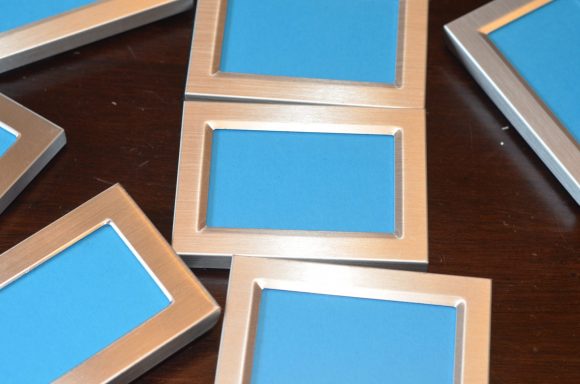
First decided what you are going to put into your frames. You can also decide at this time what you want your frame design to look like. We are a faith based family and I was excited to have a cross shape. Just cut the paper to size and insert into frames. I intend to write my personal blessings in each frame.

After you have your design in mind, place the frames face down in the desired shape. I flip them over because the face of the frames are flat and it will be easier to place them together.
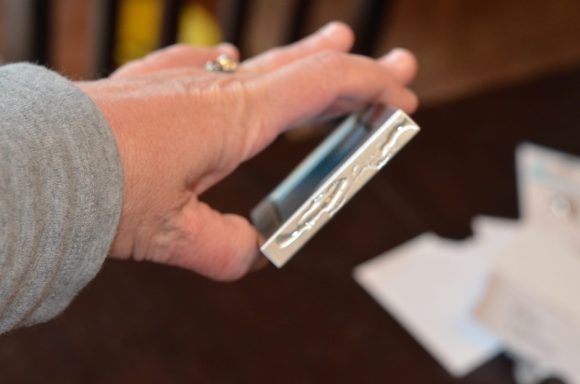
Place glue along the edges which will join with another frame. You may choose to use the blue tape to hold the frames in place after you glue them. Wait until you project is completely dry before handling.
These little frames are really fun and can be placed in any design.


