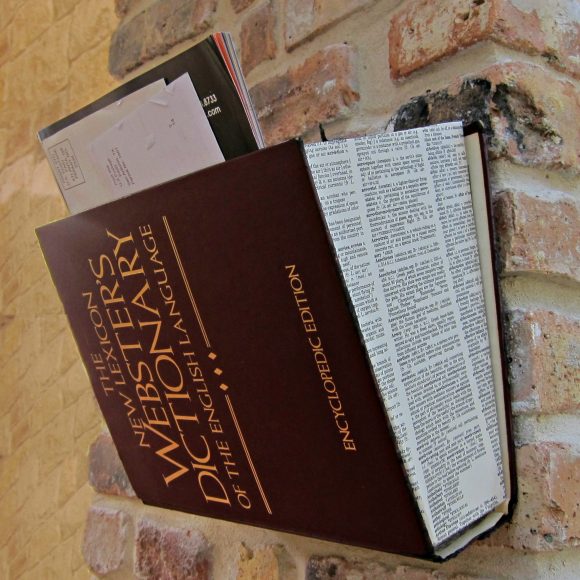
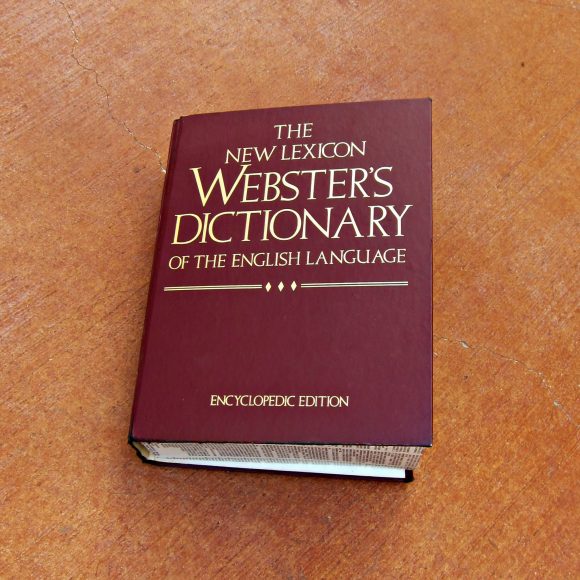
I’ve always loved books. As a child, I spent my allowance at the book store and my weekends in the library. When I visit thrift stores and garage sales, I’m always on the lookout for interesting books, not just to read, but to craft with. I found this wonderful dictionary at Goodwill and picked it up so I could use the text in projects. The cover was so nice that I decided to use it, as well. Now I have a fun mail holder in my office that matches nicely with the books on my shelves!
Project estimate:
- Hard cover book, on hand or $1 and up
- Cardboard, on hand
- Mod Podge, on hand
- Twine or string, on hand
- Hot glue gun, on hand
Total: Free or $1 and up
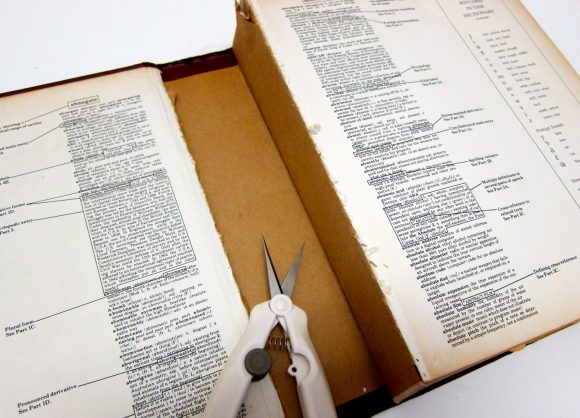
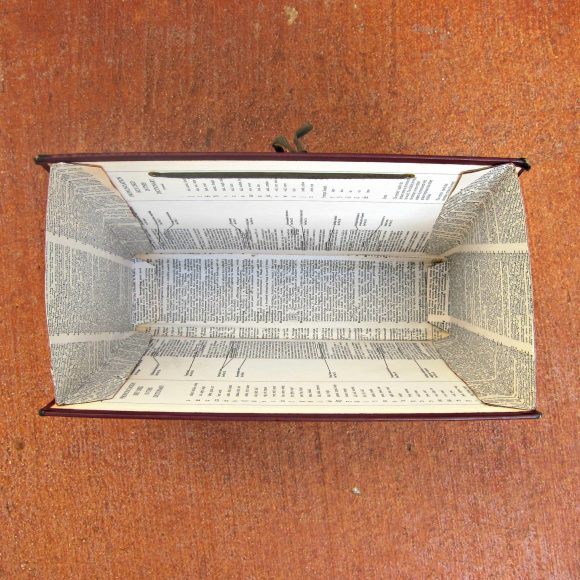
Step one: Cut the binding to remove the text portion of the book.


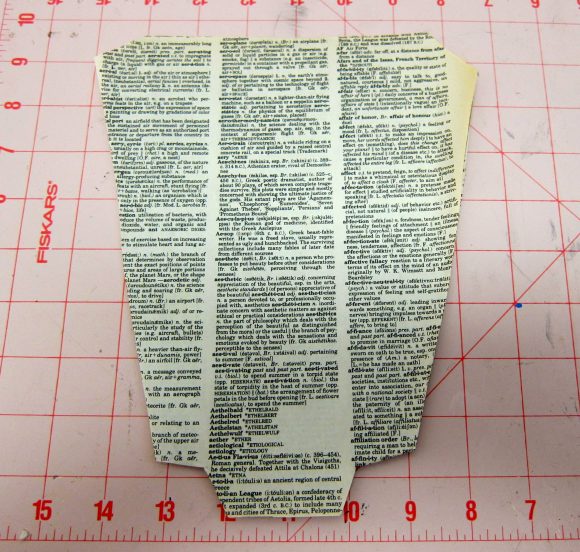
Step two: Place the book at a 45 degree angle on cardboard and trace. Add “wings” to the edge of your tracing. Cut as pictured, and fold as pictured.

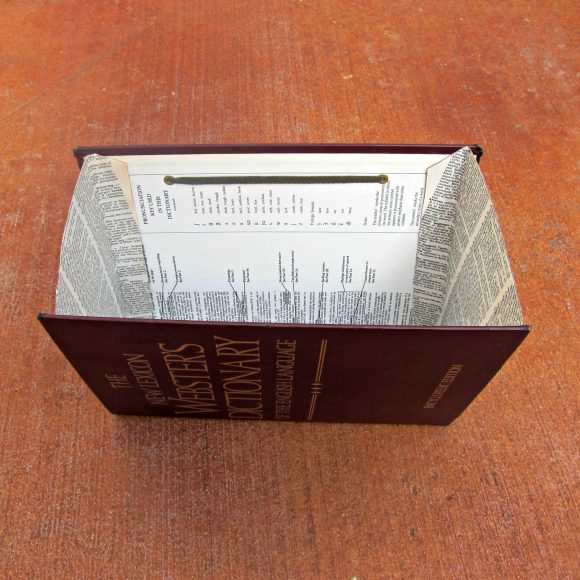
Step three: Use Mod Podge to adhere some of the book pages to the binding and both sides of the cardboard.

Step four: Make two holes in the back of the book cover. (Optional: I added eyelets to the holes.) Pull string through the holes and tie to make a loop.

Step five: Glue the “wings” of the cardboard to the book cover.
Your new mail holder is now ready to be hung on the wall! You could make one for each person in your home, or one for “incoming” and another for “outgoing” papers. With hardcover books every where (even the dollar store), you could make one in any color or size you like!


5 Comments
Bonnie Fulgham
I love this idea, and it would work well anywhere. Now I’m out looking for old books to gut!
Lifesart
Great tutorial! I have so many books my DBH says I will drown in them one day. This is a great idea for some of those huge ones that are just not so necessary in the age of the internet. Thanks!
Ronja Lotte
I love your idea and linked you at my blog here: http://nur-noch.blogspot.de/2014/08/eine-jukebox-zum-mitnehmen-bitte.html . Thanks for sharing!