This post brought to you by Dollar General. All opinions are 100% mine.
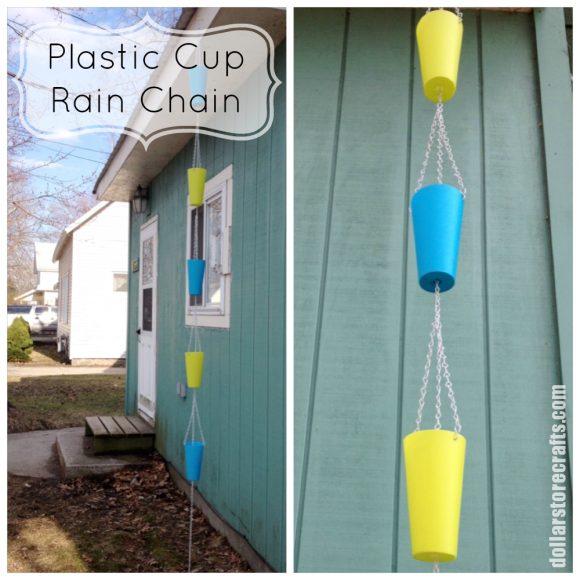 I've been wanting to make a rain chain for a while now, ever since I learned what they were (a decorative alternative to a downspout). So when the folks at Dollar General put out their spring merchandise this year, I starting mulling over what would be the best way to go about it. I'd seen some rain chains made using little metal buckets that I really liked, so I decided to use them as inspiration for my design. But instead of using metal buckets, I chose some brightly-colored plastic cups to give my rain chain lots of personality!
Project estimate:
- Flower pot chains, $6 (4 @ $1.50 each)
- Large plastic cups, $5
- Locking pliers, on hand
- Nail, on hand
- Candle, on hand
- Dremel tool or drill, on hand
Total: about $11
My design uses 5 "links" that are each about 18" long; the amount of materials you need may vary based on how long you need your rain chain to be.
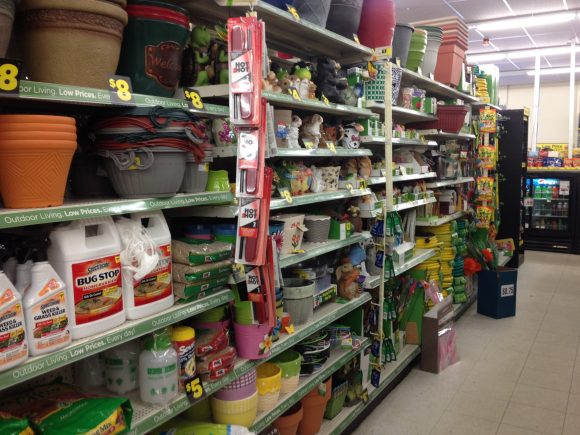
I always love Dollar General's selection of garden stuff. Every year I find so may great treasures there!
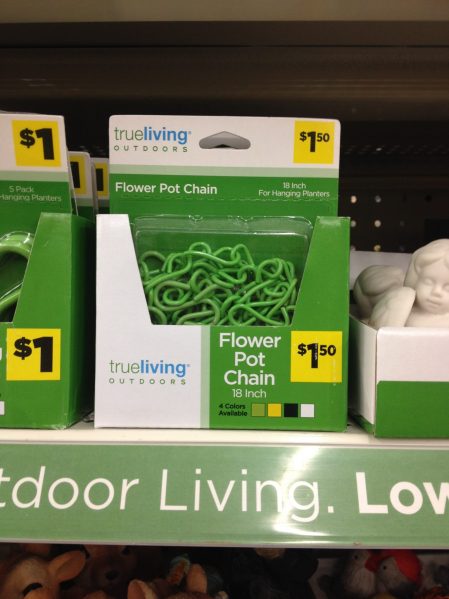
Shopping with a rain chain in mind, one item that caught my eye was a selection of flower pot chains. Each package contains three 18" lengths of chain and 4 S-hooks, which come in several different colors.
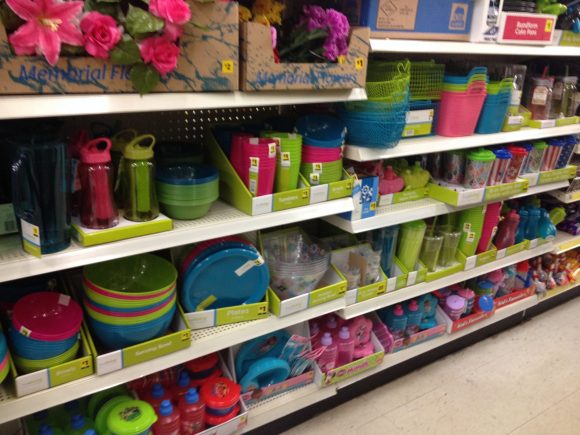
I also browsed the plastic cups. I love the color scheme they have going on with their plastic picnicware this year, and I ended up with 5 large cups that cost $1 each; three blue and two bright green.

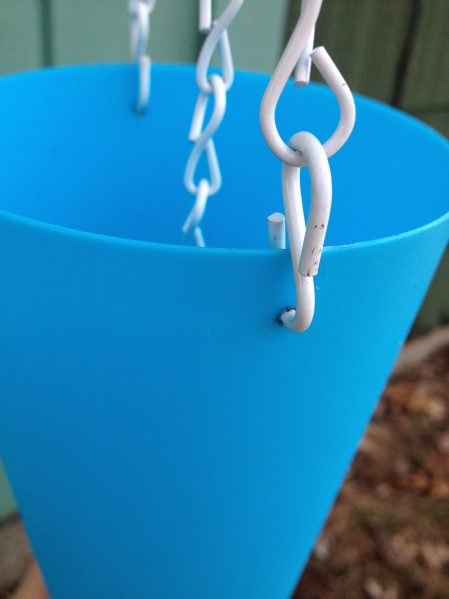
To assemble the chain portion of each "link" you will need two lengths of chain. First, slip an S-hook into the end of one length of chain.

Next, find the center point of the second length of chain. Slip the S-hook through the center point of the chain to make two equal-length sections. (Note that you may have to put the S-hook through one link each from two adjoining bits of chain to get to the exact center.) Pinch the S-hook closed with pliers to secure the chain. We will call this Hook A. Also add an S-hook to the end of each of the shorter sections of chain and pinch closed. We will call these Hook B and Hook C. Repeat for as many "links" as you will have in your rain chain and set aside.
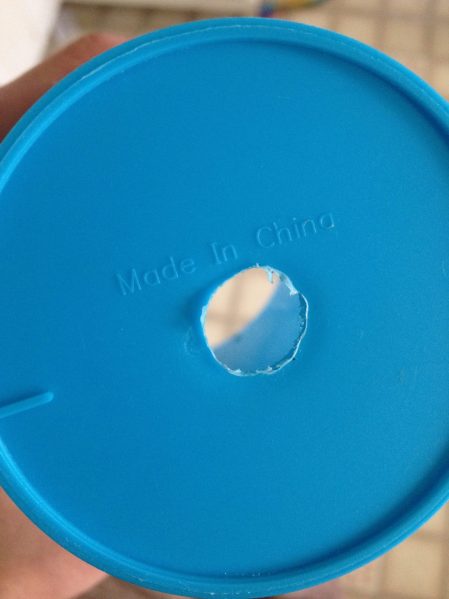
In order to connect the cups into a chain, you will need to make a few holes. First, use a Dremel tool or a drill to make a hole in the bottom of each cup. These holes should be large enough for the chain to slide through with a little bit of space to spare.
You will also need to make two holes near the rim of each cup, directly across from each other. The tops of my cups were a little flimsy to drill, so I made them using a hot nail. (Do this in a well-ventilated area or outdoors to avoid breathing the plastic fumes!)
Hold a nail in a pair of locking pliers (locking pliers are important because you really don't want to drop that hot nail!) and hold the tip over a lit candle. When the nail is hot, carefully press it through the cup at the point where you want the hole to go. If you don't feel comfortable eyeballing the placement of the holes, you may want to mark the places where you want to make them with a marker first.
To assemble, slip Hook B and Hook C into the two holes near the rim of a cup and pinch the hooks shut. Feed the longer section of chain through the hole in the bottom of the cup. To attach the next link, connect Hook A from another link to the end of the chain sticking out of the bottom of the previous cup. Repeat until all of the links are connected! 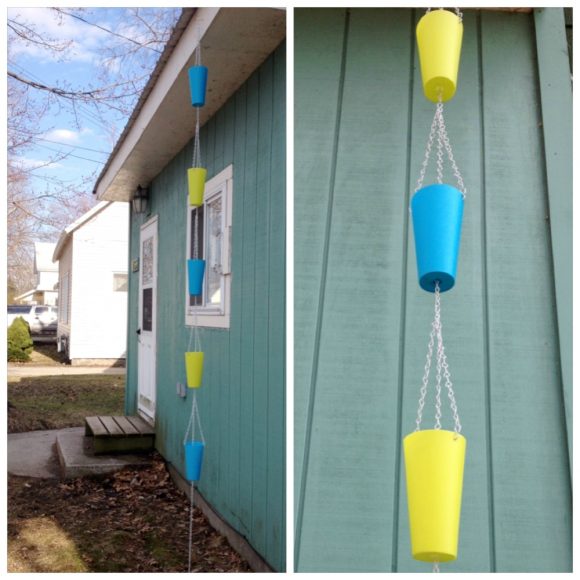 If needed, you can also add an extra segment of chain to the very bottom of the rain chain to direct the water all the way to the ground. Hang the rain chain in place of a downspout. (I know, you're probably thinking, Rhonda, your house doesn't have gutters! Yeah, I know… A very rough winter led to them being ripped down by ice and we have yet to rehang them, so for now my rain chain is just for looks, but eventually it will actually be functional!)
What do you think? Does your house need a rain chain this year?


4 Comments
Kat
I like this I never heard of a rain chain before but this is actually really cute
Michelle L
Dollar store flower pot chain!!! A genius move. Love your rain chain, plastic cups for the bells is such a fun idea.