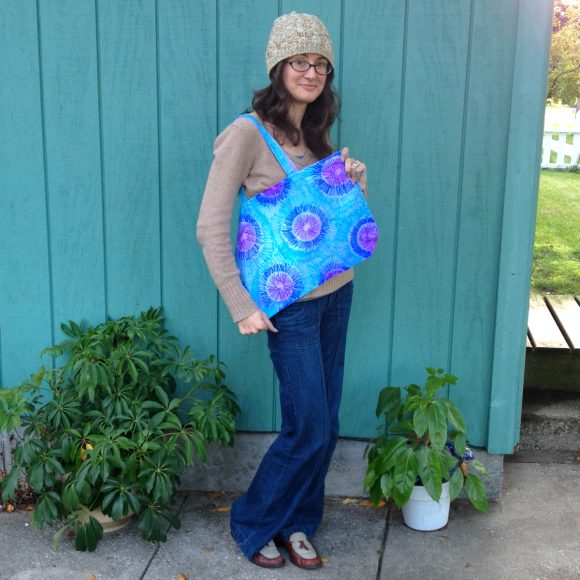
A while back I bought a canvas tote bag at a local discount store – it was a plain white bag of a nice size, and it was cheap, so I picked it up with no particular plans for it, but knowing that it would make a good project. A few weeks later I got a new laptop, and discovered that the tote bag was the perfect size to covert into a laptop bag. I haven’t gotten quite that far yet, though, because first I needed to decorate it.
I thought long and hard about what to do with it, and finally came up with an idea. Inspired by a t-shirt craft my aunt set up for the kids at a family reunion a couple of years ago, I decided to give it a faux tie dye makeover – with Sharpies! Watch the video below to see how it’s done. Don’t like videos? Keep scrolling for instructions!
Project estimate:
- White canvas tote bag, about $2.50 and up
- Colored Sharpies, on hand or $1
- Rubbing alcohol, on hand or $1
- Spray bottle, on hand or $1
- Cardboard circle, on hand
Total: about $2.50 and up
Since this project uses permanent marker, and because it can get kind of messy with the potential to stain, make sure your work surface is well protected. Cardboard works well for this; something waterproof works even better.

Pour rubbing alcohol into a spray bottle and set aside.

To make the faux tie dye, you will need three colors of Sharpie markers that you will use to make concentric rings of color, with color A at the center, color B around that, and color C around the outside, also making up the background color. You’ll also need a cardboard circle to use as a template for starting each set of rings. (I used the label off of a roll of duct tape.)
Before you start drawing on your bag, you may want to place a piece of cardboard or some newspaper inside to prevent the marker from bleeding through as you draw the design, as well as later when you use the alcohol to finish the effect.

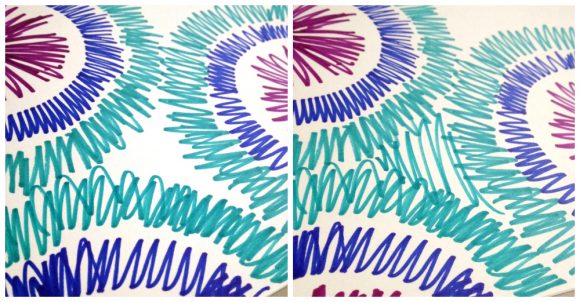
Place the circle template where you want the center of the first tie dye ring to go, and use color B to make a scribbly, zig-zag line all the way around the outside edge. You can make this ring of color as wide or as narrow as you want, as long as you keep it the same width all the way around.

Remove the circle template and use color A to fill the center with a starburst-like, zig-zag circle.

Use color C around the outside edge to make the final scribbly, zig-zag ring, again keeping it a consistent width all the way around.

Figure out where you would like the next set of rings to go and place the circle template accordingly, repeating the process.
As you complete sets of rings, also use color C to fill the spaces left in between. Repeat until the entire bag is covered.
This is where it can get messy, so be careful! Use the spray bottle to saturate the entire bag with rubbing alcohol. As you spray the fabric, the colors will run into the surrounding fabric, creating a dye-like effect. Just spray the whole thing down and set it aside; it might not look like much is happening at first, but as long as the fabric is saturated, it will continue to bleed as it sits and the effect will intensify.
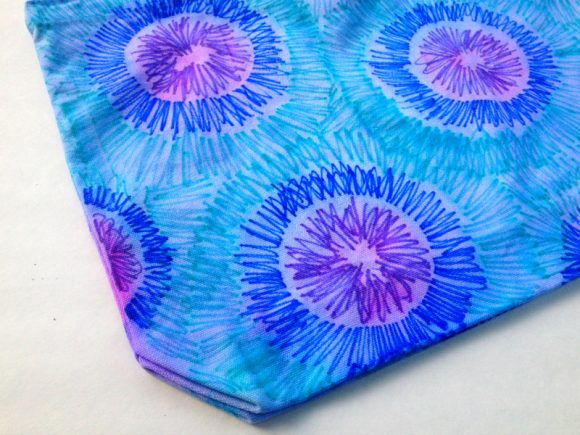
Don’t rinse it or ring it out, as this will cause you to lose some of the intensity of your color; just set it aside to dry! Depending on humidity, it may take a day or more to dry, but it’ll be worth the wait!
Now I just need to line it with foam and I’ll be ready to rock it as a laptop bag whenever I take my computer out and about!


1 Comment
Crafty Creative Gal
What an clever way to achieve the tie-dye look! Thanks for sharing :0)