Using a few bucks’ worth of materials from the dollar store, I made a spankin’ new non-skid bathmat in my favorite colors.
I
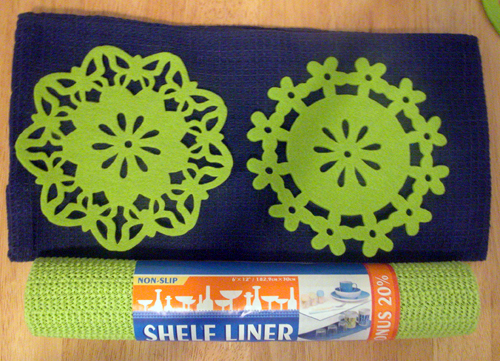
bought a 6′ roll of shelf liner to use as the non-skid surface on the
bottom of the mat. A large blue waffle-weave dishtowel was perfect for
the bathmat surface, and these cool felt cutouts were a good way to
dress up what otherwise would have been too plain. I also added an old
towel from my stuff to sandwich in between the other layers. It
provides some extra absorbency and nice cushion to the mat.
Project Cost:
- Shelf liner, $1
- Dishtowel, $1
- Appliques, $1
- Old towel, $1
Total cost: $3
To make:
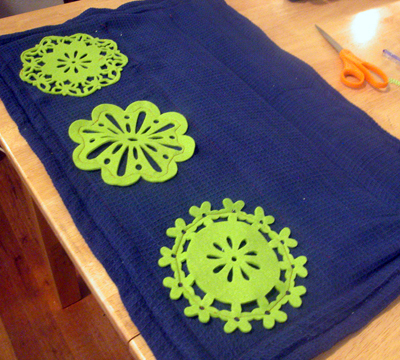
First,
I sewed the snowflake cutouts onto the right side of the dishtowel. I
just sewed around them with my sewing machine. It might be a good idea
to tack the centers down as well.

After
the appliques were sewn, I laid the dishtowel out on my work surface
and then cut a piece of towel to fit inside it–about an inch shorter
around all sides. (After I took the picture, I decided to cut another
piece that didn’t have that puckery piece at the end of the towel, as
shown. It was a good choice!)
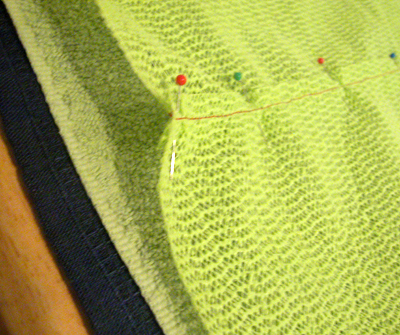
Then
I rolled out the shelf liner and measured it to the same size as the
green towel. It wasn’t wide enough, so I had to cut two pieces of the
shelf liner and sew it together. I just used a straight seam, figuring
it won’t really be seen. You could also sew it right sides together and
then put the seam-side facing in toward the towel.
Before I
started the project, I was concerned that the shelf liner stuff would
stick to my sewing machine plate as I tried to sew on it. It worked a
lot better than I was afraid it might, and went through without
sticking.
After the shelf liner was sewn, I trimmed it to fit and then put it on top of the dishtowel and the towel.
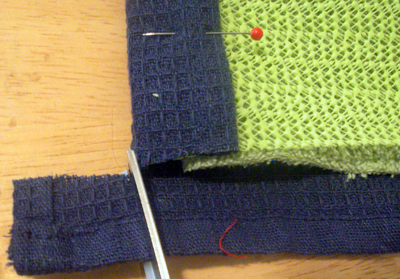
Then
I folded the dishtowel edges over and pinned them all the way around
the mat. I cut the corners of the towels out as shown because I wasn’t
sure my machine would sew through the thickness of the corners. If you
wanted to be a bit neater (and avoid a bit of a raw edge at the corner
after it’s sewn), you could cut across the corner diagonally and fold
the diagonal in and then fold over and sew.
After it was pinned,
I sewed all the way around the mat, and then turned it over and sewed
around the perimeter one more time to add topstitching. Then I sewed
across the mat just above the appliques, and then about 1/3 of the way
down from the top, just to keep the towel inside from shifting. If you
have one, you will want to use a walking foot for this step to keep the
top layer from shifting as you sew it.
You could also use the
same materials to make coordinating hand towels and curtains for your
bathroom! Or add some of the cutouts to a shower curtain or other
bathroom accessories. You could also use this mat in your kitchen or
entryway.


5 Comments
mamaholler
This is the best website.
I’m making this tomorrow.
mary walker
I am glad I happened to come here. I just finished a ‘left-over’ yarn rug and wanted something to keep it from skidding. I forgot that I had some left over shelf liner. It is just enough to do the backing. Thanks for the reminder.
heather
Oh great! Don’t you just love it when you can use up what you already have on hand?!
mamaholler
I haven’t forgotten about this yet. I wanted to do it immediately, but the local dollar store didn’t have anything but the shelf liner. I really like the idea. I might have to double the dollars to make it.