
I love nail art. But – and this is a really big but – I am generally not patient, coordinated, and artistic enough to pull off a nail art manicure on my own. I recently saw a really cute video tutorial for watermelon nails and, while fairly basic compared to many other nail art tutorials I’ve seen, it still felt like it was a little beyond my skill level. Taking that idea as inspiration, I decided to simplify the design down to more of a nail-art-for-dummies level. I even managed to use my extremely clumsy left hand to paint this design on my own right hand – if it’s easy enough for me to have left-handed success, anyone can do it, I promise!
Project estimate:
- Nail polish, on hand or $1 and up
- Toothpick, on hand
- Top coat, on hand or $1 and up
Total: $1 and up
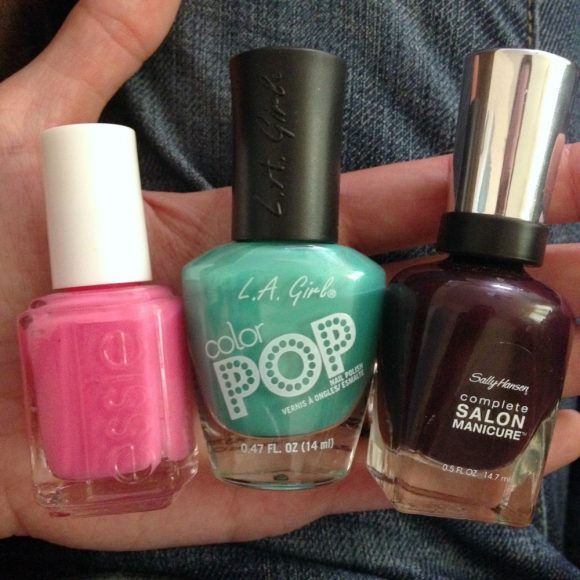
Colors I used:
- Pink – Essie, Off the Shoulder
- Green – LA Girl Color Pop, Peacock
- Black – Sally Hansen Complete Salon Manicure, Pat on the Black
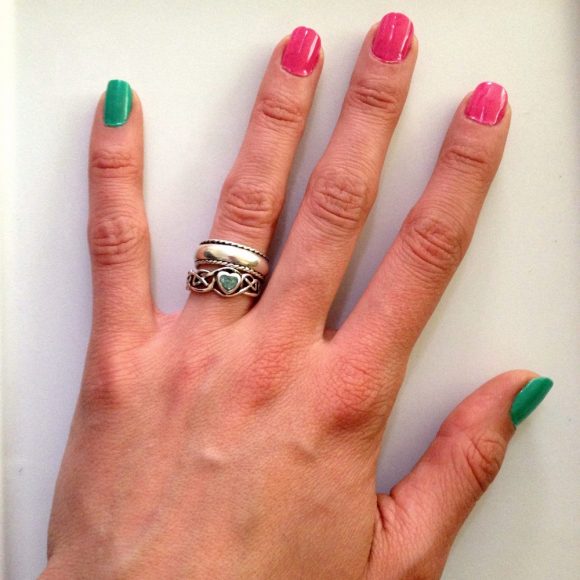
Start by painting a base coat of color on your nails. Paint your thumb and pinkie nails green, and paint the middle three nails pink. Let your nails dry.
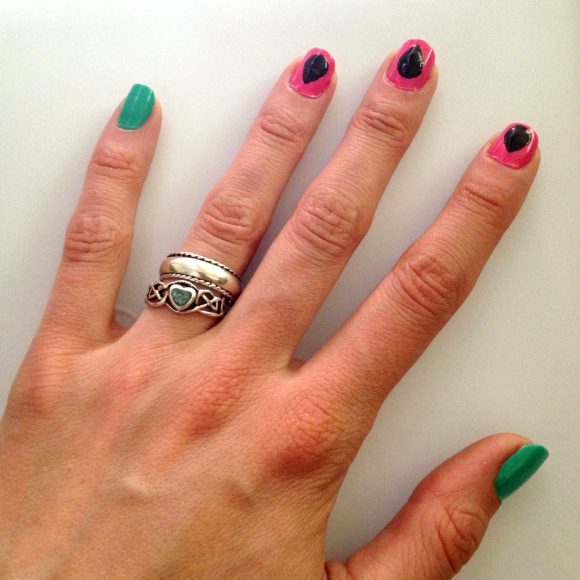
To add the seeds, make a drop of black nail polish on one of your pink nails. Use the tip of a toothpick to “pull” one edge of the polish outward to a point, creating a seed-like shape. Repeat on your other pink nails. (I chose to leave an accent nail on one hand without a seed on it.)
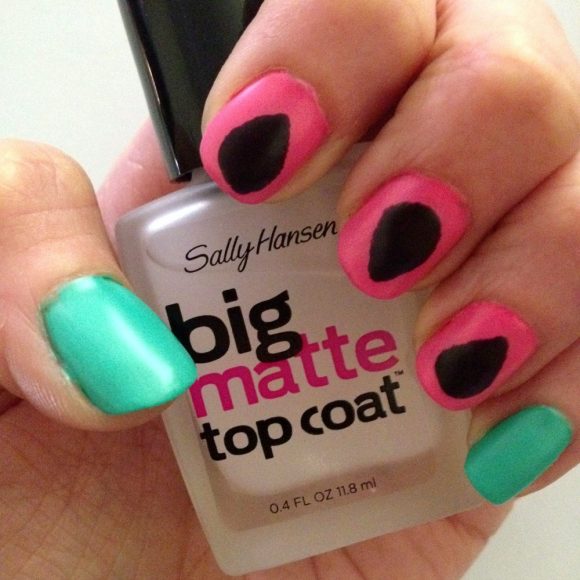
After the seeds dry, apply a topcoat to seal them and make the design last longer. I decided to give this matte topcoat a try and I love the effect it gives – try different topcoats for different finished looks!

I love how my nails turned out!


1 Comment