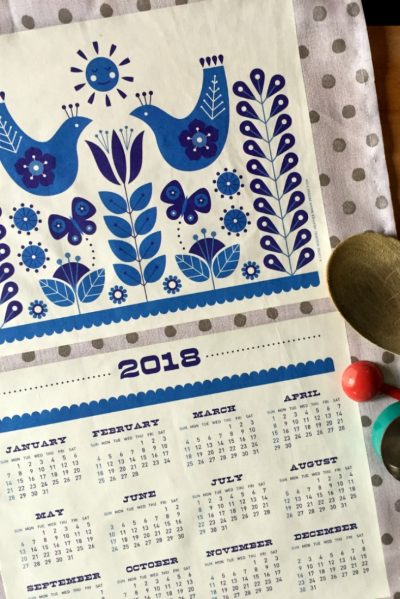
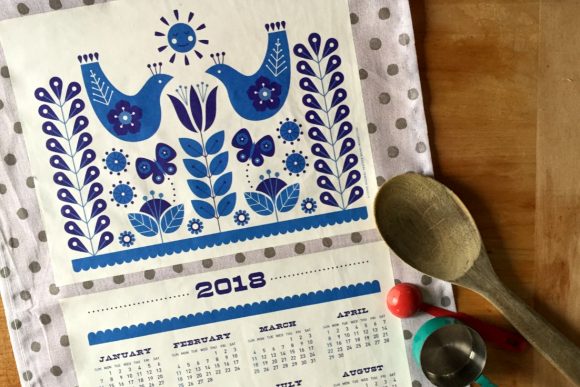
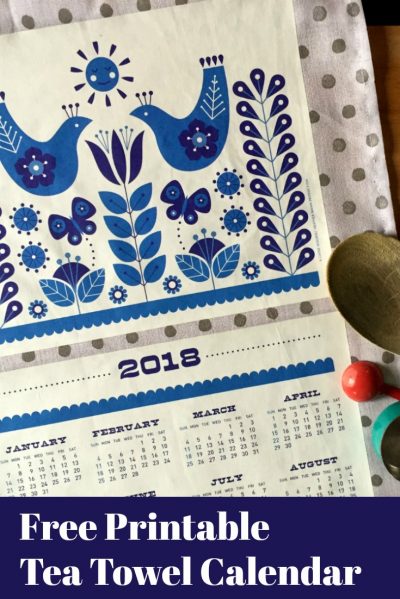
Looking for a lovely last-minute gift to make, or a way to perk up your kitchen for the new year? This free printable folk-inspired 2018 tea towel calendar is the perfect project for you! You just need a few simple supplies to create a gorgeous Scandinavian folk art-inspired tea towel calendar, and you get to choose from THREE different colorways so you can get just the look you want for your kitchen. And don’t forget to download the coordinating printable card to give along with the calendar.
- This is a long post, so if desired, jump to the Calendar Download here.
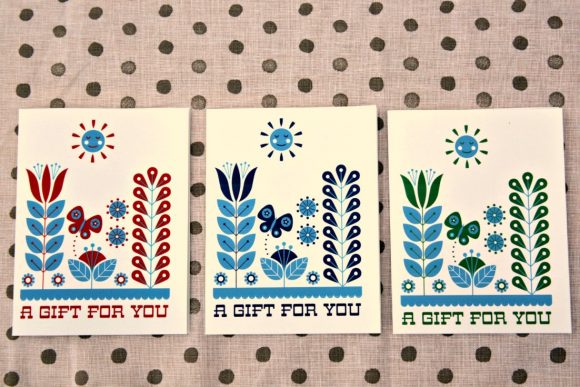
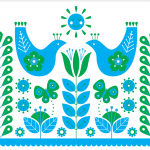
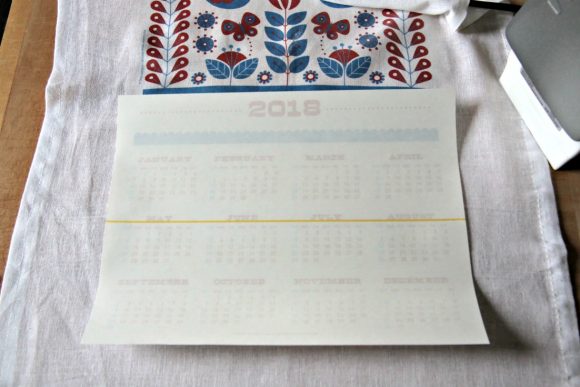
Download the coordinating printable card!
About the Collaboration:
In 2010, I teamed up with talented designer Cathe Holden of Inspired Barn to create a printable tea towel calendar. She designed the printables, and I made the calendar and wrote the instructions, and then we provided the free printables to you! This year, we have a new design available — our all-new 2018 printable tea towel calendar, as well a sweet card, that you can download (click the image above), print, and make for a special handmade touch.
Now, on to the project!
Supplies for the 2018 Printable Tea Towel Calendar:
This project is simple, but you definitely need a few supplies that will make it WAY easier. Don’t skimp on these supplies, as it will save you some headaches.
Supplies Needed:
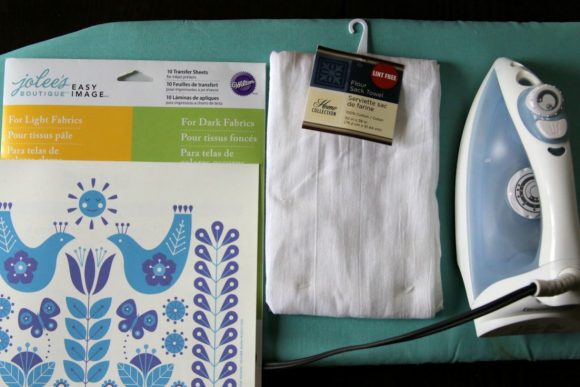
- Free Printable: 2018 Tea Towel Calendar
- A flour sack towel
- 2 Iron-on transfer sheets (buy them in a pack)
- Freezer paper
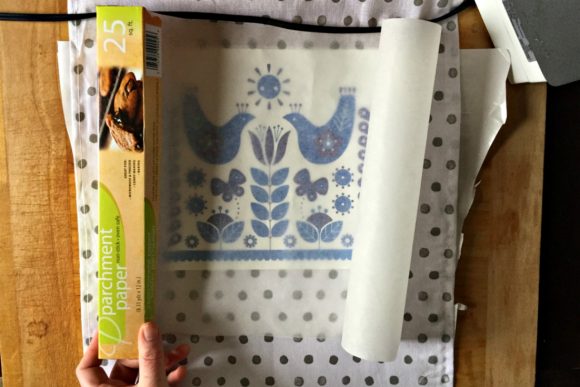
- Parchment paper
- Inkjet printer
- Iron and Ironing board
- Large wooden cutting board
- Sewing machine & thread
- Scissors, pins
Notes about the Materials:
Dollar store materials: I got the flour sack towel and parchment paper at the dollar store. I have seen iron on transfers there before, but I have never used the ones they sell, and I don’t see them there consistently. If you are using the dark fabric iron-on transfers, DO NOT SKIP THE PARCHMENT PAPER!
Tea towels: I got flour sack towels from the dollar store, but I also wanted to try something less plain, so I picked up a pack of four colored and patterned flour sack towels from Target for about $5 total. (The grey polka-dot towel used in the photo above is from the pack from Target).
Iron-On transfer sheets: I just bought a pack at my local craft store that had both transparent sheets and the type you use for dark fabric, because I wanted to experiment with both kinds. Honestly, I would not recommend the kind I used (you can see the brand in the photo), as I had many craftfails while making this project! If you are using a patterned tea towel, use the dark fabric type of iron-ons, but if you are using a white tea towel, use the transparent kind.
Freezer paper: This paper is waxed on one side, and paper on the other side, which means you can iron it onto your fabric and then easily remove it later. The freezer paper is a DO NOT SKIP supply because it stabilizes the flour sack towels while you apply the iron-ons, which is essential because of the loose weave of the towels. You can find freezer paper in the food wrap section of your local grocery store, or online (affiliate link to Amazon for your convenience): buy freezer paper.
Freezer paper is cheaper if you buy it in a store, but one roll will last you forever, and you can use it for many cool craft techniques like making iron-ons for perfect fabric stencils, or for paper piecing in quilting.
Download the 2018 Printable Tea Towel Calendar:
Phew, that was long. Let’s dive into the project!
Step 1: Download the Calendar Top & Bottom
Choose your favorite color combination, and download the files you will need for your calendar. Click on the image to be taken to Google Drive to download the printable tea towel calendar files you want.
Note: If you are using transparent (light fabric) iron-ons, you will need the REVERSED bottom calendar image. If you are using opaque (dark fabric) iron-ons, you will need the normal, readable one!
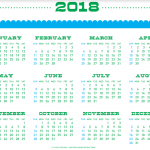
Red & Blue 2018 Tea Towel Calendar Downloads:
Click on the image to be taken to Google Drive to download the files you want.
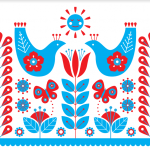

- Download Red & Blue Calendar Top
- Download Red & Blue Calendar Bottom (Regular)
- Download Red & Blue Calendar Bottom (Reversed)
Blue 2018 Tea Towel Calendar Downloads:
Click on the image to be taken to Google Drive to download the files you want.
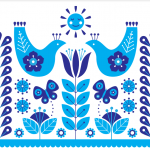
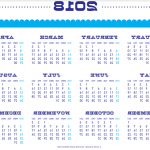
- Download Blue Calendar Top
- Download Blue Calendar Bottom (Regular)
- Download Blue Calendar Bottom (Reversed)
Green 2018 Tea Towel Calendar Downloads:
Click on the image to be taken to Google Drive to download the files you want.
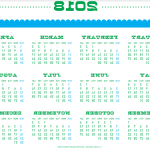
- Download Green Calendar Top
- Download Green Calendar Bottom (Regular)
- Download Green Calendar Bottom (Reversed)
Step 2: Print the Calendar Printables on Iron-on Transfer Paper
I don’t have a recommendation for a specific variety of iron on paper at this time (because I didn’t like the type I used). Do be aware: if you are using a dark or patterned tea towel, you will need to use the dark fabric type of iron-ons.
If you are using the transparent kind of iron-ons, you will need the REVERSE image file for the calendar.
How to Make the 2018 Printable Tea Towel Calendar
Step 3: Cut & Sew the Tea Towel

- Iron your tea towel before you start.
- Flour sack towels are usually large and square, so cut it in half.
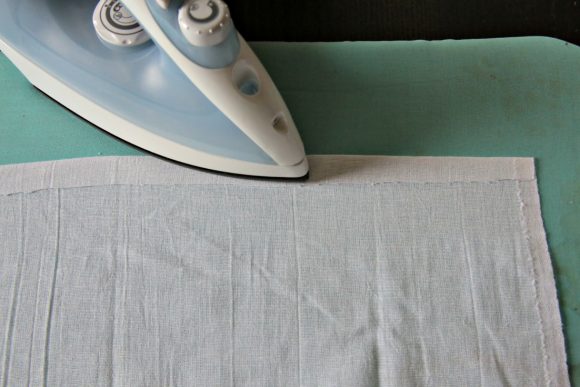
- Fold the cut end over and iron it flat. This is where you will hem it to make it match the other side! Pin the hem (don’t skip this step, because this floppy fabric is hard to sew if you don’t pin it).
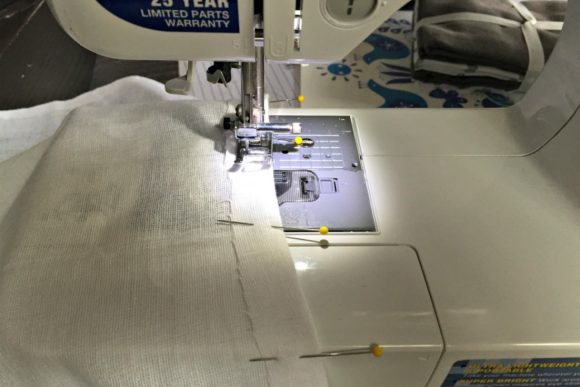
Sew the side hem.
Step 4: Freezer Paper — The Secret Weapon
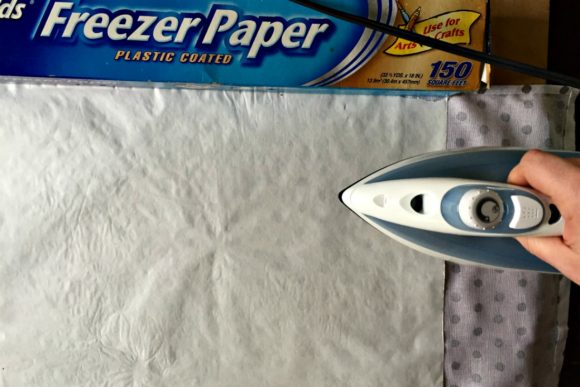
Iron a piece of of freezer paper to the back of the tea towel. Place the waxed side DOWN onto the fabric, and iron over the paper side. It will stick to the tea towel and stabilize it, making it WAY easier to successfully apply the iron on transfer to the other side. When you’re all done with the process, you can easily remove the freezer paper by peeling it away. (Do that at the end of the project!)
Step 5: On to the Calendar!
Your iron-on transfer paper will come with instructions for printing and application, so follow them. I will give some general guidelines for success here:
- Use a hard, heat-proof surface to iron on, if you can. I pulled the built-in wooden cutting board from my kitchen counters.
- If you are using opaque (dark fabric) iron-ons, use a piece of parchment paper to iron over the top of your iron-on. My iron-ons included a piece of parchment paper that was the same size as the iron-on sheet, and since it was impossible to keep the same-size parchment paper covering the transfer while I moved the iron, it ruined my transfer.
- Iron the top and the bottom pieces very close together. Once you’ve ironed the first one, protect it with a piece of parchment paper while you iron the second one.
Remove the freezer paper from the back by simply peeling it off!
Pin this Project!
If you enjoyed this project, I would appreciate any shares you can spare! Thank you for reading, and please let me know if you have any feedback on this project, or tips you discovered while making it!
Don’t forget to download the matching free printable card!


