Hi! Dot here from Dabbled.org, and thanks so much to Heather for letting me visit again! I’m a huge fan of Dollar Store Crafts myself, so I’m honored to have the chance to share this simple and fun project.
How to Make a Laced Stocking Ornament
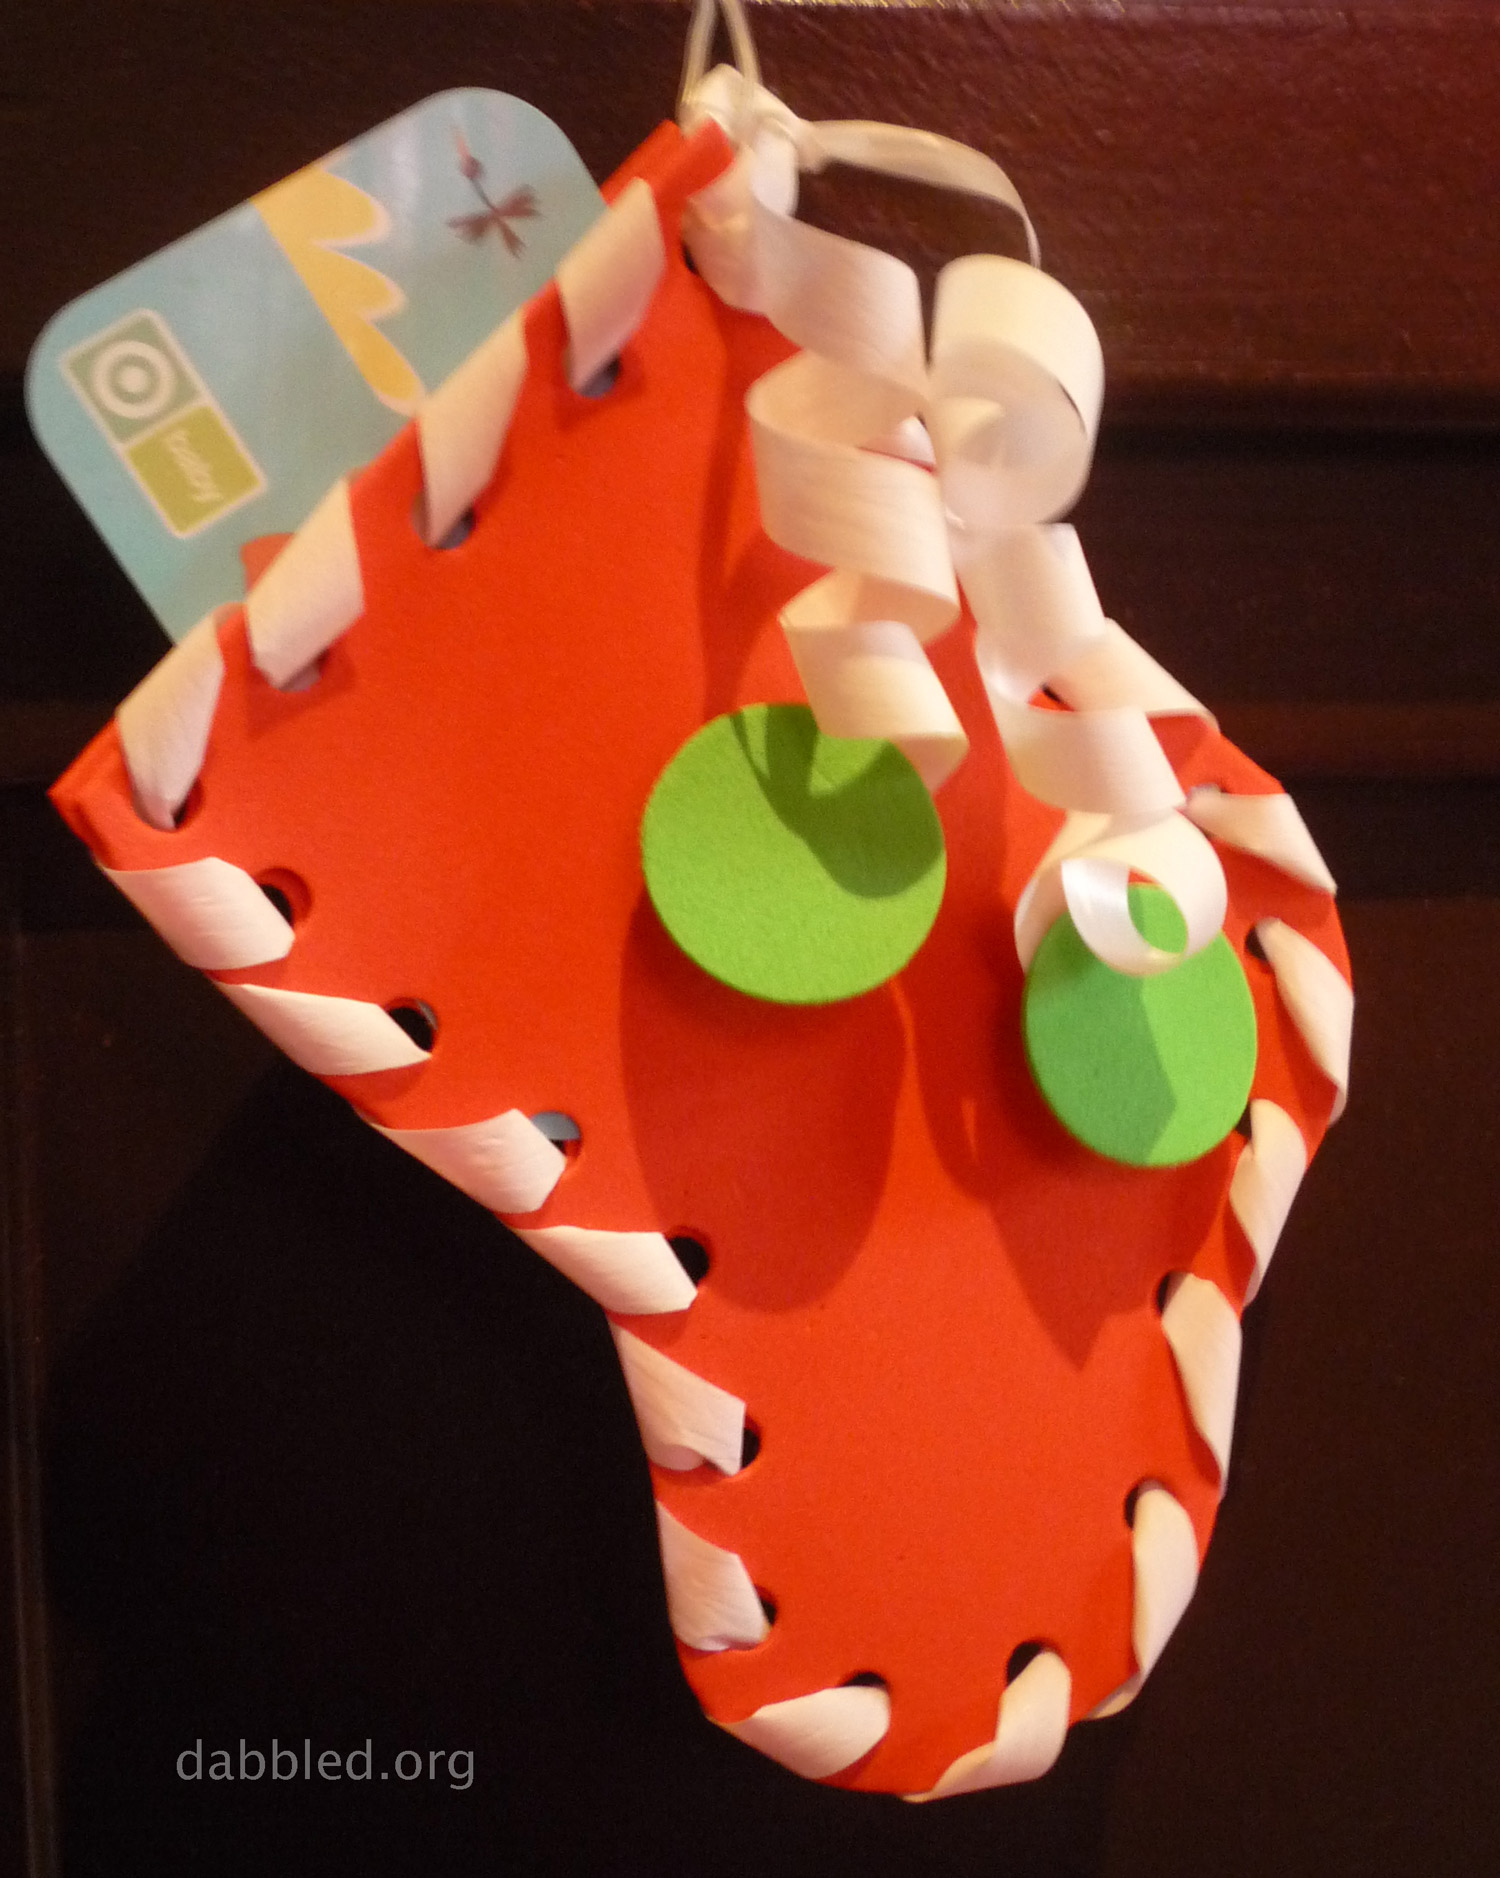 I hate giving gift cards… they seem so impersonal to me! But sometimes money or giftcards really are the appropriate thing to give, so I figured we needed a way to add a little handmade charm to an otherwise boring gift! This little stocking works for holding a gift card or money, and the recipient ends up with an ornament keepsake too! It’s also a great project for kids to do themselves — an easy teacher gift, maybe?
Other ideas for using this project?
- A gift label for a package…
- A wrapping for a small trinket…
- Hang them as ornaments on your own tree, maybe with a candy cane in each…
- Make 25 and hang them up as an advent calendar!
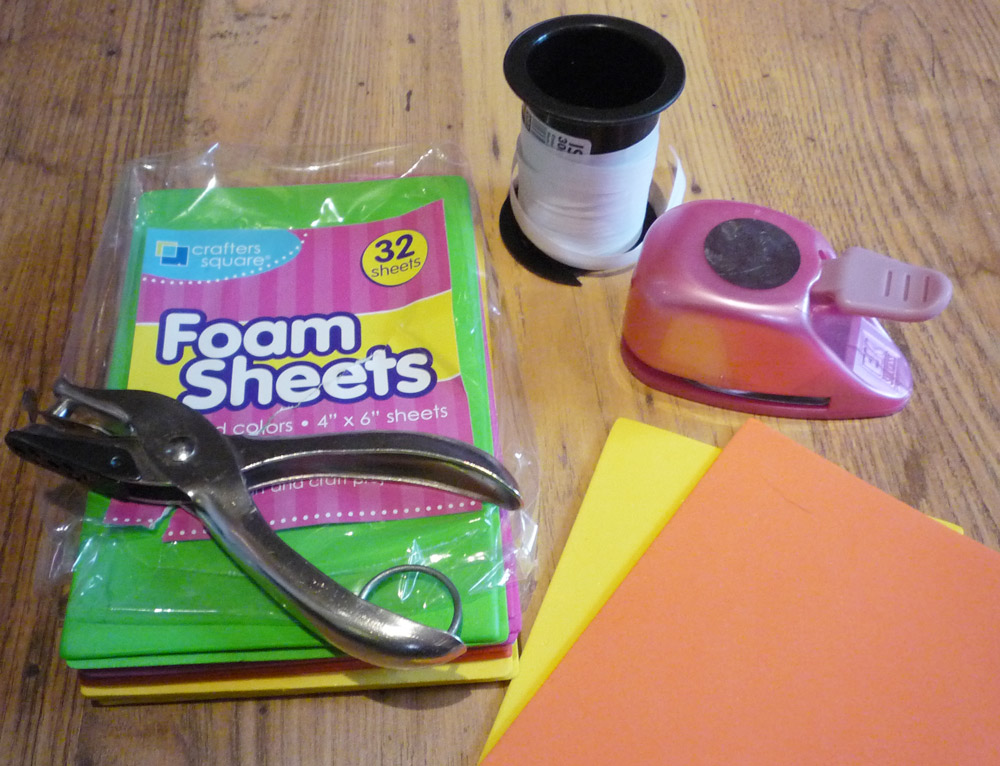
Materials
- Craft Foam – My Dollar Store purchase for this project was a pack of 4″x6″ in craft foam in a variety of colors. This project only took 3 pieces (out of a 32 sheet pack) so that’s pretty cheap!
- Ribbon – I had the ribbon on hand, but I’m sure you can find some at the dollar store as well.
The type/texture of the ribbon will impact the look of your final piece, so you may want to try a test lacing to ensure you have the look you want. I used a papery ribbon (about 1/2 in wide) for this example — you get a totally different look with curling ribbon or grosgrain. - Tools: hole punch, circle craft punch (optional), scissors, glue
Download the Stocking Template: Stocking Template PDF
Steps:
Check out the pictures below the steps for a visual look at the process.
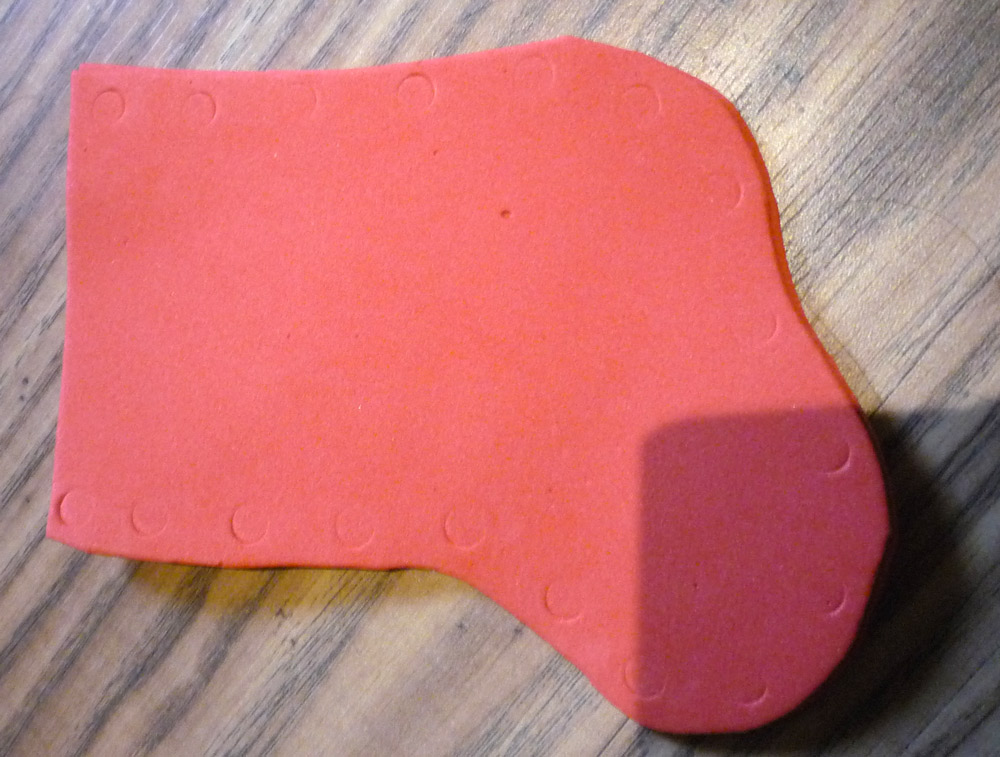
- Cut out a stocking shape through 2 sheets of craft foam, either freehand, or using the template provided. If freehand, make sure the stocking is wide enough at the top to fit a gift card or whatever your present may be.
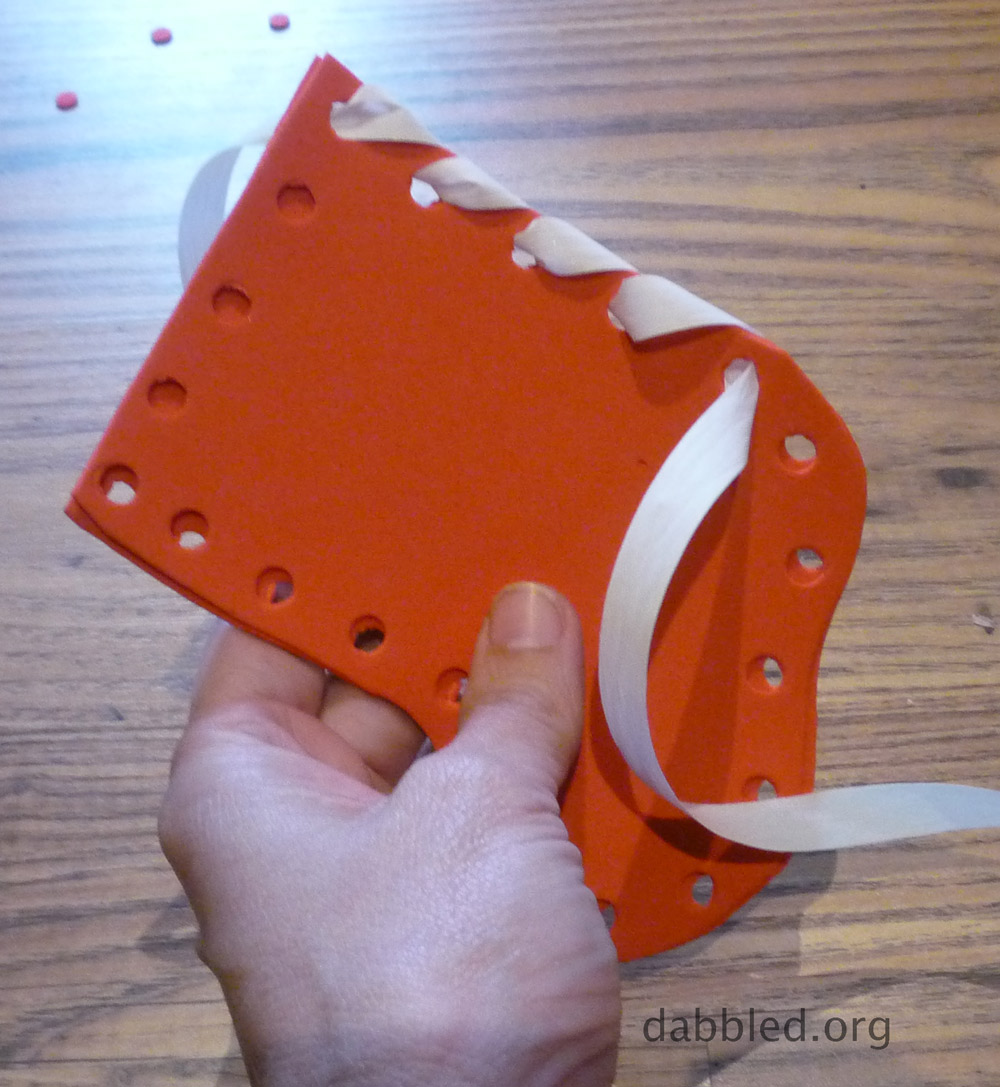
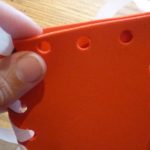
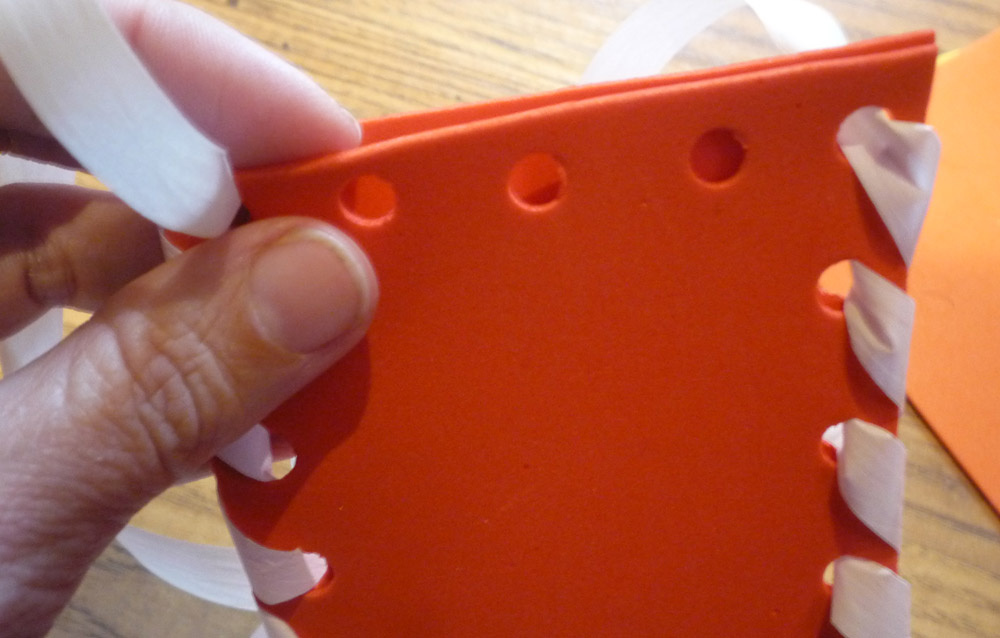
- Stack the two pieces together, and using a hole punch, squeeze firmly around the perimeter of your stocking. (See photo). DON’T cut through (well, you can if your hole punch will do so, mine wouldn’t cleanly cut through two pieces together-try a test on a double thickness of scrap first). Make sure the circle from the punch is marked on both the top and bottom pieces. Then take each piece and punch through where you marked the holes. On the top piece ONLY, punch holes along the top (the stocking opening).
- Next you’ll stitch together the two pieces, starting in the top right corner. Run a long length of ribbon through the top right corner (no need to tie it, just leave 10 inches or so at the end, you’ll tie that off to to the other end once you’ve stitched around the entire stocking).
- Basically, you’re doing a whip stitch: start from under, go up through the first hole, then go from under through the second hole, continuing around until you reach the top left corner.
- Then use the same stitch, but just through the top layer, to embellish the top of the stocking.
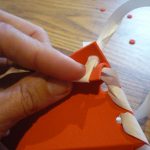
- When you’re back at the beginning, run back through the first hole (several times if necessary) and tie off to the tail you left in Step 3 (see pics).
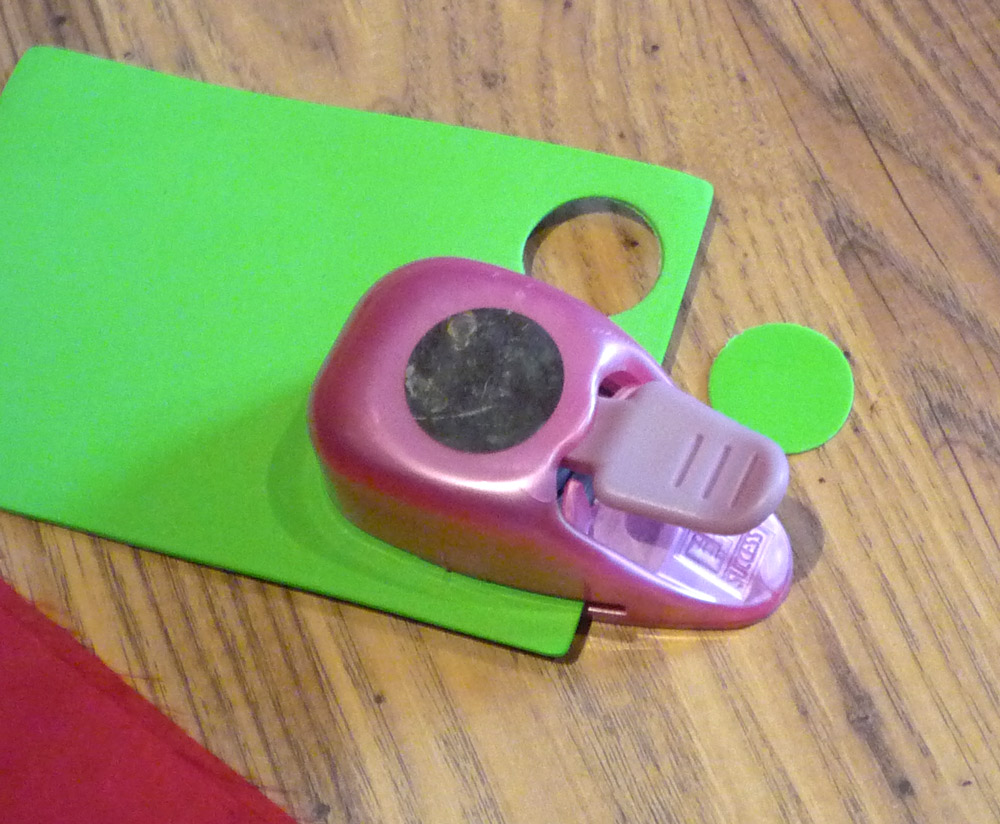
- Using a large circle punch (optional- can do with scissors) punch out 2 or 4 circles of craft foam in a contrasting color.
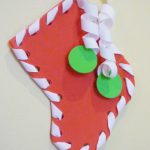
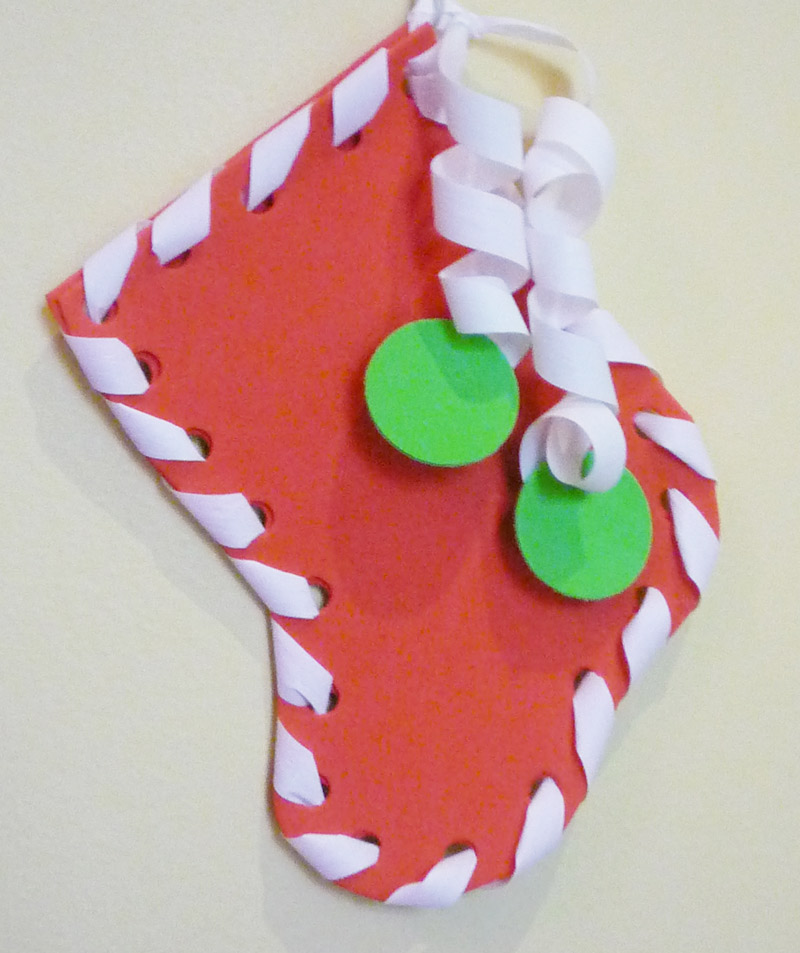
- Attaching the circles
How you attach the circles depends on the texture of the ribbon. You will want to play around with what looks good. , a stiffer ribbon that holds a curl may do better with option A, but a thinner or floppy ribbon may look better with option B
A: 4 circles – If your ribbon curls (mine did) run scissors over it to get a springy curl, and glue circles to the end (one on either side, sandwiching the ribbon in the middle)
B: 2 circles – Punch a hole in the top of each of your circles, then attach to the end of each ribbon by threading and tying the ribbon through the hole.
There are, of course, many other ways you could embellish or decorate the stocking, use your imagination!
Images
(Click to see larger)
-
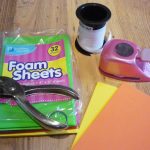
- Supplies – 4″x6″ foam sheets, ribbon
-
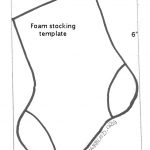
- Use the stocking template to cut out a front and back

-

- Cut out the stocking and mark the holes
-
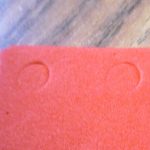
- Marking where the holes should be punched

-
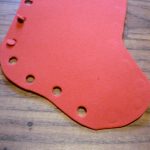
- Punch out each sheet at the marked spots

-
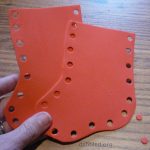
- Front and Back – Ready to Lace

-

- Lace the two pieces together with ribbon
-
- Lace the top of the opening (front only)
-
- Lace the end through the beginning holes, and knot to the tail left at the beginning

-
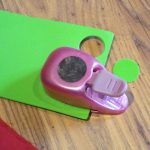
- Punch out the circles
-
- Attach the circles to the ends of the ribbons


6 Comments
Vone
Looks like a fun project for kids. I’m going to look and see if I have red craft foam.
Thanks.,
Amy's Stocking Stuffers
That is so clever! What a wonderful idea — thanks for sharing it!
Dot
So cute and so easy!
Amy
Too cute! You could also do this with felt and use embroidery floss to sew around the edges.