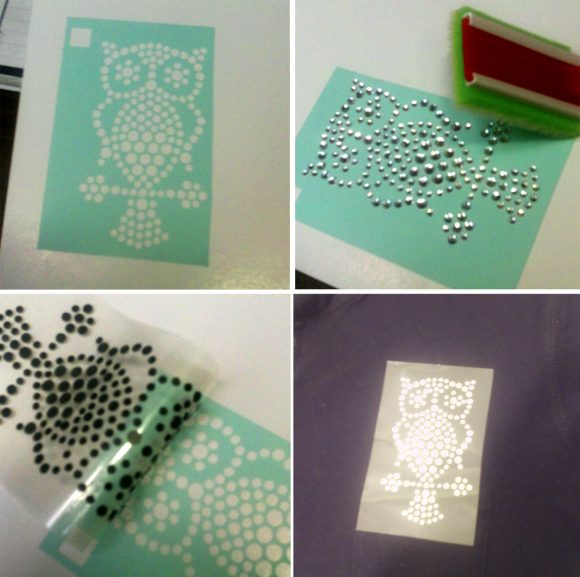
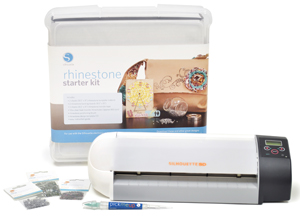
One of the most fascinating accessories you can get for your Silhouette craft cutter machine is the Rhinestone Setting Kit. Being able to create your own rhinestone images is almost too much power for this simple girl, but I know that MANY of you would love to be able to create your own rhinestone embellishments so you can bling everything up! Silhouette has made it about as simple as it can be.
About my rhinestone project:
I used the free image of the week from Silhouette, which is a rhinestone template for an Owl. It uses three different sizes of rhinestones (all included in the Silhouette Rhinestone starter kit). This was the first time I have ever done the rhinestone technique, so there was a bit of a learning curve, but it’s not nearly as difficult as you might imagine. The process is simple. I still need to work on my technique, but Silhouette has included all the tools in the kit that make it as easy as it could be.
I stuck the owl to a polo shirt (with the owl sitting on the pocket). For my first time, I think it turned out pretty well! It took me about 30 minutes from start to finish.
Here’s a video of the process, and read on for written instructions.
Silhouette Rhinestone Setting Kit Video:
How to Use the Silhouette Rhinestone Setting Kit:
1. Download a rhinestone template and load it up in your Silhouette software. You will know it’s a rhinestone template if it is a design made from a series of dots. Don’t resize the template.
2. Load the rhinestone template sheet directly into your Silhouette with no carrier sheet. Cut template.
3. Cut template off of sheet. Quickly remove the template sheet from its backing. Make sure all dots are punched out of template.
4. Apply template to the rhinestone backing board.
5. Put the template on a flat surface (might be easiest to place it on a cookie sheet for easy rhinestone containment). Pour rhinestones over template.
6. With brushing tool, brush rhinestones back and forth over the template. They will start to fill in the holes.
7. When most of the holes are filled, brush stray rhinestones off template. Use the Pick-Me-Up tool to turn over any rhinestones that aren’t shiny-side-up. You will also use the PMU tool to remove any stray rhinestones from the template, and fill in any holes in the template.
8. Cut a piece of rhinestone transfer tape, and then remove from its backing. Place the transfer tape over the rhinestones. Push down on the rhinestones to ensure they are sticking to the transfer tape.
9. Apply the transfer tape & rhinestones to the fabric of your choice. Cover with a thin cloth (like a floursack towel).
10. Place an iron (set the the Wool setting) on top of the cloth and rhinestones. Leave it there for 60 seconds.
11. Slowly remove the transfer tape, checking to make sure all the rhinestones adhered to the fabric. If they didn’t, put the tape back down and repeat step 10.
12. When rhinestones are all adhered, and you have removed transfer tape, turn garment inside out and put iron on back of rhinestone area for 60 seconds. This will set the glue into the fabric really well.
13. You’re done. When laundering garment, turn inside-out to protect the rhinestones.
>>>>—VISIT SILHOUETTE.COM NOW—<<<
Another video tutorial for using the Silhouette Rhinestone Setting Kit
disclosure: affiliate links & sample product received for this review


1 Comment
Enid Alvarez
Exelente!