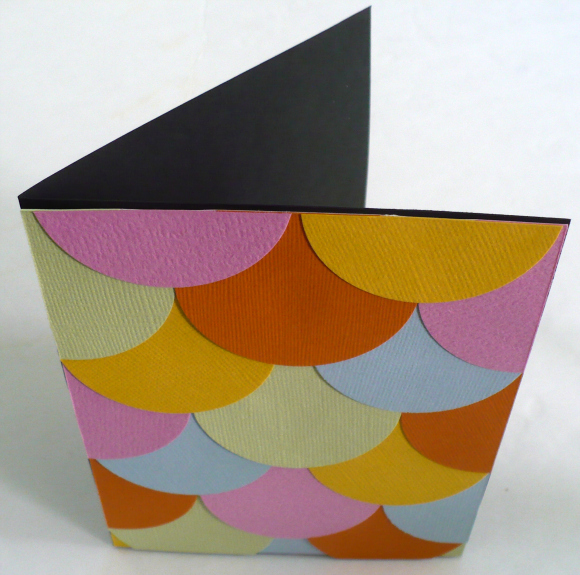
I like to keep a stash of handmade greeting cards on hand at all times so that I’m always prepared for last-minute events. (Or for when I wasn’t prepared!) My stack of general purpose cards has nearly depleted, so I’ve been on a kick to whip out some new ones. I wanted to use up some odds and ends of paper left over from other projects, up some pretty colors from the scrap pile and came up with this easy geometric design based on fish scales. Here’s how it’s done!
Project estimate:
- Paper, on hand
- Circle punch or template, on hand
- Glue stick, on hand
- Paper cutter or scissors, on hand
- Rubber stamps, on hand
Total: Free
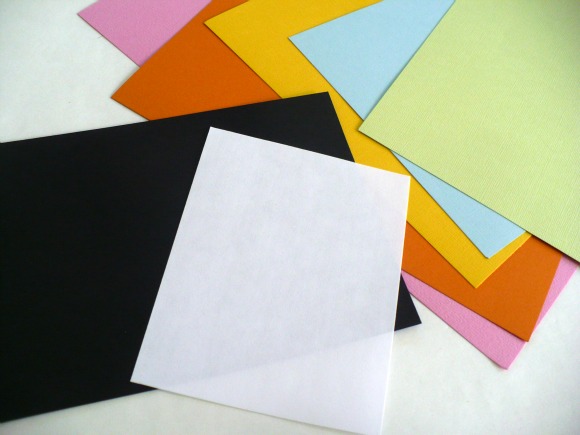
Cut a piece of paper to 8 1/2″ by 5 1/2″ to use as the base of the card. (I used black.) Cut a second piece that is 5 1/2″ by 4 1/4″. The color of this piece doesn’t matter because it will be completely covered when you’re done.
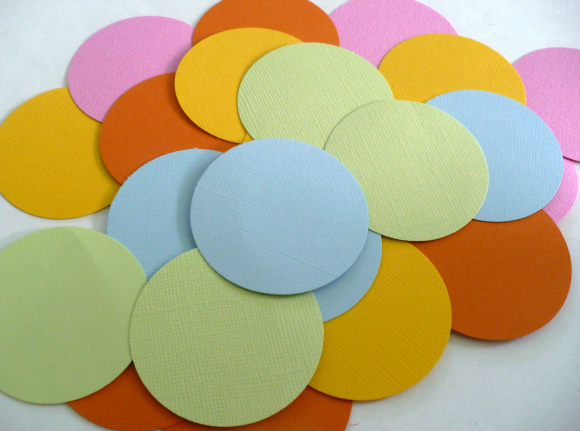
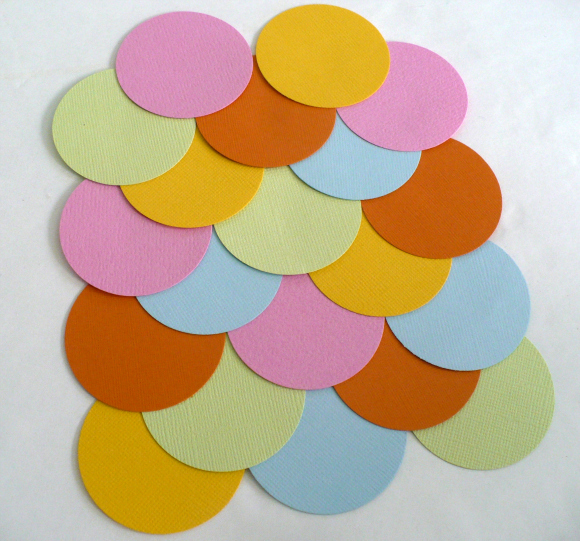
Punch or cut circles of paper in various colors. I used a 2 inch circle punch and ended up needing 20 circles.
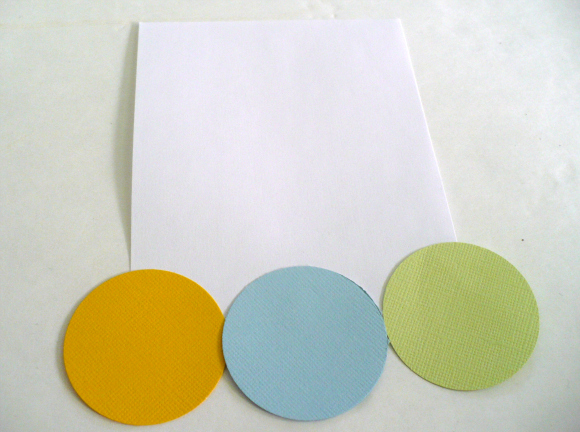
Glue a row of circles to one of the short edges of the 5 1/2″ by 4 1/4″ piece of paper. Place them so that they hang over about halfway off the sheet.
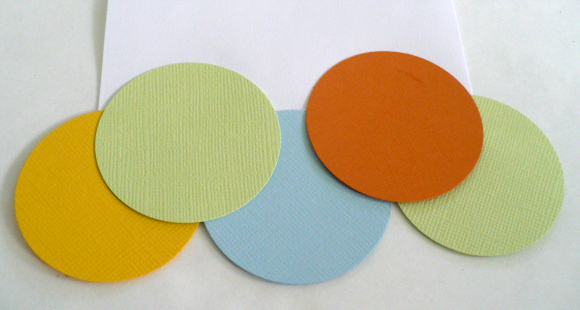
Add a second row of circles, offsetting them so that they are between the circles in the previous row.
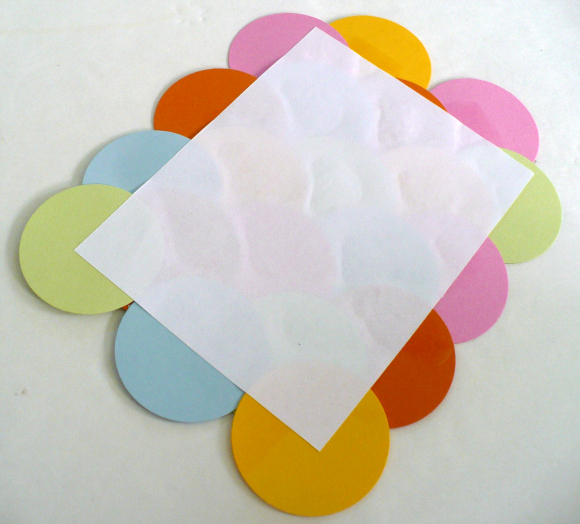
Continue adding rows of circles until the entire piece of paper is covered.
Flip the sheet upside-down and trim the excess from the overhanging circles to that the piece is rectangular again.
Glue the sheet of overlapping circles to the front of the card base.
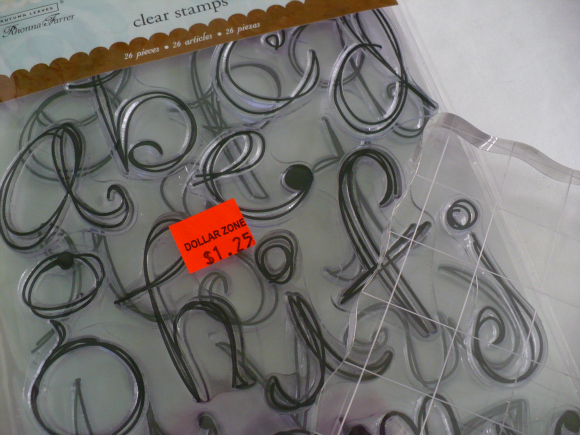
I decided to put the word “hi” on the front of my card, but you can use any images or words you want. (Yes, you are reading the price tag correctly on those alphabet stamps. $1.25 for the whole set! I got 2 different fonts, plus a large acrylic block ($2.50 versus the usual $10) and a few sheets of different flowers and flourishy embellishments. Best. Score. Ever! If you’re ever in Traverse City, Michigan, Dollar Zone is incredible!)
Make sure you press firmly and evenly when you stamp since you’re working on an uneven surface. I always use clear stamps because I can really see what’s going on, and it helps a ton on projects like this! If you’ve never tried them, I highly recommend them!
Try making variations on this card by using larger or smaller circles, different shapes (perhaps diamonds or snowflakes), adding patterned papers to the mix, or using various ways to embellish the card instead of rubber stamping. Really, the circles are a jumping-off-point for a zillion different designs!




5 Comments
staci golden
What a cute card!!
I always end up with scrap paper that’s big enough for a few 2″ circles..
I’m going to start saving them to make a card like this!!
maryam
hi…. its perfect… I will be happy if you inform me to my e-mail when you leave new subject!!!