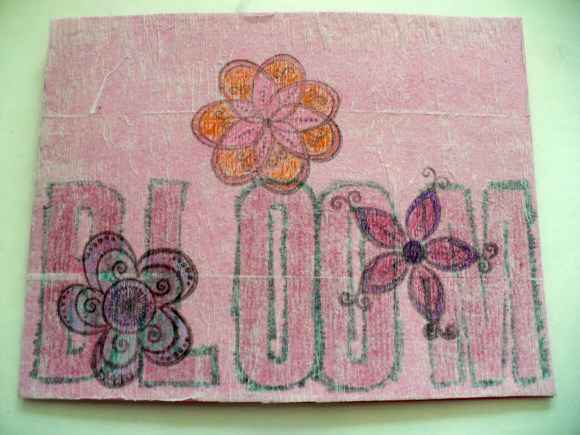
This flowery greeting card was my project for the “spring” themed week of Iron Craft. I’ve tried similar techniques in the past and have always ended up with a fail, so I decided to dust it off and give it one more try. Lo and behold, this time it turned out the way I wanted! The process uses a combination of rubber stamping and decoupage to create a layered effect. If you don’t need a flower-covered card, you can also use this idea with any combination of words and images to make it suit your occasion.
Project estimate:
- Paper, on hand
- Rubber stamps, on hand
- Stamp ink, on hand
- Mod Podge, on hand
- Crepe paper or tissue paper, on hand or $1
- Colored pencils, on hand
Total: Free and up
Start by cutting a piece of paper to the size you want your card. I cut a piece of 8 1/2″ x 11″ paper in half for a standard 4 1/4″ x 5 1/2″ card.
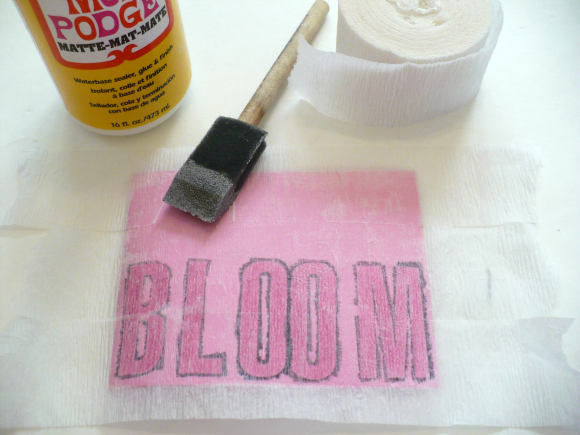
Stamp your wording onto the card and, if desired, color in the letters with colored pencil.
Brush a layer of Mod Podge onto the front of the card and carefully apply either a sheet of tissue paper or strips of crepe paper streamer. I used crepe paper because I wanted the texture. Press the tissue or crepe paper firmly into the Mod Podge.
Here’s the trick that’s tripped me up and led to failure in the past: Do not apply a layer of Mod Podge over top of the tissue or crepe paper; this will make it difficult to stamp and color the flowers on the top layer.
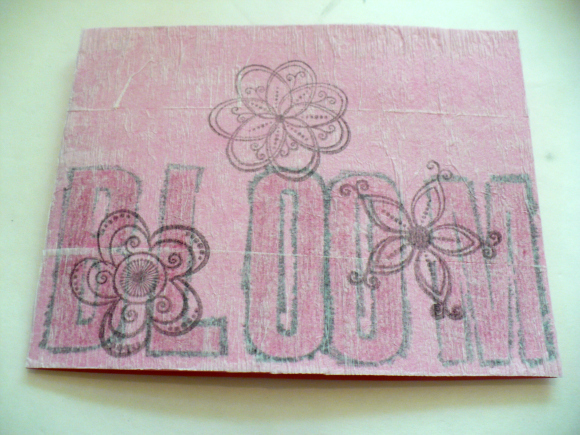
When the Mod Podge is dry, stamp several related images over top of the wording.
Color in the images using colored pencils. Now you’re ready to brighten someone’s day!


2 Comments