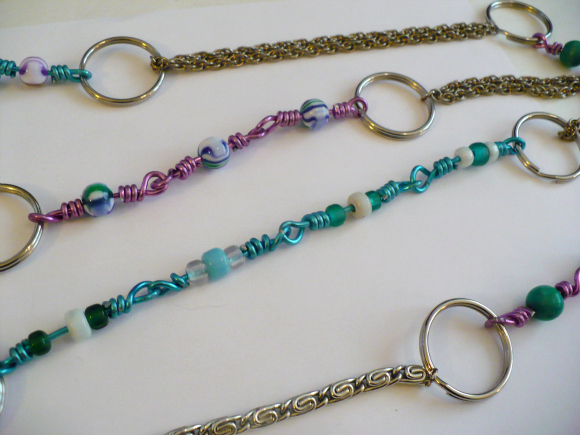
This has to be the most customizable necklace in the world! You can make it as long or as short as you want, in any color scheme you want, and if you get bored with it you can do a little switching around to make it an entirely different piece! It’s constructed in sections that are connected using key rings, making it easy to take it apart and reconfigure it into a completely different necklace. Wear it as a single strand or make it long enough to wrap two or three times; make all of the sections in a similar color scheme, or go completely crazy and use different colored beads or wire for each section. There are so many possibilities!
Project estimate:
- Chain, on hand or $1 and up
- Wire, on hand or $1 and up
- Beads, on hand
- Jewelry pliers, on hand
- Key rings, on hand or $1 and up
Total: Free and up
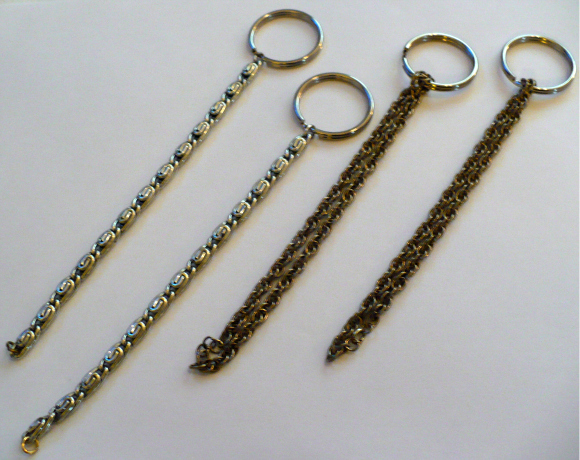
There are two different types of sections in this necklace. The first set of sections consist of chains that were rescued from my costume jewelry collection. Trim the chain to the desired length and attach a jump ring to each end of it. Put a key ring on one end of each section. The two sections on the right were made using longer sections of chain doubled over through the key ring with the loose ends held together by a jump ring.
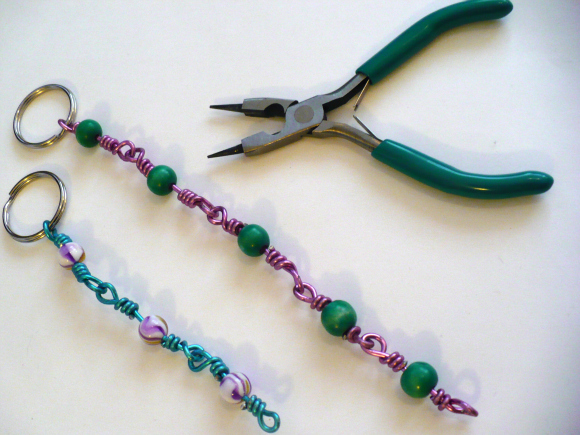
The second set of sections were made using wire and beads. I used random beads from my stash and some colored floral wire that I recently picked up at Dollar Tree.
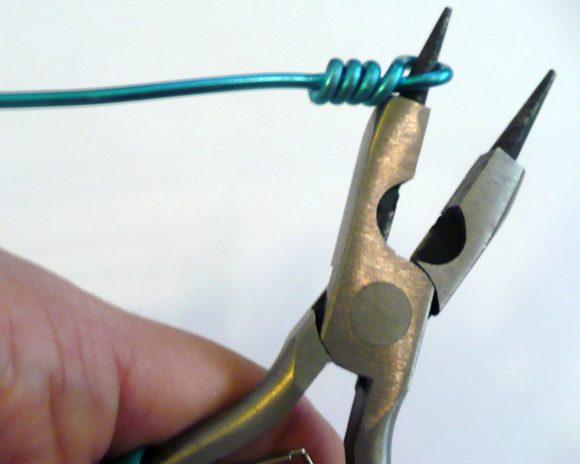
To make a section, you will need to cut a length of wire; the amount of wire you need will depend on the size of the wire and the size and number of beads in each link. You may need to experiment to find the proper length. Mine were about 6 inches long to start with. (Tip: It’s better to cut the pieces a little long and trim off the excess than to cut them too short and have to start over!) Start by making a loop in the end of a piece of wire using round-nose jewelry pliers. Twist the end of the wire around the bottom of the loop to close it off.
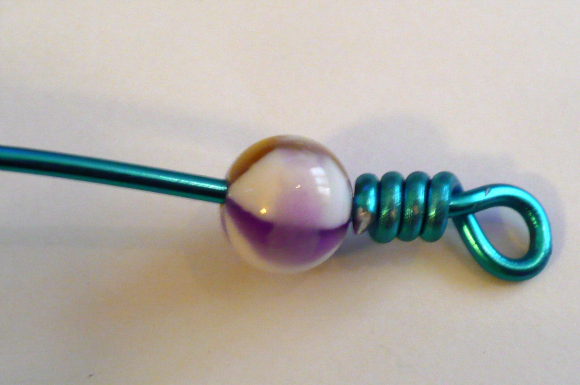
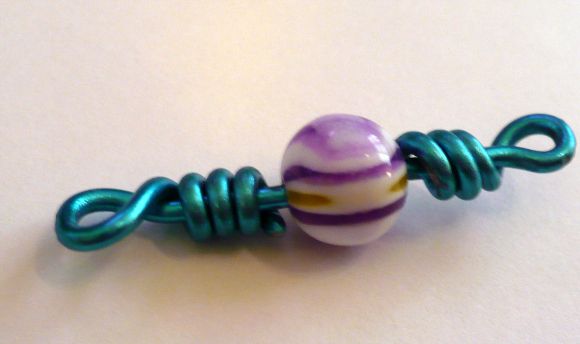
Thread a bead onto the wire.
Twist off a loop on the other end of the wire to finish the link.
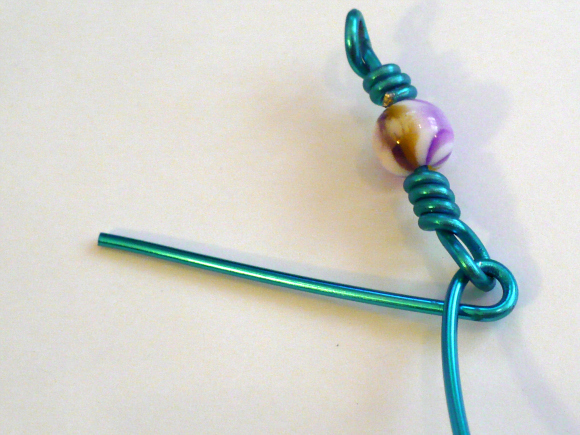
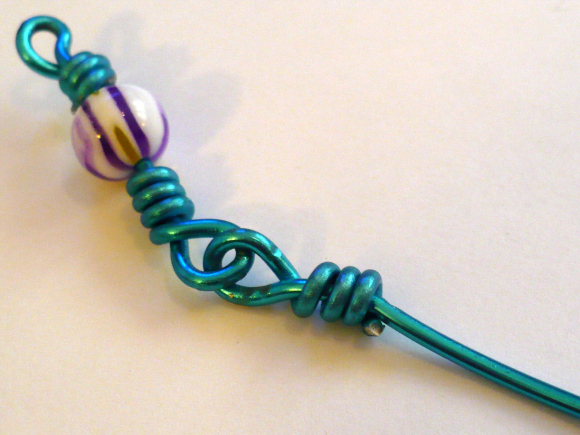
When starting the next link, remember to attach it to the first link before you twist off the first end loop, or else you won’t be able to attach them together!
Once the loop is twisted into the end of the next link, add a bead and twist off a loop in the other end of the wire. Continue until you’ve made the desired number of links.
Finish the section by adding a key ring to one end.
To assemble the necklace, attach the sections together end-to-end using the key rings. Presto! A whole bunch of necklaces all in one!





4 Comments
Kathy V.
nice tutorial!
Michelle L.
Love the key ring idea!
Samantha
Hey, you found a use for that floral wire.