When Heather gave me the opportunity to review an Epic 6 Letterpress Combo Kit by Lifestyle Crafts, a division of QuicKutz (best known for their die-cutting tools), I jumped at the chance! I’ve always been jealous of those neatly-made, professional-looking cards and invitations I’ve seen floating around. I’m still mastering the process, but I love my new Letterpress, and I have some tips that you may not have read elsewhere!
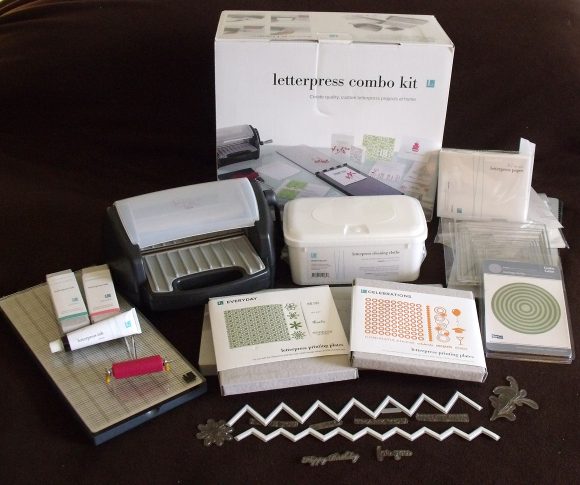
The first thing I did was read the manuals. I was still a bit foggy, so I watched some video tutorials which clarified a lot of the steps I wasn’t quite sure about. Then I got to my favorite part (well, other than using the machine that is…) – opening everything! Here’s what I got in my big box:
As you can see, there was a lot there to get me started. [Note: Lifestyle Crafts sent me extra items that do not come in the kit.] As you can see, this kit isn’t just a letterpress – it also does die cuts! I picked up a few other plates and dies at Hobby Lobby (not pictured) before I really got going.
The kit includes “everything you need to die cut, emboss, and letterpress!”
- Epic tool
- Cutting platform
- Cutting mat
- Embossing platform
- Letterpress platform
- Ink base
- Ink brayer
- Black ink
- Printing plates
- Paper placement guides
- A2 paper pack
- Adhesive sheets
- Nesting Circles cutting dies
Items you should run out and buy immediately:
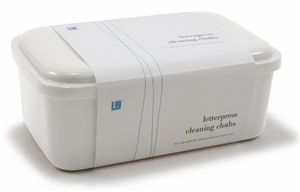
- Lifestyle Crafts branded wipes [pictured above] – you’ll use way too much elbow grease and swearing if you don’t use these magical cloths – they’re a lifesaver!
- Letterpress-approved paper – you will get some in the kit, but go out and get cards and envelopes, and whatever else you desire. Make sure it’s thick, cotton paper. You won’t get a crisp image or a deep impression with regular cardstock.
- Ink in other colors – a definite necessity if you want to make something with a color other than black.
Tips and Tricks:
- Don’t cheap out and use cardstock. Your best results will occur with the thicker paper mentioned above.
- Use a FLAT table. The plastic table I use dips a bit in the middle. This can create uneven ink application.
- To get the adhesive to really stick to your printing plates, run the brayer over them on a flat surface.
- Cut out all your printing plate pieces before spreading your ink. This way you can use your brayer in the tip above, and your ink won’t dry out.
- Keep all of your ink tubes in a bag just in case you got a little on the outside.
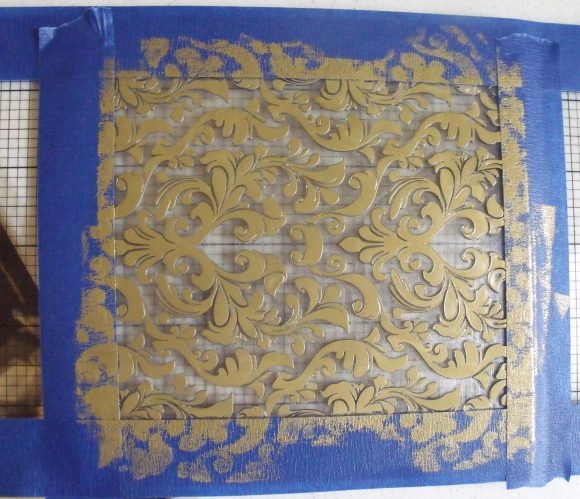
- Use painter’s tape! This is a great way to hold down your cards more precisely, and you can use it to tape off the parts of a plate you want to have ink, and the parts you don’t. [pictured above]
- Make sure you have LOTS of room. You’ll not only need room for your machine, but room to lay out your printing plates, dies, ink, embossing/printing mats, a work area and room for drying projects.
- Once you get most of the ink off your plates, rub the cloth over it really well until you see bubbles. Then use a Q-tip to get in all the cracks!
What I Made (complete mess-ups not pictured!):
 |
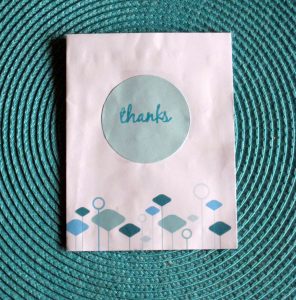 |
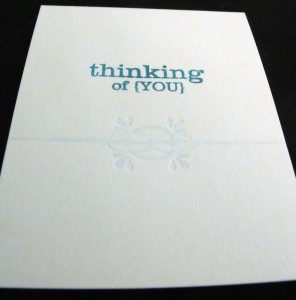
| For the decorative line, I just embossed it, then colored it in with a colored pencil. | This uses Dollar Tree computer paper folded in quarters to make a card! |
 |
 |
| This will be used as a background for a card. It’s really pretty in gold with the deep impressions. | The beginnings of a Christmas card! |
I did a whole Letterpress project with multiple pieces, start to finish, in one hour. I found that drying time (especially for metallic ink) needs to be at least 48 hours for no ink to rub off on fingers.
Three cheers for a Letterpress machine that I can afford, fits in my office, and can create multiple projects in an afternoon!
For a comparison of this product vs a real (big, heavy, expensive, professional) letterpress, Boxcar Press has a great review and a lot of tips I wish I knew when I got started!
Not sure what to make with your Letterpress machine? Here are some ideas from Lifestyle Crafts.
(Disclosure: The Letterpress machine and accessories were provided free for review.)


