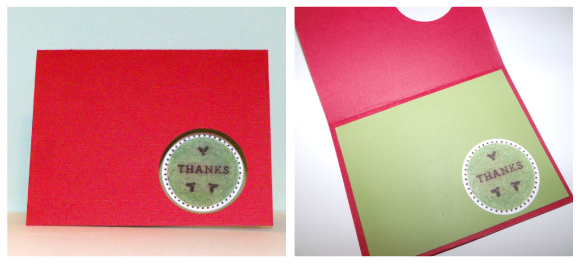
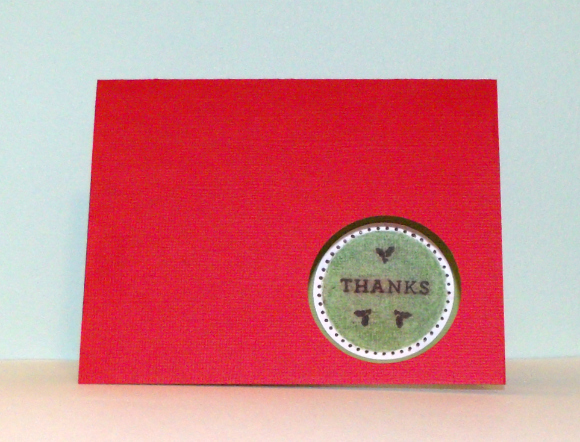
Now that the holidays are nothing but memories and piles of recycling, there is one important thing left to do: send thank you notes! Nothing lets a gift-giver know that you truly appreciated their gesture like a handmade card expressing your gratitude. You can make your own cards even of you don’t have a lot of spare crafting time with simple, creative designs. This card uses a circle punch to make a quick and easy window in the front of the card, which you can use to express any sentiment you like, including a heartfelt “thanks.”
Project estimate:
- Card stock or paper, on hand or $1
- Large circle punch, on hand or about $5 and up
- Rubber stamp, on hand or $1 and up
- Ink pad, on hand or $1
- Colored pencil (optional), on hand
- Masking tape, on hand or $1
- Glue, on hand
Total: Free and up
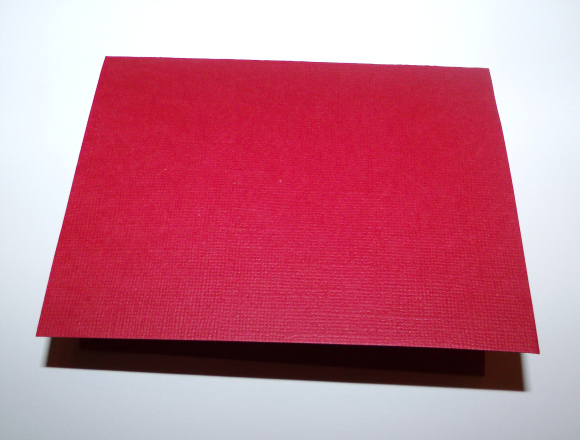
Cut and fold a piece of card stock to use as the base for your card.
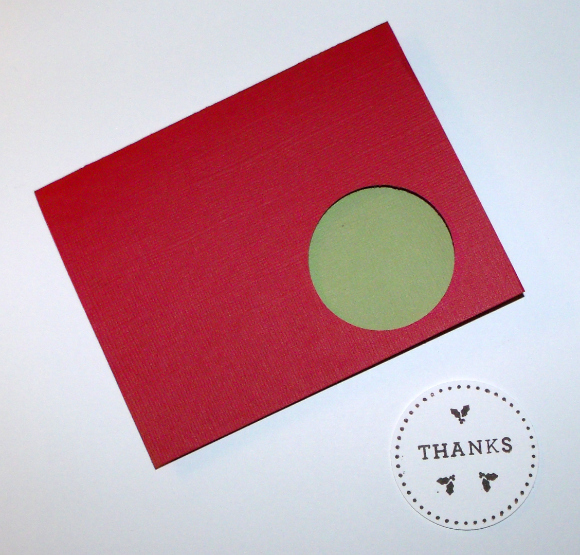
Decide where you want the window to be on the front of your card and use the circle punch to make a hole there.
If desired, line the inside of the card with a different paper.
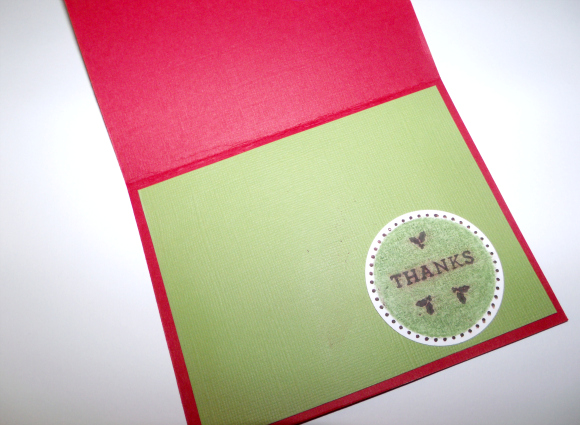
Stamp your “thanks” stamp (or whatever you want to say) and use the circle punch to punch it out. You can use the same color as the front of the card, or use a contrasting color. Just make sure that your stamp ink will show up on the paper you choose!
Line the circle up with the hole in the front of the card, making sure the text is straight. Use a piece of masking tape on the front of the card to keep the circle in place.
Apply glue to the back of the circle, then press the card closed. Carefully remove the masking tape and open up the card; the circle should stay put on the inside of the card. I also added some colored pencil to give it a little extra oomph!
Finish the card by adding a personal greeting inside. (If the interior of your card is patterned or dark colored paper, you may want to add a lighter colored journaling block to make sure your message is easy to read.)







7 Comments
Daedre
I’ve never seen a large circle punch for less than $15.
buggal1989
Very nice! Be one the lookout for some discount cards with windows irregardless of the message on the card. You can alway put a peice of scrapbbook paper and a sticker over the message so that it fits your purpose. I found some of these at a thrif store for 99 cents that said “thank you” and I have customized them for Thanksgiving and fall. They are blank inside and the front is plain giving me lots of leeway to embellish them anyway I want.
rhonda
This is the large (1-1/2 inch) circle punch that I use: http://www.amazon.com/Uchida-Clever-Lever-Extra-Circle/dp/B000S15OGQ/ref=sr_1_19?s=arts-crafts&ie=UTF8&qid=1325524823&sr=1-19
Looks like right now the low price on Amazon is about $7 – I got mine on sale for $4.99! :)
Daedre
Rhonda, I clicked on your link, and it says it’s $12, not $7?
rhonda
Scroll a little farther down to where it says “13 new from $7.14” to see all of the 3rd party sellers. There is a shipping charge through most of these sellers, but if you are planning to order things online, you’re almost always going to have a shipping charge. I got mine a year or so ago at either JoAnn or Hobby Lobby (can’t remember which) when they were having a huge scrapbooks supplies sale. Sometimes you have to hunt for them, but the deals are out there! :)
Mod Podge Amy
Cute card! I love my circle punch. JoAnns always has them on sale if people don’t want to buy online and pay shipping. I paid around $6 or so for mine. You can always search for an online coupon too, print it out and you’re good to go!