Following the trend doesn’t always have to cost a lot. The “caviar” manicure sets or even just microbead sets from the store can cost anywhere from $10-30. This variation of the trend is created using simple, household, items. With some patience and creativity, you can have yourself a fun and trendy manicure for next to nothing at all!
Project estimate:
- Nail polish, on hand or $1 and up
- Salt, on hand
Total: Free and up
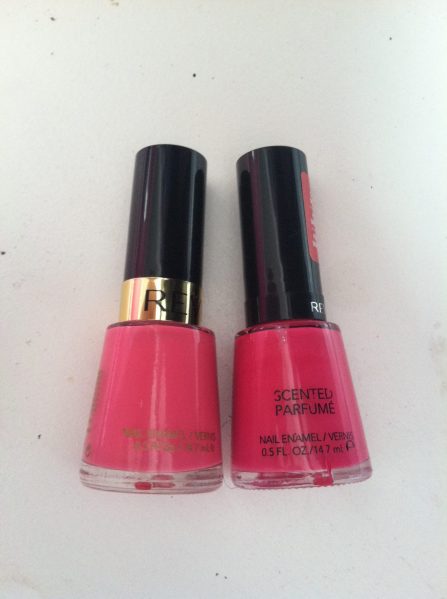
For my nails, I used the following polishes:
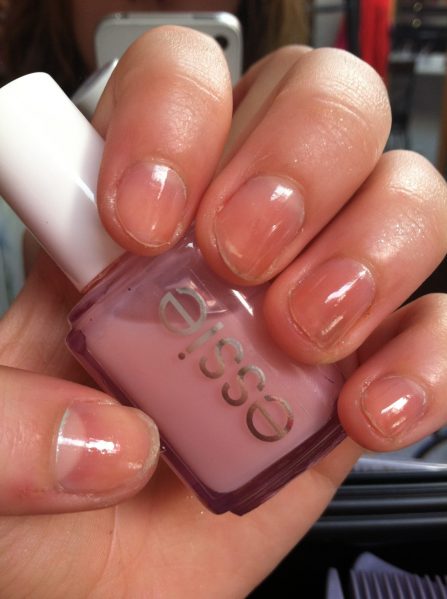
- Basecoat (Essie Grow Stronger)
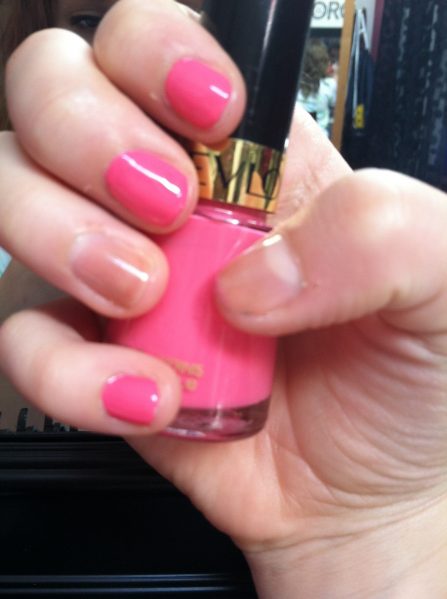
- 2 nail polishes (Revlon Sweet tart and Bubblegum)
- Topcoat (OPI Topcoat)
1. Prep your nails. I started off by filing and buffing my nails, making for a nice clean canvas. I then applied a base coat to all of my nails. Now you are ready for some fun.

Pick out 2 nail polishes. For this, I chose 2 different shades of pink, one lighter and one a shade darker. You can either do it that way, or choose 2 completely different nail polishes.

Paint your nails. First, decide which nails you want to apply the salt on. I chose my thumb and ring finger. After you’ve decided, paint the remaining nails with one of your chosen colors. I painted these nails the lighter shade of pink.
Start salting your nails. Paint the remaining nails with the second polish, but one coat at a time. Once the first coat is dried, paint them one nail at a time, and sprinkle salt over the wet polish. I recommend doing this near a sink or outside, as it can be slightly messy. After evenly coating your nail with the salt, shake your nail around to remove the excess salt.
Apply a top coat. I love the finish of my salted manicure after applying a top coat, my nails glistened! Be sure to not only apply it to the top of the nail, but the tip of your nail and sides. This will just help the salt stay on even longer.


9 Comments
Brady
Brilliant! I can’t wait to try it!
juliemarg
Nice nail art… I will try it…
Mod Podge Amy
Never seen that before – so cool! I think I would do it on both of my thumbs. Just for fun. Great tutorial – thank you!!
J. Hill
What an awesome and money-saving idea! Thanks for sharing!
Carolina {Always Expect Moore}
Super cute! I wonder if it chips less than a normal manicure? I have such a rough time with chipping fingernail polish, so usually only do my toes. Hmmm… would salted big toes be cute???
erisgrrrl
Don’t try this with kosher salt! LOL It does NOT look nice!
I don’t have any regular salt so I tried with kosher and it wasn’t very lovely…
Shelli
Really? It kind of just looks like you messed up the nail polish… Maybe some seed beads instead?
Zoe
Shelli, good idea, but I tried this with seed beads and they did not work. At all. I don’t know, maybe my beads where too thick, but they fell out IMMEDIATELY after i was done. I have done this and gotten so many compliments of my nails. I am also going to try this with sand and colored salt.. just to see :)
Cynthia Montez
But does the salt last through a hand washing our does the salt dissolve?