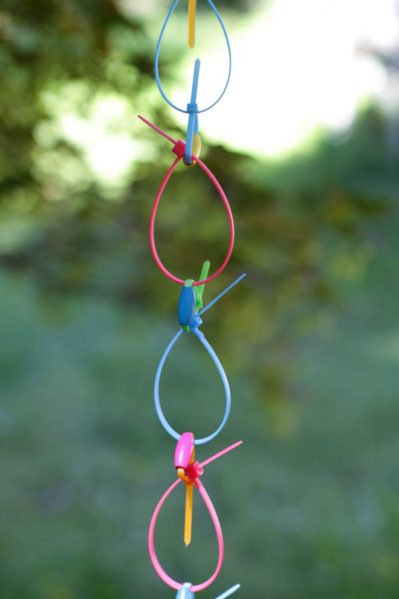
File this project under: just for fun! I enjoyed making a wire-wrapped rock rain chain the other day, so I kept going with the rain chain idea, and created a rain chain out of neon zip ties and wooden beads I bought at the dollar store.
You might be asking yourself “what IS a rain chain, anyway?” Well, it’s a decorative alternative to a downspout, and its job is to guide rain down from your roof and away from your home’s foundation (just like a downspout). It also creates some visual interest on the exterior of your home, whether it’s raining or not. I fully admit… not everyone is going to want to create neon zip tie “interest” on the outside of their home. But for those who do, this simple tutorial is for you!
I used one package of neon zip ties from the dollar store — they come in assorted sizes packaged in a clear plastic cylinder. and can be found near the hardware supplies. For this project I used two sizes of ties to vary the link sizes. I also used a package of dollar store wooden beads found in a necklace-making kit in the crafts section.
Project Materials:
- Zip ties (Package of assorted neon), $1
- Wooden beads, $1
- A nail or hook to hang from your gutter
Total: $2

You can probably figure out how to make it just from looking at it!
1. Make loops from large zip ties.
2. Slip a wooden bead on a small zip tie, and loop around two large loops. Close small zip tie to link two large loops together.
3. Continue creating links and connecting them until your rain chain is desired length.
To install rain chain: I just hooked the top loop of my chain on a bolt near the rain gutter. You could also install a hook or nail from which to hang the chain.


2 Comments