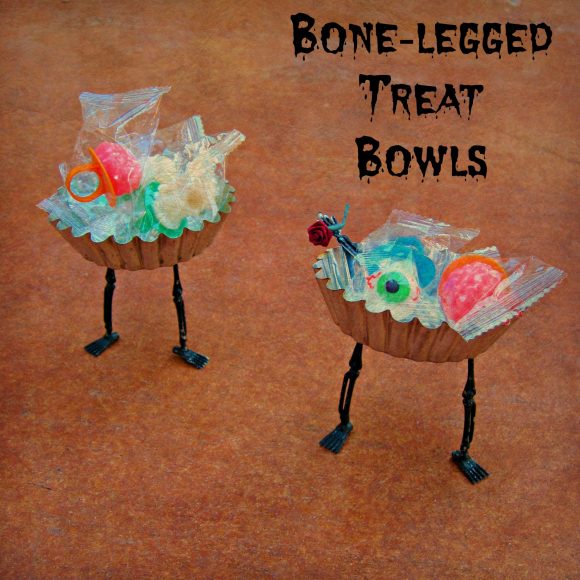
With Halloween just around the corner, you might be looking for a quick, last minute project to pull off. I have a great one for you! These funny “walking” bowls take minutes to make but get a lot of attention. Use them for parties or just for snacks at home. They make fun brownie or treat holders!
Project estimate:
- Plastic skeleton, $1 for pack of 4
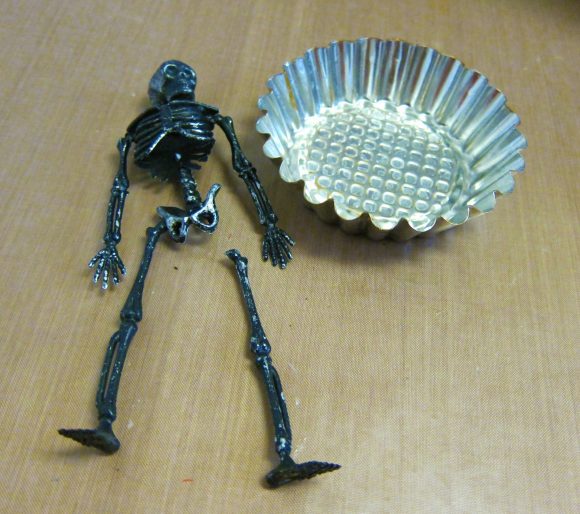
- Tart tin or small bowl, on hand or $1
- Hot gun, on hand
Total: $1 and up

I used a pack of skeletons from the Dollar Tree. They were tied together, so I simply cut the string to separate them. Remove the legs from the skeletons.
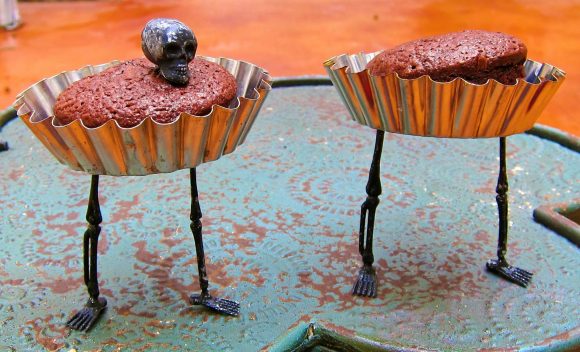
Glue one leg to the base of the tin or bowl. Stand it up and place the other leg underneath. Once it is balanced and will stand, glue the second leg on. I used hot glue so I could remove the leg and start over if it wasn’t balanced.
That’s it! I baked brownie bites and had them waiting in the treat bowls when my boys got home from school. It made them smile.
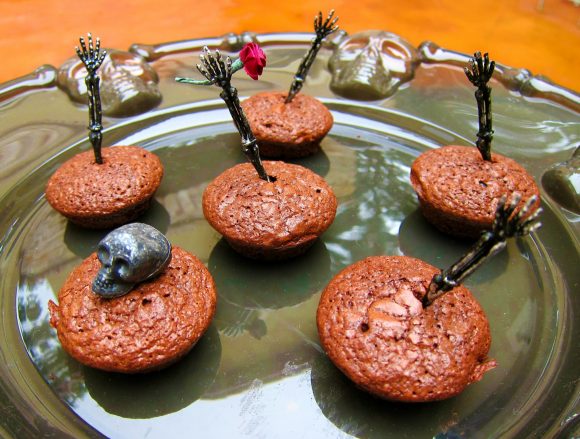
And the rest of the skeletons? I disassembled them, washed the pieces, and am using them as brownie and cupcake toppers!

Happy haunting!


2 Comments
Serena
Love this idea. So creepy and whimsical at the same time.