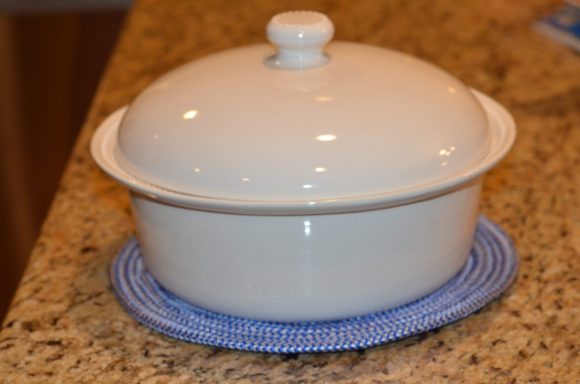
I can never find the right size of trivet for my bigger roasting pans. I figured why not make one myself? Off to the Dollar Tree I went and with four jump ropes, a glue gun and my sewing machine, I now have just the right size. Use as many or as few ropes as you need to make perfectly-sized trivets for your bakeware as well!
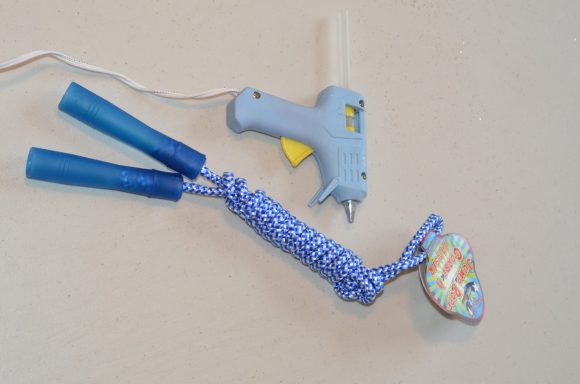
Project estimate:
- Jump ropes, about $4.00 (depending on size of trivet)
- Low temp glue gun, on hand
- Sewing machine, on hand
Total: about $4.00
First, remove the handles from the jump ropes. It’s very easy; just slide them down and undo the knot, then slip them off.
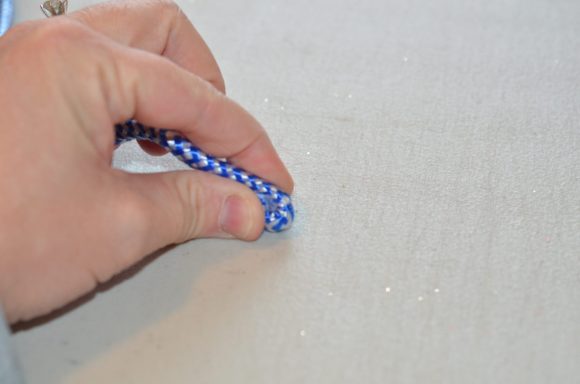
Start making a spiral by gluing the tip of one end around and rolling it into itself. Once you have glued a few inches together in the circle you can start sewing.
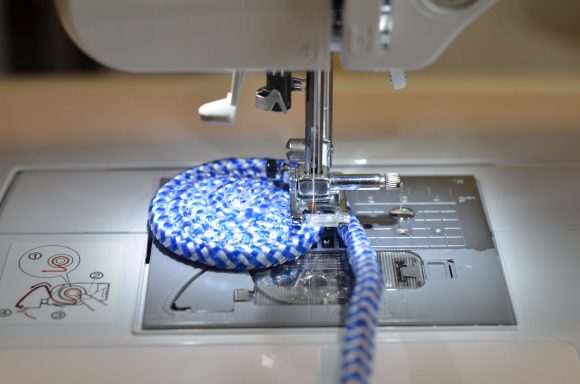
Place under the sewing foot. Change to a zig zag stitch. Make stitch length a 1.6 or length of your choice. (I did 1.6 and it worked well.) Start sewing by placing center of needle between the two rope pieces. Sew as you are winding the jump rope around in a circle.
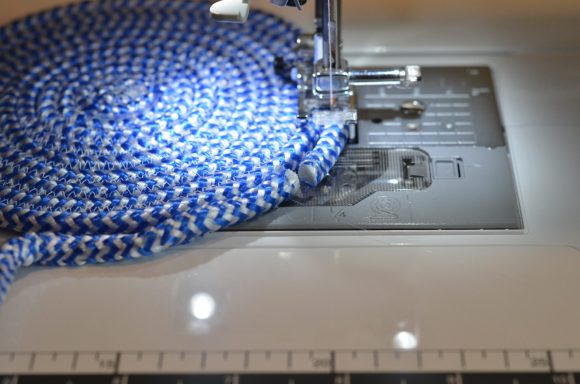
Once you get to the end place another jump rope end up against the finished end. I used a small amount of glue to hold it in place. Then begin sewing again around in a circle. Continue until you get the desired size.
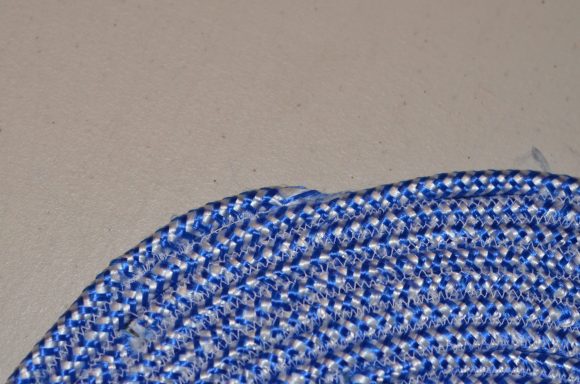
To finish cut the end piece at an angle towards the inside rope. Place a small dot a glue to hold in place. Sew and back sew over end.
Getting started is a bit of a trick, but once you get going it is super easy. You could continue on and make a rug or make it smaller and make a coaster. Pull up the sides as you go and make a basket! The possibilities are endless!


5 Comments
Ana
Can this be done on a regular sewing machine or do you have a heavy duty one?
heather
@ana, you can do it on a regular sewing machine.
Mary
CLEVER IDEA
Lisa
Just curious, aren’t most of those jump ropes made out of nylon? Won’t it melt to the bottom of your dish? I am thinking maybe not such a good idea.
summer
I tested it with a pot of noodles and it did great!